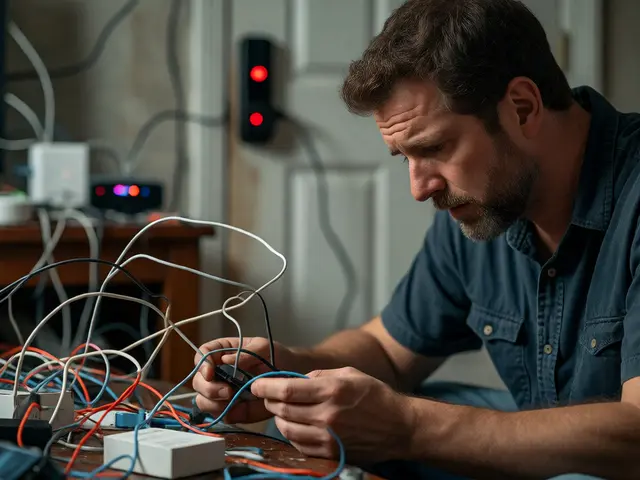
You just bought a fancy new smart switch. You unbox it, read the instructions, and feel confident. Then you look at your old wiring box and panic. Is that black wire hot? Is the white one neutral or switched live? If you guess wrong, you might fry your new device or, worse, shock yourself. This is where voltage testers and multimeters become your best friends. They aren't just tools for electricians; they are essential for anyone doing DIY smart installs.
Many beginners skip testing because it feels complicated. But here’s the truth: skipping it causes more headaches than learning to use these tools takes. A quick check with a tester confirms if power is off before you touch wires. A multimeter helps you identify what those wires actually do. Let’s break down how to use them safely and effectively so your smart home project doesn’t turn into an electrical nightmare.
Why Guessing Wires Is Dangerous
Old homes often have weird wiring quirks. Maybe the previous owner swapped colors, or maybe the neutral wire is shared between two circuits. If you assume the white wire is always neutral, you might connect your smart switch incorrectly. Some smart switches need a neutral wire to function; others don’t. Connecting a no-neutral switch to a circuit without a true neutral can cause flickering lights or damaged electronics.
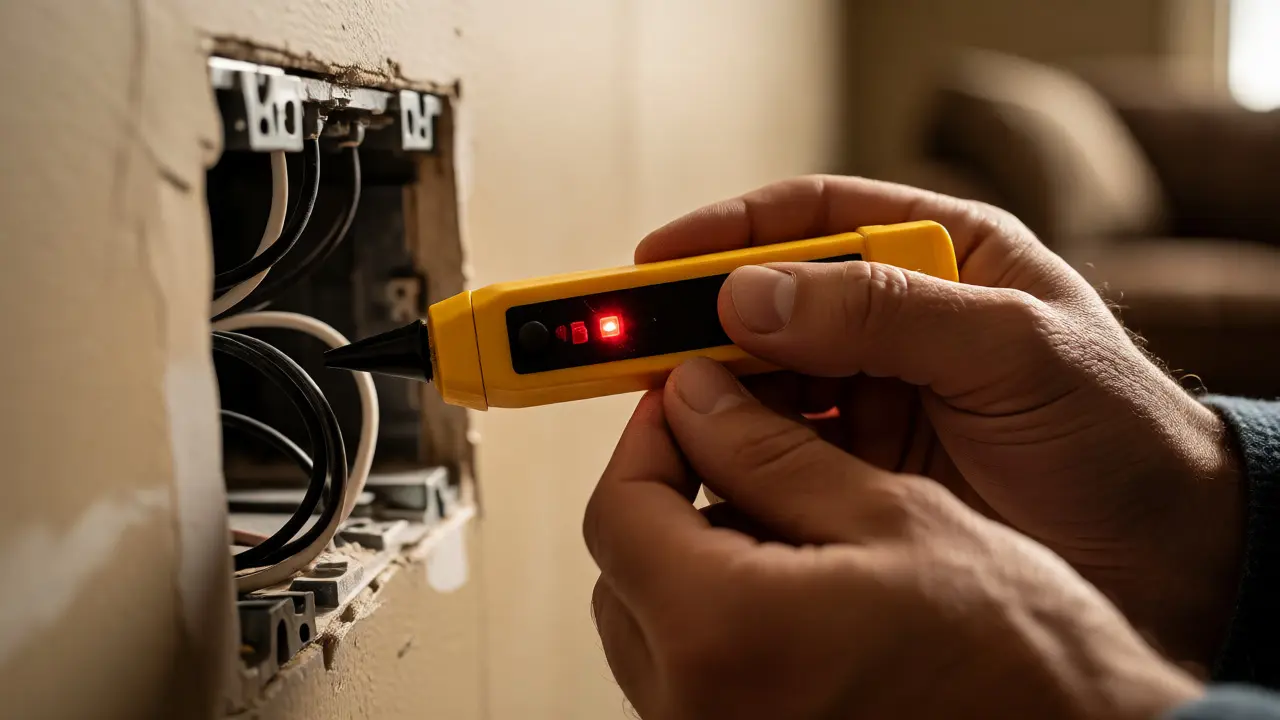
Worse, if you think the breaker is off but it isn’t, you’re working on a live circuit. Touching a live wire while holding another grounded object completes the circuit through your body. That’s not just a tingle; it’s dangerous. Using a non-contact voltage tester gives you peace of mind in seconds. It detects electromagnetic fields around live wires without even touching them. It’s the first line of defense against accidental shocks.
The Voltage Tester: Your Safety Gatekeeper
A non-contact voltage tester (NCVT) is simple. You bring it near a wire or outlet slot. If it beeps or lights up, there’s voltage present. If it stays silent, the wire is likely dead. But “likely” is the key word. These tools are great for initial checks, but they aren’t perfect. Low-voltage ghost readings can happen if a wire runs parallel to a live one. Always test the tester itself on a known live source first to make sure its batteries work.
| Feature | Voltage Tester (NCVT) | Multimeter |
|---|---|---|
| Primary Use | Confirming power is OFF | Measuring exact voltage/continuity |
| Safety Level | High (no contact needed) | Medium (requires probe contact) |
| Cost | $15 - $30 | $20 - $100+ |
| Complexity | Very Low | Moderate |
| Best For | Quick safety checks | Diagnosing wiring issues |
Use the NCVT before you unscrew anything. Hold it near the wires in the junction box. If it screams, stop. Go back to the breaker panel. Label every breaker until you find the one that kills the power. Don’t rely on memory. People mislabel breakers all the time. Test each one.
When You Need a Multimeter
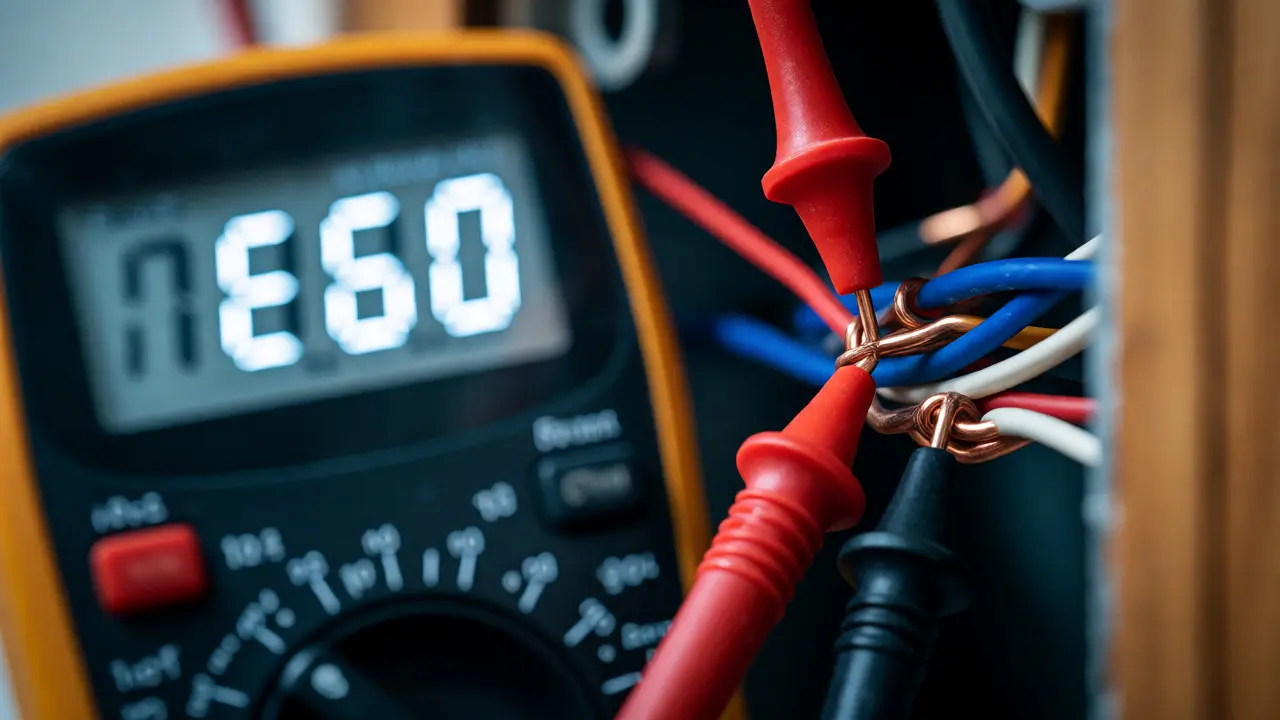
Once you’ve confirmed the power is off, you might still face confusion. Which wire is the load? Which is the line? This is where the multimeter shines. Unlike the NCVT, a multimeter measures specific values. It tells you exactly how many volts are flowing or if a wire connects continuously from end to end.
For smart installs, continuity mode is surprisingly useful. Say you have a three-way switch setup. One switch controls the light, but the other seems disconnected. Set your multimeter to continuity (the symbol looks like a sound wave). Touch one probe to the suspected traveler wire at one switch, and the other probe at the second switch. If it beeps, the wire is intact. If it doesn’t, you have a broken connection somewhere in the wall.
You can also use it to verify voltage after re-energizing the circuit. Connect your smart switch, turn the breaker on, and measure across the terminals. You should see 120V (in North America) or 230V (in Europe/Asia). If you see half that voltage, you might have a loose neutral or a bad connection. Catching this early saves you from calling an electrician later.
Step-by-Step: Testing Before You Install
Ready to install that smart dimmer? Follow this routine to stay safe and ensure compatibility:
- Turn off the breaker: Switch off the circuit breaker controlling the light fixture. Do not trust the light switch alone.
- Verify with NCVT: Open the switch plate. Hold the non-contact voltage tester near the black (hot) and red (traveler/load) wires. No beep means you’re good to go.
- Check for Neutral: Look for a bundle of white wires capped together in the back of the box. If you see white wires going into the switch, you have a neutral available. Many smart switches require this.
- Identify Line vs Load: If you’re unsure which black wire is coming from the panel (Line) and which goes to the light (Load), use the multimeter. With power off, disconnect both blacks. Turn power on briefly. Measure voltage between each black wire and ground. The one showing ~120V is Line. The one showing 0V is Load. Turn power off again immediately.
- Connect Smart Switch: Wire according to manufacturer instructions. Most modern smart switches use color-coded pigtails or clear labels.
- Final Test: Restore power. Use the multimeter to confirm proper voltage at the switch terminals. Test the app connectivity.
Common Pitfalls in Smart Wiring
Even with tools, mistakes happen. Here are the big ones I see in DIY projects:
- Assuming White is Always Neutral: In some older conduit systems, white wires were used as travelers in three-way switches. They might be marked with black tape. If you see tape on a white wire, treat it as hot, not neutral.
- Ignoring Ground Wires: Smart devices sometimes need a solid ground for surge protection. Ensure the green or bare copper wire is securely connected to the box or device.
- Overcrowded Boxes: Smart switches are bulkier than mechanical ones. If the box is too full, wires get pinched. Pinched wires can short out. Consider replacing shallow boxes with deeper ones if necessary.
- Floating Neutrals: If your smart switch flickers, you might have a floating neutral. This happens when the neutral path is interrupted. A multimeter will show inconsistent voltage readings here.
Choosing the Right Tools for the Job
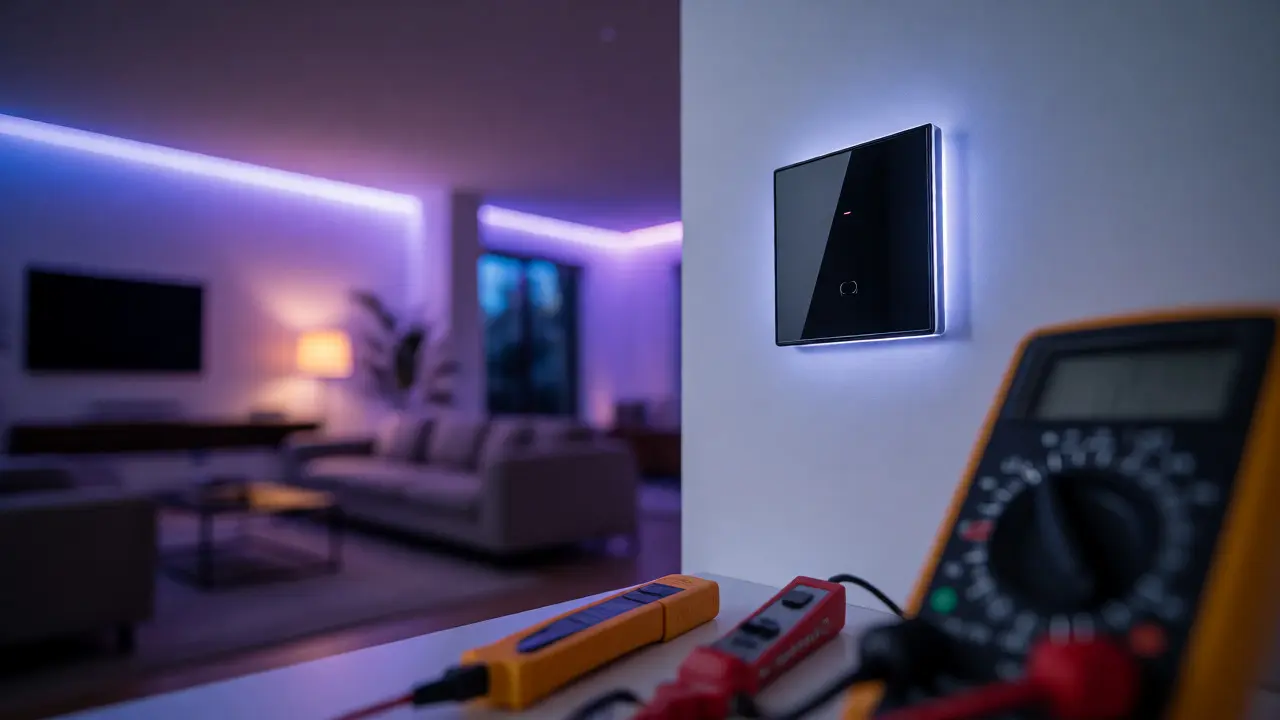
You don’t need professional-grade equipment costing hundreds of dollars. For home automation, reliability matters more than precision. Look for a voltage tester with a CAT III rating, which handles typical household surges better. Brands like Klein Tools, Fluke, and Sperry offer reliable options under $50.
For multimeters, choose one with auto-ranging capability. This means you don’t have to guess whether to set it to 20V or 200V. Just plug it in, and it finds the right scale. Features like True RMS are nice for measuring complex AC signals, but standard averaging is fine for basic home wiring. Ensure the probes have protective caps and insulated handles. Never use cheap, flimsy probes that slip easily.
Keep both tools in your toolbox. The voltage tester is for speed and safety. The multimeter is for diagnosis and verification. Together, they cover 95% of smart install scenarios. You rarely need an oscilloscope or clamp meter unless you’re dealing with noisy industrial environments or complex motor loads.
Troubleshooting After Installation
So you installed the switch, turned the power on, and… nothing works. Or the light buzzes. Or the app says “offline.” Before you rip everything apart, grab your multimeter.
Check the voltage at the switch input. If it’s zero, your breaker tripped or a wire came loose during tightening. If voltage is present but the light doesn’t work, check the output side. If output is low or erratic, the switch might be faulty or incompatible with the bulb type. LED bulbs sometimes require compatible dimmers. Check the manufacturer’s compatibility list.
If the smart hub can’t see the device, it’s usually a network issue, not electrical. But if the device resets randomly, check for voltage drops. Use the multimeter to measure voltage at the outlet powering the hub. If it dips below 110V when appliances kick on, you might have a weak circuit. This can cause Wi-Fi modules to reboot repeatedly.
Do I really need a multimeter for smart switches?
You don't strictly need one for simple swaps, but it saves massive frustration. A voltage tester confirms safety, but a multimeter identifies wire functions (line vs load) and diagnoses issues like loose neutrals. For complex setups like three-way switches, it's indispensable.
Can a non-contact voltage tester give false positives?
Yes. Ghost voltage can occur when a dead wire runs parallel to a live one, picking up an induced charge. Always verify with a multimeter if the reading seems suspicious, especially if the wire shouldn't be live.
What if my switch box has no neutral wire?
You have two options. Buy a smart switch specifically designed for no-neutral installations (like Lutron Caseta or Leviton Decora Smart). Alternatively, pull a neutral wire from the nearest junction box, though this requires opening walls.
Is it safe to test wires while the power is on?
With a non-contact tester, yes, because you don't touch the wire. With a multimeter, only touch the insulated probes, never the metal tips. Keep hands behind the probe guards. If you're uncomfortable, hire a pro.
Why does my smart light flicker after installation?
Flickering often indicates a missing neutral, incompatible LED bulbs, or a loose connection. Use your multimeter to check for consistent voltage. Try swapping bulbs to rule out LED driver issues.