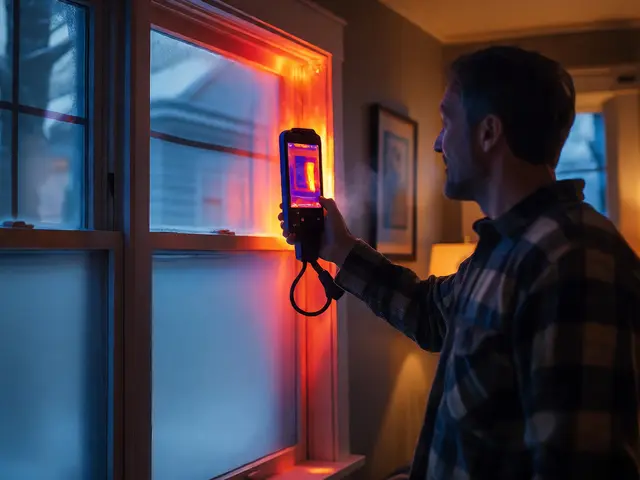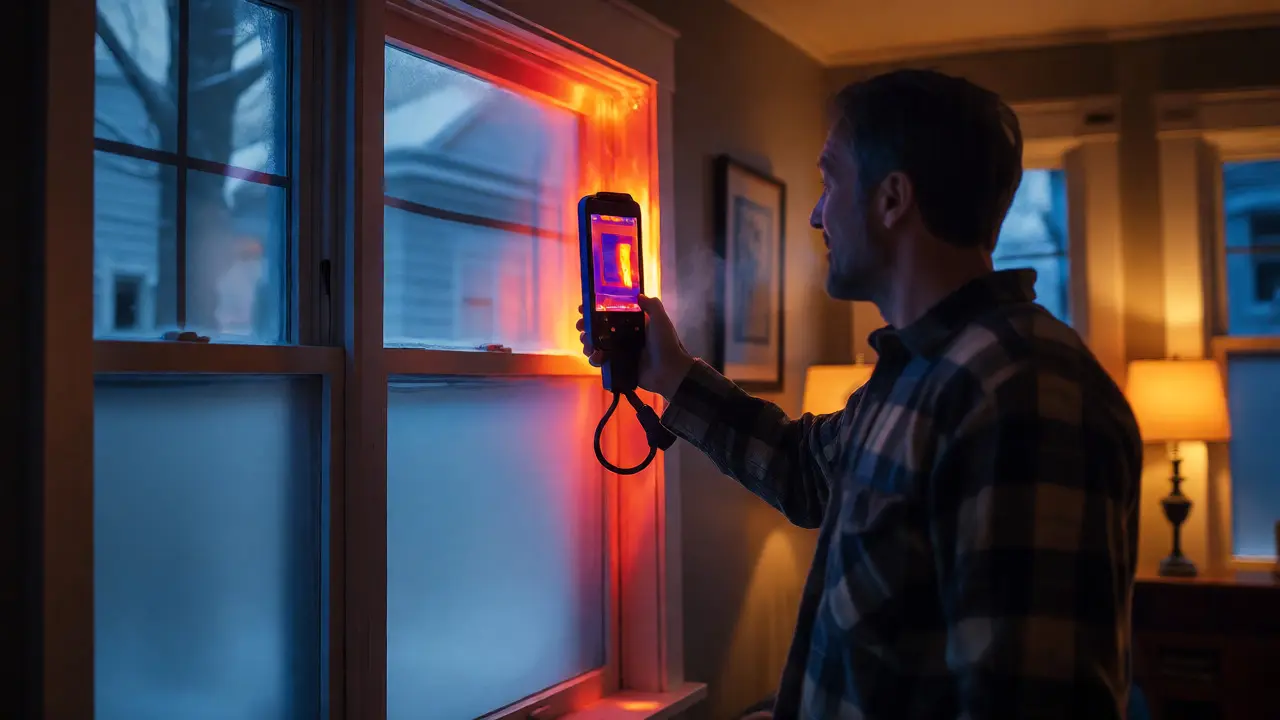
You walk into your living room on a freezing January night in Portland. The thermostat says 70 degrees, but you can see your breath. Where is the heat going? Is it leaking through the window frames, or is there a draft under the door? You could guess, buy weatherstripping, and hope for the best. Or, you could hold up a small device that turns invisible heat leaks into bright orange and red blobs. That’s thermal imaging, a technology that lets you see temperature differences without touching anything.
Most people think of thermal cameras as tools for firefighters hunting survivors or soldiers spotting enemies in the dark. But in recent years, prices have dropped so much that you can grab a decent smartphone attachment for under $200. This shift has turned thermal imaging from a niche industrial tool into a practical gadget for homeowners. It helps you find hidden problems before they become expensive repairs. From spotting insulation gaps to catching electrical faults, this tech gives you X-ray vision for your house’s energy flow.
What Thermal Imaging Actually Does
Thermal imaging detects infrared radiation emitted by objects based on their temperature. Everything above absolute zero emits heat. Cooler objects emit less; hotter ones emit more. A thermal camera doesn’t take a picture of light like your phone does. Instead, it measures this radiation and translates it into a color map. Hot spots appear white, yellow, or red. Cold areas show up as blue or purple. Middle temperatures are green or black, depending on the palette you choose.
This isn’t just about seeing heat. It’s about seeing anomalies. Your wall looks uniform to the eye. But if there’s a void behind the drywall where insulation fell out, that spot will be colder in winter and hotter in summer. The camera reveals what’s hiding beneath the surface. It’s non-invasive, meaning you don’t need to tear down walls to find the source of a problem. You just scan, observe, and act.
| Visual Indicator | Possible Cause | Action Required |
|---|---|---|
| Bright red/orange streaks on exterior walls (winter) | Missing or compressed insulation | Add blown-in insulation or seal gaps |
| Cold blue patches around windows | Failed seals or air leakage | Re-caulk or replace window units |
| Hot spots on circuit breaker panel | Loose connections or overloaded circuits | Call an electrician immediately |
| Damp, cool areas on ceilings/walls | Hidden water leaks or condensation | Inspect roof/plumbing; check ventilation |
Finding Energy Leaks Before Winter Hits
In the Pacific Northwest, heating bills are a major household expense. If your home is poorly insulated, you’re essentially paying to heat the street outside. Thermal imaging makes these leaks undeniable. When you scan your interior walls during cold weather, look for consistent vertical lines of cold. These often indicate missing insulation between studs. Horizontal bands might suggest settled insulation in older homes with blown-in fill.
Windows and doors are the usual suspects. Run your camera along the frames. If you see sharp gradients-where the glass is cold but the frame is warm, or vice versa-you’ve found an air leak. Sometimes, the issue isn’t the window itself but the flashing around it. In older Portland craftsman homes, original wood frames can warp over time, creating gaps that standard caulking won’t fix. A thermal scan tells you exactly where to apply sealant, saving you from guessing games.
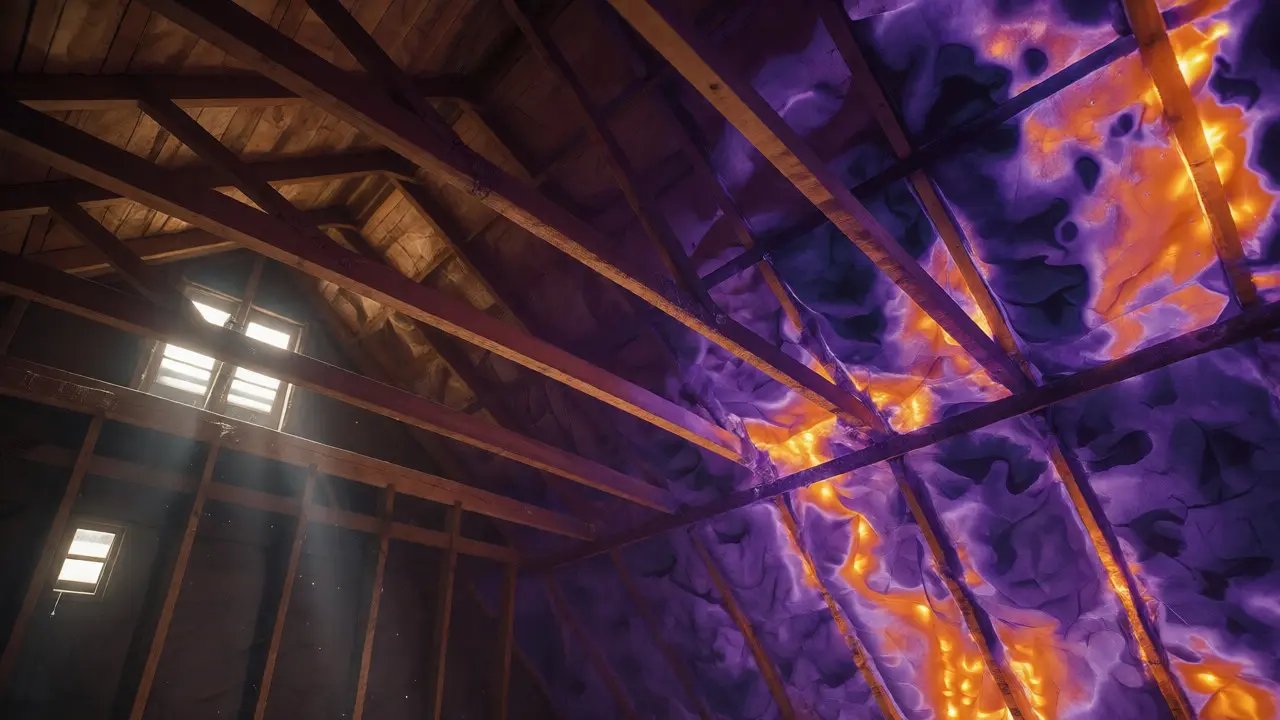
Don’t forget the attic. Heat rises, so most energy loss happens at the top of your house. Scan your ceiling from below. Large, irregular cold patches usually mean thin or displaced insulation. If you see distinct patterns matching the joists, your insulation might be too shallow. This visual data helps you decide whether to add more batt insulation or hire a pro for spray foam. It removes the uncertainty from the decision-making process.
Spotting Water Intrusion Early
Water damage is sneaky. By the time you see a brown stain on your ceiling, the rot has likely been spreading for weeks. Thermal imaging catches moisture early because wet materials conduct heat differently than dry ones. In most cases, damp areas appear cooler than surrounding dry surfaces due to evaporative cooling. However, in some conditions, they might appear warmer. Context matters.
Use your camera after running a shower or doing laundry. Check the bathroom walls and floors. If you see a cool halo around the tub or toilet base, you might have a failing seal. Scan under sinks where pipes run. A cold trail following a pipe path suggests a slow leak. For roofs, scanning the underside of the deck in the attic can reveal wet rafters before they sag. Catching this early saves thousands in structural repairs and mold remediation costs.
Electrical Safety Checks
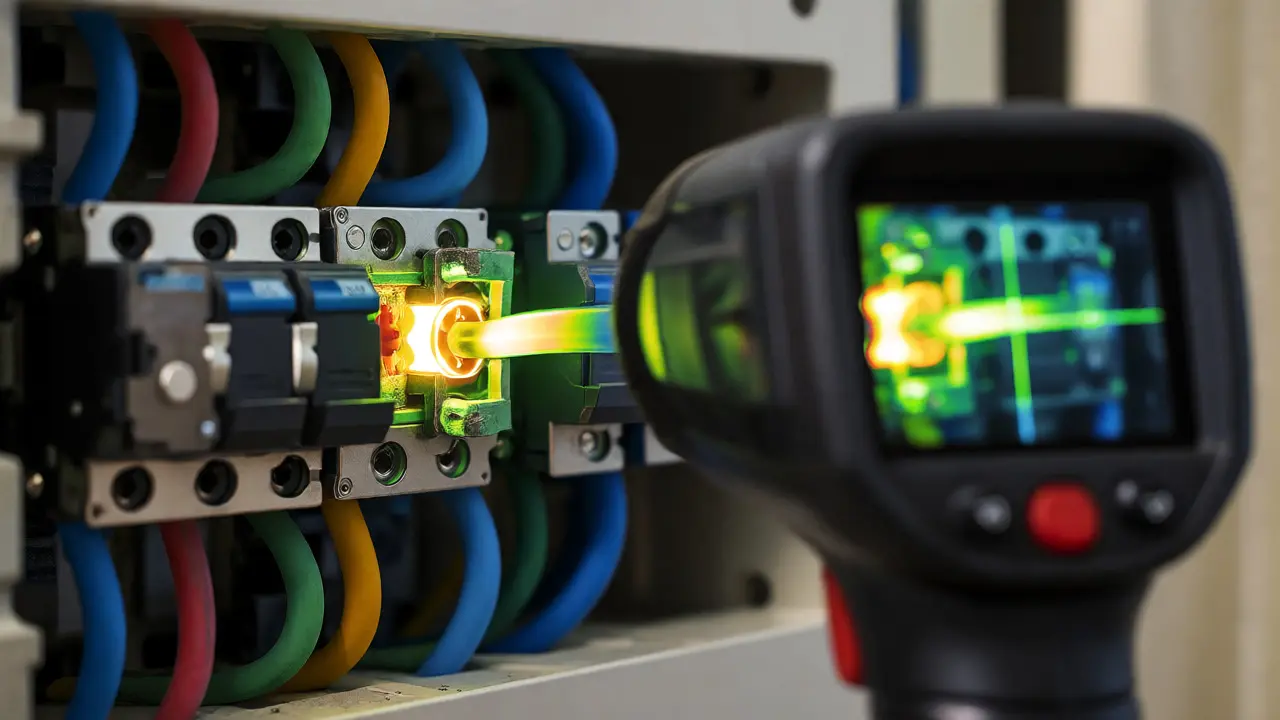
Electrical fires often start with loose connections. Friction generates heat. A tight connection stays relatively cool. A loose one heats up significantly under load. Thermal imaging is the perfect tool for spotting these hotspots before they melt insulation or ignite nearby materials.
Open your main service panel carefully. Use a long-range lens if possible to keep a safe distance. Scan each breaker and wire terminal. One breaker running slightly warmer than others might just be handling more load-that’s normal. But if one side of a two-pole breaker is significantly hotter than the other, or if a neutral bus bar glows red, you have a problem. This is especially critical in older homes with aluminum wiring, which is prone to oxidation and loosening. If you see intense heat, shut off the circuit and call a licensed electrician. Do not try to tighten terminals yourself unless you know what you’re doing.
Choosing the Right Gear
You don’t need a military-grade FLIR system costing $5,000. For residential use, three categories of devices work well:
- Smartphone Attachments: Brands like FLIR ONE or Seek Thermal plug into your USB-C or Lightning port. They offer lower resolution (around 160x120 pixels) but are incredibly convenient. Great for quick checks of windows and outlets.
- Standalone Handheld Units: Devices like the FLIR C5 or Klein Tools IR5 have built-in screens and better resolution (up to 320x240). They’re more durable and don’t drain your phone battery. Ideal for serious DIYers.
- Professional Grade: High-end models from Fluke or Testo offer precise temperature measurements and advanced analysis software. Overkill for most homeowners, but useful if you run a maintenance business.
When buying, check the NETD (Noise Equivalent Temperature Difference). Lower numbers mean better sensitivity. Anything under 50mK is good for home inspections. Also, ensure the device allows you to save images with temperature readings. Visual proof is valuable when hiring contractors or filing insurance claims.
Pro Tips for Accurate Scans
Thermal cameras aren’t magic wands. Garbage in, garbage out. To get reliable results, follow these rules:
- Wait for temperature differential: You need at least a 15-20 degree difference between inside and outside for clear thermal contrast. Scanning in mild spring weather yields poor results.
- Turn off HVAC systems: Forced air moves heat around, blurring thermal boundaries. Turn off furnaces and AC units an hour before scanning.
- Avoid reflective surfaces: Glass reflects thermal energy rather than transmitting it. You’ll see your own reflection instead of the window’s temperature. Use tape or plastic film to cover glass for accurate readings.
- Calibrate emissivity: Most materials have high emissivity (they radiate heat well), but shiny metals reflect. Adjust your camera settings if possible, or avoid scanning bare metal pipes directly.
Can thermal imaging detect bed bugs?
Indirectly, yes. Bed bug infestations generate body heat. A cluster of bugs in a mattress seam or box spring may appear as a small warm spot against the cooler fabric. However, thermal imaging alone isn’t definitive. You still need physical inspection to confirm the presence of insects, eggs, or droppings. It’s best used to narrow down search areas in large rooms.
Is thermal imaging safe for pets and children?
Absolutely. Thermal cameras passively receive infrared radiation. They do not emit lasers, X-rays, or any harmful energy. They are completely safe to use around anyone, including infants and animals. Just be careful not to point a laser pointer (if your device has one) directly into eyes, but the imaging sensor itself poses no risk.
Why does my thermal image look blurry compared to my phone photo?
Resolution differences. Smartphone cameras have millions of pixels. Consumer thermal sensors typically range from 80x60 to 320x240 pixels. This low pixel count creates a blocky or soft appearance. Higher-end professional units cost exponentially more to achieve sharper detail. For identifying general hot/cold zones, the blur doesn’t matter much.
Can I use thermal imaging to find studs in the wall?
Yes, but only under specific conditions. After turning on the heater, wait for the wall to warm up. Studs transfer heat faster than the hollow spaces between them. This creates a subtle pattern of alternating warm and cool vertical stripes. Once the wall reaches equilibrium, the pattern disappears. Timing is key here.
Do thermal cameras work in total darkness?
Yes. Since they rely on heat emission rather than visible light, ambient lighting doesn’t affect performance. You can scan a pitch-black attic or basement just as effectively as a sunlit room. This makes them excellent for nighttime security checks or inspecting unlit crawl spaces.