Quick Wins for Energy Syncing
- Solar Alignment: Shift heavy cooling/heating loads to the middle of the day when solar production peaks.
- DR Enrollment: Join utility programs that pay you to reduce power during peak hours.
- Thermal Storage: Use your home's mass to store "coolness" or "warmth" using cheap solar energy.
- Automation: Use triggers so your AC kicks in only when solar output exceeds a specific kilowatt threshold.
The Trifecta: Solar, Smart Tech, and the Grid
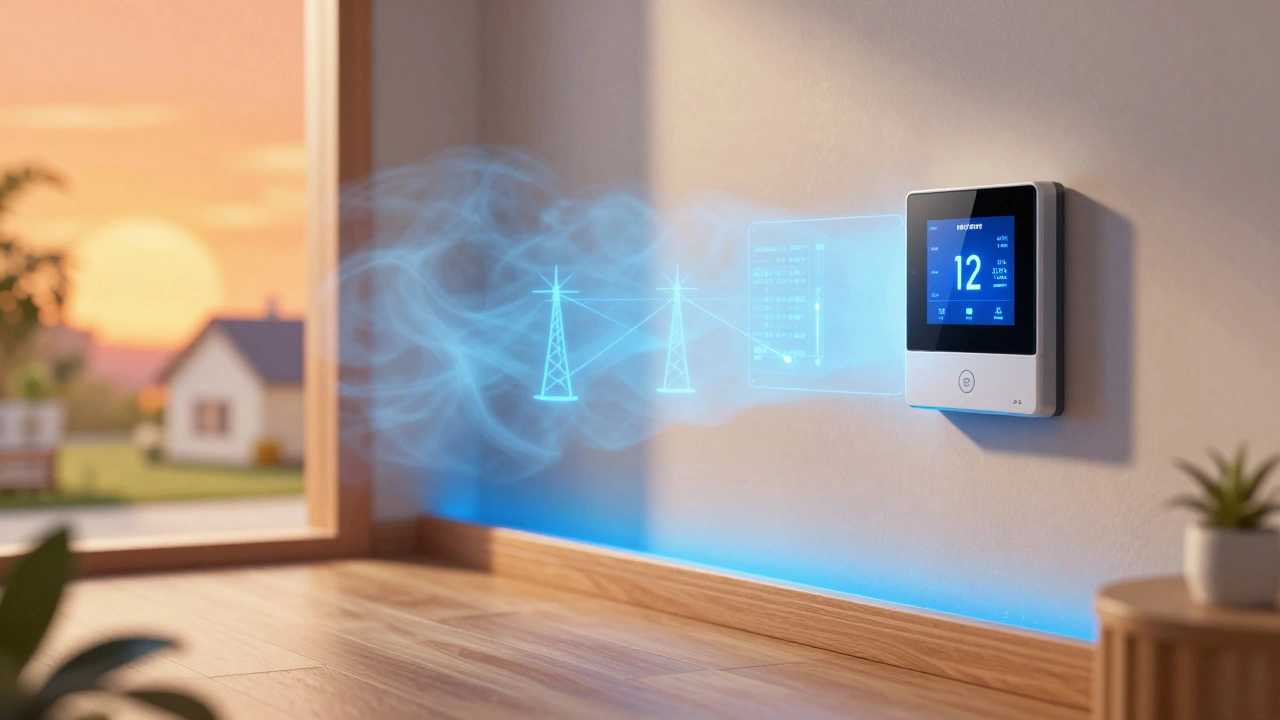
To get this working, you first need to understand the players. You have your Solar Panels, which are your energy generators. Then you have your smart thermostat, which is the brain. Finally, there is Demand Response (DR), which is essentially a deal you make with your power company. In a typical DR setup, the utility company asks you to curb power during a "grid event" to avoid overloading the system. In exchange, they usually give you a credit on your bill or a cash incentive.
The magic happens when the thermostat knows both what the sun is doing and what the grid needs. Without this integration, you might be selling your solar power back to the grid at a low rate while paying a premium to run your AC at night. By syncing them, you prioritize "self-consumption." This means you use your own generated electricity first, which is always cheaper than buying it from the utility, regardless of the rate.
Turning Your Home Into a Thermal Battery
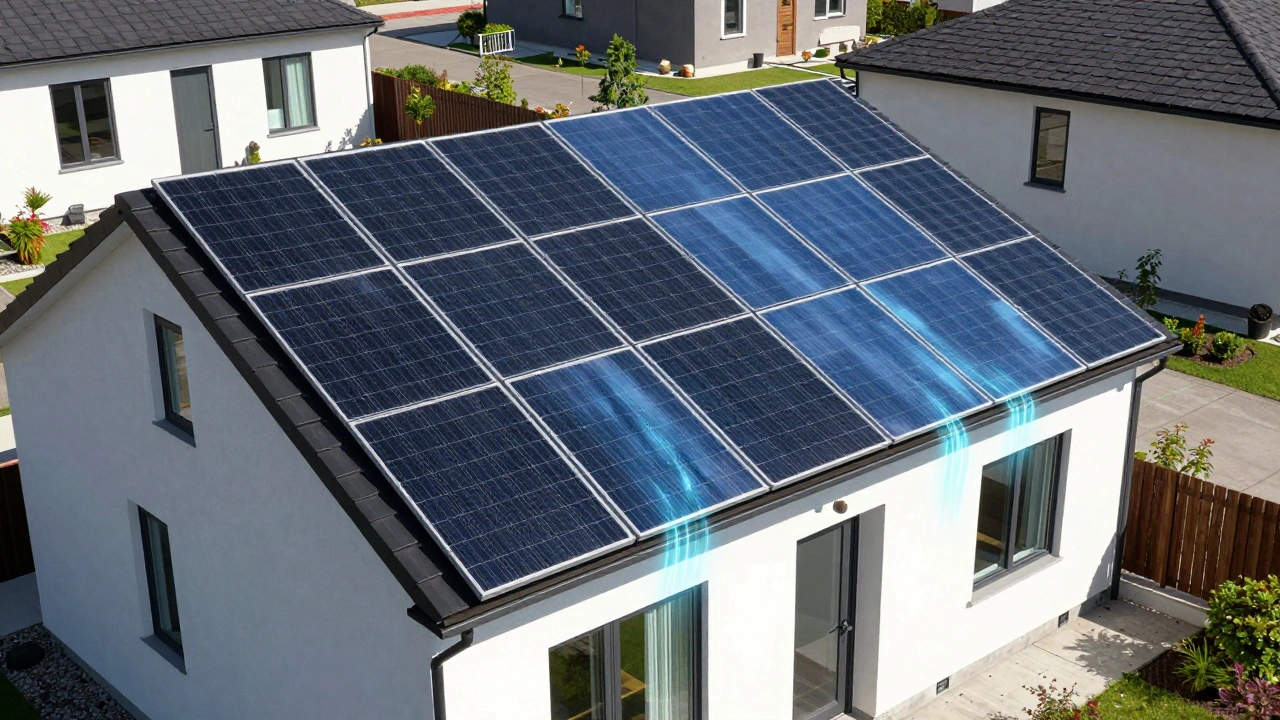
Most people think of batteries as chemical cells in a garage, like a Tesla Powerwall. But your walls, furniture, and air actually act as a thermal battery. This is a concept called "load shifting." If you have a high-efficiency home, you can "over-cool" or "over-heat" your space by a few degrees during the peak of the day when your solar panels are producing maximum wattage.
For example, if you live in a sunny spot and your panels are pumping out 6kW at noon, but your house only needs 2kW to run everything, you have 4kW of "waste." Instead of sending that to the grid, you tell your smart thermostat to drop the temperature to 65°F. By 5 PM, when the sun goes down and the grid enters a Demand Response event, your thermostat can let the house drift up to 74°F. Because you pre-cooled the home, the AC won't need to kick in for hours, effectively using the stored cold air as a battery.
| Strategy | Primary Goal | Requirement | Financial Impact |
|---|---|---|---|
| Passive Solar | Reduce Heating/Cooling | Proper Insulation | Low monthly bills |
| Standard Smart Control | User Comfort/Convenience | WiFi Thermostat | Moderate savings |
| Integrated DR + Solar | Grid Stability & Max ROI | Smart Meter + Solar + DR Agreement | High (Incentives + Low Rates) |
How to Set Up Your Demand Response Workflow
Getting started isn't as simple as flipping a switch, but it's manageable if you follow a specific order. First, check your utility's "Demand Response" or "Smart Rewards" page. Most major providers now offer programs where they can remotely adjust your thermostat by 2-4 degrees during emergencies. If you sign up, you often get a sign-up bonus or a monthly credit.
Next, you need a thermostat that supports "Grid-Interactive Efficient Buildings" (GEB) standards. Look for devices that integrate with Home Assistant or have direct API connections to your solar inverter. If your thermostat is a "closed" system, you might need a bridge like a smart home hub to link your solar production data to your temperature settings.
Once the hardware is linked, set up your logic. A simple rule would be: "If solar production > 3kW AND outdoor temp > 80°F, set AC to 68°F." This ensures you aren't wasting energy when the sun isn't shining, but you're maximizing your free energy when it is. This approach turns your HVAC system into a flexible load that helps the grid breathe.

Avoiding the Common Pitfalls of Automation
It sounds perfect, but there are a few ways this can go wrong. The biggest mistake is "fighting the thermostat." This happens when the DR program raises your temperature to 78°F to save the grid, but you get uncomfortable and manually override it to 68°F. When you do this, you often lose the incentive credit for that event and potentially pay a "peak demand" surcharge.
Another issue is ignoring the "rebound effect." If you let your house get too hot during a DR event, your AC has to work twice as hard to cool it back down later. This can actually use more energy than you saved. The trick is to use your solar power to pre-cool the home *before* the event starts. If you know the grid event is from 4 PM to 7 PM, start your solar-powered cooling at 1 PM. This creates a buffer that makes the temperature rise much slower.
The Bigger Picture: Virtual Power Plants
When you combine your smart thermostat and solar with thousands of other homes, you're participating in what's called a Virtual Power Plant (VPP). Instead of the city building a massive, expensive new gas plant to handle peak summer loads, they use a network of smart homes to reduce demand.
In some regions, VPPs are now paying homeowners not just in credits, but in actual cash. They essentially rent your thermostat's ability to be flexible. This shifts the role of the homeowner from a passive consumer to a "prosumer"-someone who both produces and manages energy. As we move toward 2027 and beyond, this will likely become the standard way we interact with the electrical grid.
Will my house get too hot during a Demand Response event?
Usually, no. Most DR programs only shift the temperature by 2 to 4 degrees. If you use solar to pre-cool your home before the event begins, you'll barely notice the change. Most smart thermostats also allow you to "opt-out" of a specific event if you have guests over or if it's an extreme heatwave.
Do I need a home battery to make this work?
You don't need a chemical battery like a Powerwall, although it helps. The strategy described here uses "thermal storage," where the cooled air in your home acts as the battery. However, having a physical battery gives you more flexibility to power other appliances during DR events.
Which smart thermostats are best for solar integration?
Look for thermostats that offer open APIs or integrate with platforms like Home Assistant. Brands that partner directly with utility companies for DR programs are generally easier to set up. Ensure the device supports "scheduling" and "remote overrides" so you can automate the pre-cooling process.
How much money can I actually save?
Savings vary by region and utility plan. Between the DR incentives (which can be $50-$150 per year) and the increased self-consumption of solar power (avoiding peak rates), many homeowners see a significant drop in their annual energy costs, sometimes reducing cooling costs by 20% or more.
Is this a lot of work to maintain?
The hardest part is the initial setup-linking your solar inverter data to your thermostat. Once your automation rules are set (e.g., "Pre-cool when solar is high"), it runs in the background. You only need to check in during extreme weather or when your utility notifies you of a major grid event.
Next Steps for Different Homeowners
For the Beginner: Start by calling your utility company. Ask about "Demand Response" or "Smart AC" programs. This is the easiest way to start earning credits without needing complex automation.
For the Solar Owner: Check your inverter's app. See when your peak production occurs. Try manually lowering your thermostat by 3 degrees during those peak hours to see how long your home holds the temperature.
For the Tech Enthusiast: Install a hub like Home Assistant. Connect your solar production API and your thermostat API. Create a script that automatically triggers "Cooling Mode" whenever your solar export hits a certain wattage threshold.