Ever looked at your old, clunky dial thermostat and wondered if swapping it for a sleek Smart Thermostat is actually worth the hassle? You’re not alone. Many homeowners hesitate because they fear tangled wires or blowing a fuse. But here’s the truth: if you can change a lightbulb, you can install a smart thermostat. It’s one of the highest-impact upgrades you can make to your home’s comfort and energy bill. In fact, the U.S. Department of Energy estimates that smart thermostats can save you about 8% on heating and cooling costs annually. That’s real money back in your pocket, just for following a few logical steps.
This guide cuts through the confusion. We’ll walk you through exactly what you need, how to decode those scary-looking wires, and how to mount the new device without calling a pro. Whether you’re eyeing a Nest Learning Thermostat or an Ecobee SmartThermostat, the core process is remarkably similar. Let’s get your home smarter, one screw at a time.
Why Upgrade to a Smart Thermostat?
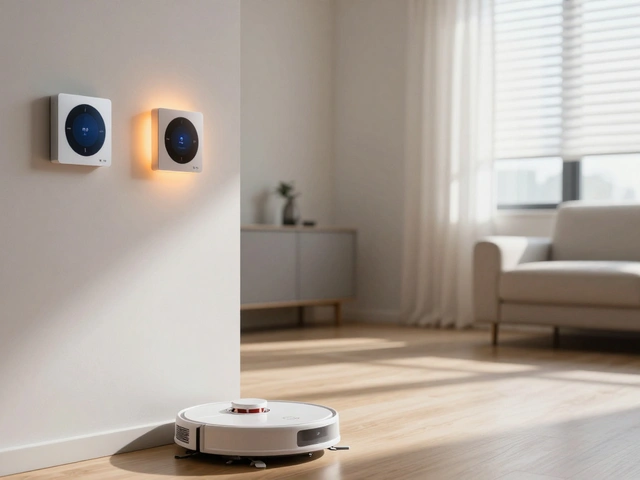
Before we grab the screwdriver, let’s talk about why this upgrade matters. Traditional thermostats are dumb devices-they only know what temperature you set them to. A Smart Thermostat is different. It connects to your Wi-Fi network, learns your schedule, and adjusts temperatures automatically. Some models even detect when you’re away using geofencing via your smartphone.
The benefits go beyond convenience. By optimizing heating and cooling cycles, these devices reduce energy waste. For instance, if you leave for work at 8 AM but forget to adjust the heat, a smart thermostat will lower it after detecting no motion. When you return, it pre-heats the house so you walk into comfort, not a cold shock. This efficiency translates directly to lower utility bills and a smaller carbon footprint.
Pre-Installation Checklist: What You Need
Flying blind leads to frustration. Before you start, gather the right tools and check compatibility. Not every smart thermostat works with every HVAC system. If you have a high-voltage system (common in older homes with electric baseboard heaters), standard low-voltage smart thermostats won’t work without a transformer.
- Compatibility Check: Use the manufacturer’s online compatibility checker. Enter your current thermostat model and HVAC type.
- Tools: Small flathead and Phillips head screwdrivers, a drill (if mounting new plates), and a level.
- Phone App: Download the app for your chosen thermostat (e.g., Nest, Ecobee, Honeywell Home) before starting. You’ll need it for setup.
- Wi-Fi Password: Have your 2.4 GHz Wi-Fi password ready. Most smart thermostats do not support 5 GHz bands.
Step 1: Power Down and Remove the Old Unit
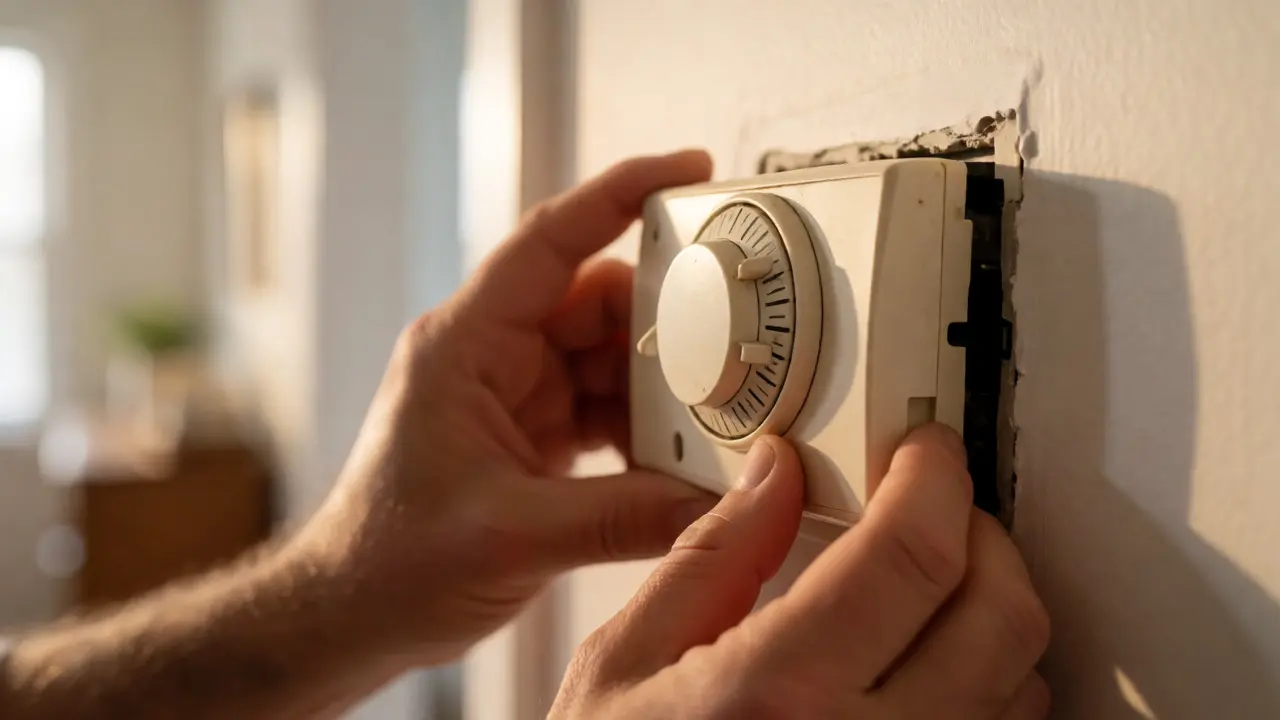
Safety first. Go to your circuit breaker panel and switch off the power to your furnace or air handler. Don’t skip this step-working with live wires can short out your HVAC board. Once the power is off, pull the front faceplate of your old thermostat. Most snap off easily; some require unscrewing two small screws.
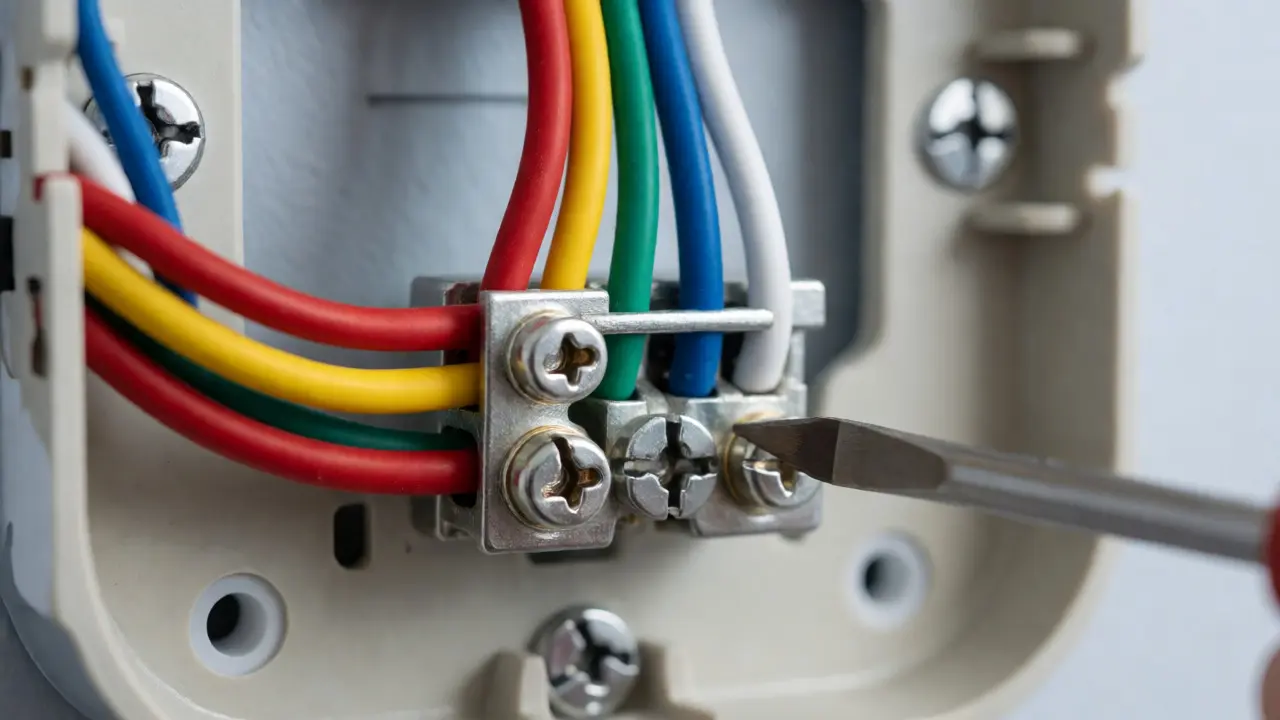
Now comes the critical part: documenting the wiring. Do not rely on memory. Take clear photos of the wire connections from multiple angles. Label each wire with the tape provided in your new kit. Write down which terminal each wire connects to (e.g., R, W, Y, G, C). If you miss this, re-wiring becomes a guessing game later.
Step 2: Decoding Your Wiring
Here’s where most people panic. Don’t. Thermostat wires follow a color code, though it’s not always perfect. The most common terminals are:
| Terminal | Typical Color | Function |
|---|---|---|
| R (or Rh/Rc) | Red | Power supply (24V AC) |
| W | White | Heat call |
| Y | Yellow | Cooling call |
| G | Green | Fan control |
| C | Blue | Common wire (power source) |
Notice the C-wire. This “Common” wire provides continuous power to the thermostat. Older systems often lack this wire because mechanical thermostats didn’t need constant power. If you don’t have a C-wire, you might need an adapter kit (like the Nest Power Connector) or run a new wire from the furnace. Without a C-wire, your battery-powered smart thermostat might drain quickly or fail to connect to Wi-Fi reliably.
Step 3: Mount the Base Plate
With the old unit gone, you’ll see a hole in the wall. Clean it up. If the new thermostat’s base plate doesn’t cover the old holes, use the included anchors. Hold the base plate against the wall, ensuring it’s level. Mark the screw holes, drill pilot holes if necessary, and secure the plate. Make sure the wires feed neatly through the center opening without pinching.
Tuck excess wire length behind the wall if possible. You want a clean look, but more importantly, you want to avoid crushing the copper strands when you attach the connectors. Loose strands can cause shorts, so twist them tightly before inserting them into the new terminals.
Step 4: Connect the Wires
Refer to your photos and labels. Insert each wire into its corresponding terminal on the new base plate. Push firmly until you feel a click or tight resistance. Give each wire a gentle tug to ensure it’s seated properly. Double-check against the manufacturer’s diagram. A loose connection is the #1 cause of post-installation issues like “no heat” or “no cool.”
If you have a dual-fuel system (heat pump + auxiliary heat), pay close attention to O/B wire configuration. This controls reversing valves. Getting this wrong means your heat pump blows hot air when you want cold, and vice versa. Most apps ask you to confirm your system type during setup, but physical wiring must match too.
Step 5: Attach the Display and Power Up
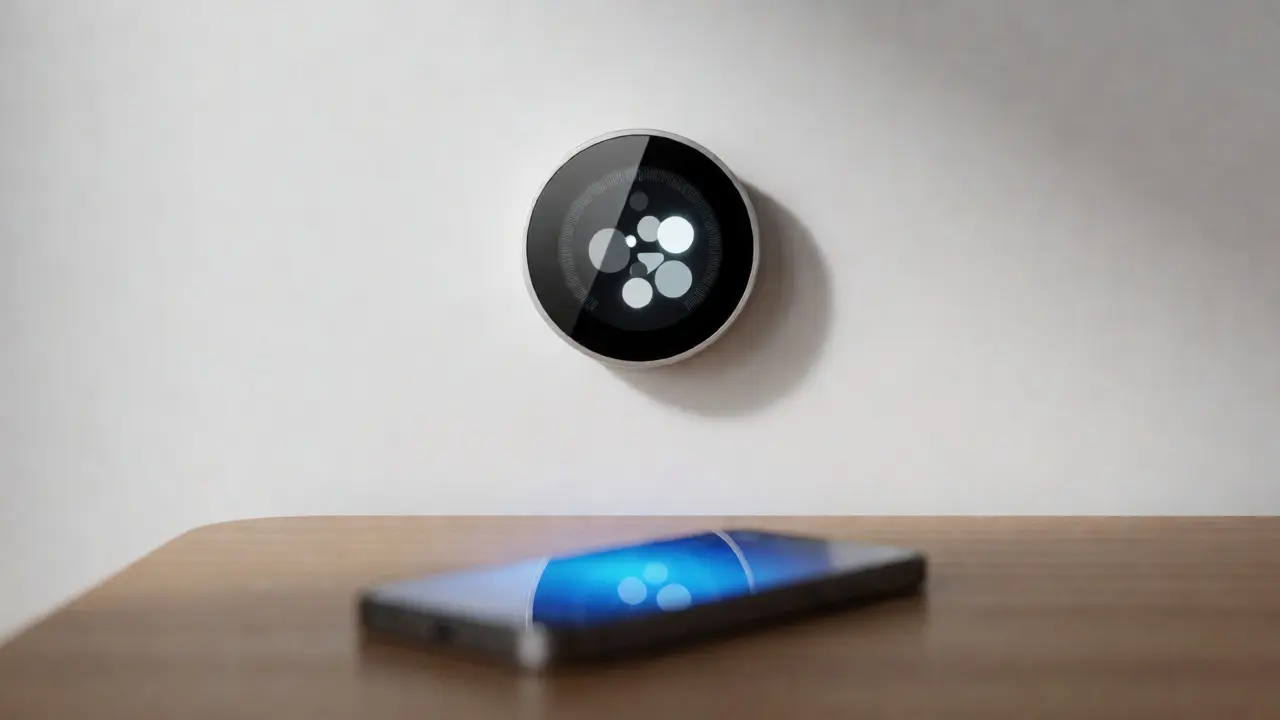
Clip the display unit onto the base plate. It should snap securely. Now, go back to your breaker panel and turn the power back on. The screen should light up immediately. If it doesn’t, check your connections again. Is the C-wire connected? Is the R-wire receiving power?
Once powered, follow the on-screen prompts. Select your language, choose your Wi-Fi network, and enter the password. The thermostat will likely perform a self-test, cycling your fan and compressor briefly. This is normal. It’s checking communication between the thermostat and your HVAC equipment.
Step 6: Configure Settings in the App
Open the mobile app. Create an account if you haven’t already. Link the thermostat by scanning a QR code or entering a pairing code. Name your thermostat (e.g., “Living Room”) and set your location for weather data accuracy.
Configure your preferences:
- Schedule: Set wake, sleep, and away times.
- Geofencing: Enable location services so the thermostat knows when you’re leaving.
- Energy Reports: Turn on monthly usage summaries to track savings.
Take a moment to test manual overrides. Adjust the temperature up and down. Listen for the HVAC system to kick in. If everything responds correctly, you’re done. You’ve just joined the ranks of smart-home owners who save money while staying comfortable.
Troubleshooting Common Issues
Did something go wrong? Here are quick fixes:
- No Power: Check the breaker. Ensure the C-wire is connected. Verify the R-wire has voltage.
- Wi-Fi Won’t Connect: Move the router closer temporarily. Forget the network on your phone and reconnect. Restart the thermostat.
- Short Cycling: If the HVAC turns on/off rapidly, check for loose wires or incorrect system settings in the app.
- Battery Drain: If using a battery model without a C-wire, replace batteries every 3-6 months or install a C-wire adapter.
Do I really need a C-wire for a smart thermostat?
Not always, but it’s highly recommended. The C-wire provides continuous 24V power, allowing features like Wi-Fi connectivity and large touchscreens to function without draining batteries. If you lack a C-wire, many brands offer adapters (like the Nest Power Connector) that draw power from other wires, though performance may vary.
What if my old thermostat had no labels on the wires?
If the wires weren’t labeled, take photos before disconnecting them. If you’ve already disconnected them, trace the wires back to the furnace or air handler. Look for markings on the HVAC control board (e.g., Rc, Wh, Yl) to identify their functions. Color coding can be unreliable, so tracing is safer.
Can I install a smart thermostat myself if I have a heat pump?
Yes, but pay extra attention to the O/B wire. This wire controls the reversing valve for heating and cooling modes. Incorrect wiring can cause the system to blow warm air in summer or cold air in winter. Consult your specific thermostat’s guide for heat pump configurations, as some allow software inversion of the O/B setting.
How long does the installation typically take?
For most homeowners, the physical installation takes 30 to 60 minutes. Adding time for app setup, firmware updates, and troubleshooting Wi-Fi connections, budget about 90 minutes total. First-time installs may take longer if you encounter unexpected wiring issues.
Will a smart thermostat work with my old furnace?
Most modern smart thermostats are compatible with gas, electric, and oil furnaces manufactured in the last 30 years. They operate on low-voltage systems (24V). However, very old systems (pre-1970s) or high-voltage line-voltage systems (often found with electric baseboards) may require special adapters or a different type of smart thermostat.