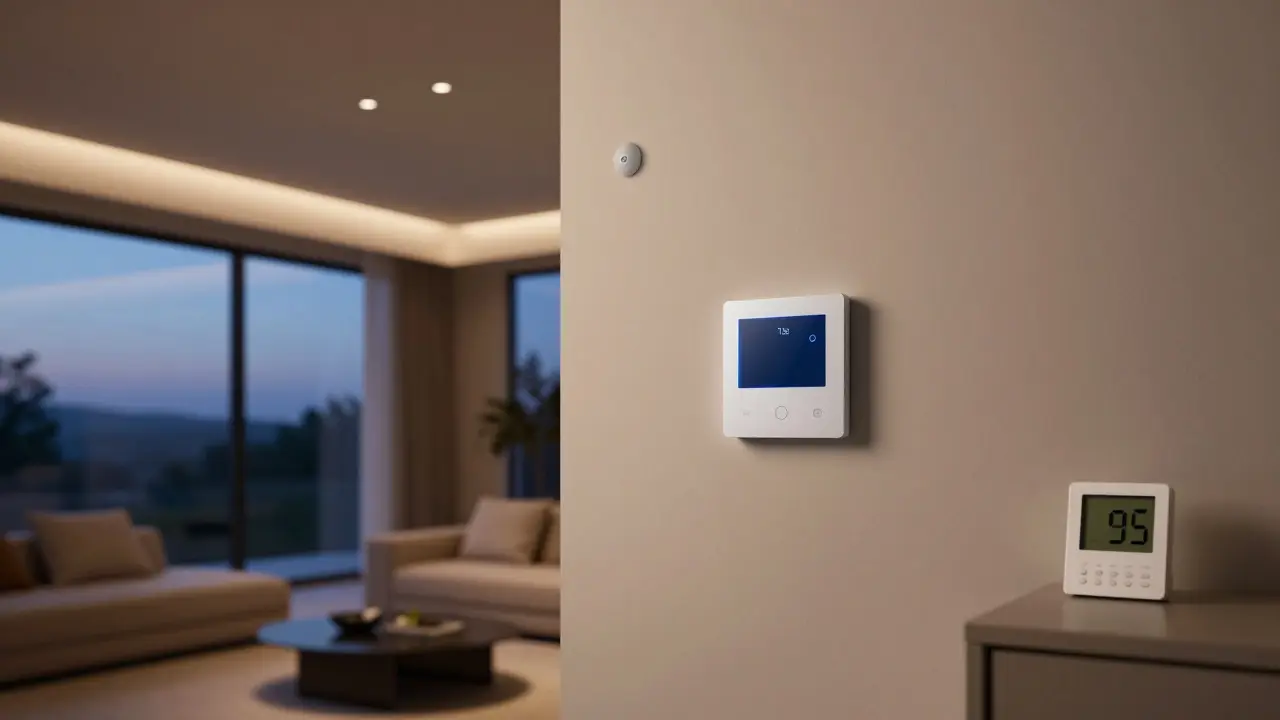
Imagine your house reacting to the weather before you even check the forecast. It’s not magic; it’s sensor-triggered automation. This technology bridges the gap between physical reality and digital action, allowing devices to respond instantly to changes in temperature, humidity, light, or motion. Instead of manually adjusting settings every time the environment shifts, you set up rules once, and your system handles the rest.
For homeowners and tech enthusiasts, this is the difference between a "smart" device that waits for commands and an intelligent ecosystem that anticipates needs. Whether you want to prevent mold from forming in a damp basement or ensure your garden gets watered only when the soil is dry, understanding how these triggers work is essential. Let’s break down how to build reliable, responsive automations that actually make life easier without constant tweaking.
How Sensor Triggers Actually Work
At its core, sensor-triggered automation relies on a simple loop: detect, evaluate, act. A sensor collects data from the environment-like a thermostat reading 72°F or a motion detector sensing movement. This data is sent to a central hub, such as a home controller or cloud service. The hub then compares this data against a rule you’ve defined. If the condition matches, it sends a command to an actuator, like a valve, light, or fan.
The key here is precision. Unlike manual controls, which rely on human perception, sensors provide objective data. However, raw data can be noisy. A sudden spike in temperature might just be a draft, not a genuine change in room conditions. To handle this, most modern systems use debouncing or averaging techniques. For example, instead of triggering an alarm if the temperature rises by 1 degree for one second, the system waits for that change to persist for five minutes. This prevents false positives and saves battery life on wireless devices.
- Detection: The sensor measures a specific variable (e.g., humidity level).
- Evaluation: The hub checks if the value crosses a threshold (e.g., above 60%).
- Action: The hub triggers a response (e.g., turn on dehumidifier).
- Feedback: The system monitors the result to confirm the change occurred.
Choosing the Right Sensors for Your Environment
Not all sensors are created equal. Picking the wrong type can lead to inaccurate readings or unnecessary complexity. When selecting hardware, consider the environment where the sensor will live. A bathroom requires moisture-resistant components, while an attic might need high-temperature tolerance.
Here are the most common types of environmental sensors and their best use cases:
| Sensor Type | Measures | Ideal Use Case | Accuracy Range |
|---|---|---|---|
| Thermostat | Air Temperature | HVAC control, comfort zones | ±0.5°C / ±1°F |
| Hygrometer | Relative Humidity | Mold prevention, drying clothes | ±3% RH |
| PIR Motion Sensor | Infrared Heat/Movement | Security lighting, energy saving | Detects motion within 90° field |
| Soil Moisture Probe | Water Content in Soil | Automated irrigation, plant care | 0-100% VWC (Volume Water Content) |
| CO2 Monitor | Carbon Dioxide Levels | Ventilation, air quality management | 400-5000 ppm |
When installing these devices, placement matters more than brand name. A temperature sensor placed near a window will read outdoor influences, skewing your indoor averages. Keep sensors away from direct sunlight, heat sources like radiators, and drafts. For humidity sensors, avoid placing them in bathrooms unless they are specifically rated for high-moisture environments, as condensation can damage internal electronics over time.

Designing Effective Conditional Logic
This is where many users stumble. Setting a simple "if X then Y" rule is easy, but real-world scenarios are rarely that linear. You need to think about context. Do you want the lights to turn on at night if someone walks into the hallway? Yes. But what if it’s daytime? Probably not. This is where adding secondary conditions comes in.
Consider using hysteresis, a technique borrowed from engineering. Imagine you have a heating system that turns on when the temperature drops below 68°F. Without hysteresis, if the temperature fluctuates slightly around 68°F, the heater would cycle on and off constantly, wearing out the equipment. With hysteresis, you set two thresholds: turn on at 68°F, but don’t turn off until it reaches 70°F. This buffer zone ensures stable operation.
- Define the Trigger: What specific change initiates the action? (e.g., Humidity > 65%)
- Add Context Filters: When should this apply? (e.g., Only between 10 PM and 6 AM)
- Set Hysteresis Limits: Define the range where no action occurs to prevent rapid cycling.
- Choose the Action: What device responds? (e.g., Turn on Dehumidifier)
- Set Duration or Stop Condition: How long does the action last? (e.g., Until humidity drops below 55%)
By layering these conditions, you create robust automations that feel intuitive rather than robotic. The goal is to make the system invisible-it works so well you forget it’s there.
Common Pitfalls and How to Avoid Them
Even with the right hardware and logic, things can go wrong. Here are the most frequent issues people face when setting up sensor-based responses:
Network Latency: If your sensors rely on Wi-Fi, packet loss can delay triggers. A motion light that takes three seconds to turn on feels broken. For time-sensitive actions, consider using local protocols like Zigbee or Z-Wave, which operate independently of your internet connection. These technologies offer faster response times and better reliability for large numbers of devices.
Battery Drain: Frequent polling or excessive radio communication drains batteries quickly. If you’re using battery-powered sensors, adjust the reporting interval. Does your door sensor need to report its status every minute? Probably not. Every 15 minutes is usually sufficient for security purposes. Balancing responsiveness with power efficiency is crucial for long-term maintenance.
Environmental Drift: Sensors aren’t perfect forever. Over time, calibration can drift. A CO2 monitor might start reading 50 ppm higher than actual levels after a year. Most quality sensors allow for manual calibration or auto-calibration based on fresh air exposure. Schedule regular checks, especially for critical safety sensors like smoke detectors or gas leak alarms.

Real-World Scenarios: From Theory to Practice
Let’s look at two practical examples to see how these concepts come together in daily life.
Scenario 1: The Smart Greenhouse You have a small greenhouse with sensitive plants. You install a temperature sensor and a ventilation fan. The rule is simple: If temperature exceeds 85°F for 5 minutes, open the vents. But you add a twist: Only trigger this during daylight hours to avoid opening vents at night when cold air might shock the plants. You also set a lower limit: If temperature drops below 50°F, close the vents and activate a small heater. This dual-threshold approach protects plants from both heat stress and frost damage automatically.
Scenario 2: Basement Mold Prevention Basements tend to get damp. You place a hygrometer in the corner. The automation triggers a dehumidifier if relative humidity stays above 60% for 30 minutes. Once the humidity drops below 50%, the dehumidifier turns off. This isn’t just about comfort; it’s about preserving property value. By keeping humidity in the ideal 30-50% range, you significantly reduce the risk of mold growth and wood rot. The system runs quietly in the background, handling a problem you’d otherwise have to monitor manually.
Future-Proofing Your Setup
Technology moves fast. Today’s standard might be outdated in five years. To keep your setup relevant, prioritize open standards. Protocols like Matter are designed to bridge different ecosystems, ensuring that your new sensor can talk to your existing hub regardless of brand. Avoid locking yourself into proprietary ecosystems that don’t support third-party integrations.
Also, think about scalability. Start with one room or one function. Don’t try to automate your entire house on day one. Master the basics of sensor placement and conditional logic first. As you gain confidence, expand to other areas. Each successful automation builds your trust in the system and gives you valuable data on how your home behaves under different conditions.
Finally, document your rules. Keep a simple spreadsheet or note file listing each automation, its trigger conditions, and its purpose. When troubleshooting or making changes, this reference saves hours of guessing. It also helps if you ever hire a technician or move to a new home and want to replicate your setup.
Do I need an internet connection for sensor-triggered automation?
Not necessarily. While cloud-based systems require internet access, local hubs using protocols like Zigbee or Z-Wave can process triggers and execute actions entirely offline. This ensures your lights still turn on if your Wi-Fi goes down, though remote monitoring via smartphone will be unavailable.
How often should I calibrate my environmental sensors?
It depends on the sensor type. Temperature and humidity sensors typically need annual calibration. CO2 monitors may require quarterly checks or automatic recalibration when exposed to fresh air. Motion sensors generally don’t need calibration but should have their sensitivity adjusted seasonally to account for different ambient light levels.
What is the best protocol for low-latency sensor responses?
Zigbee and Z-Wave are generally superior to Wi-Fi for low-latency applications. They use mesh networking, which reduces signal interference and allows for faster communication between devices. For instant responses like security lighting, these local protocols often provide sub-second reaction times compared to the variable latency of cloud-connected Wi-Fi devices.
Can I use multiple sensors to trigger a single action?
Yes, and it’s often recommended for accuracy. For example, you might require both a motion sensor AND a low-light sensor to trigger outdoor lights. This prevents the lights from turning on during the day due to stray movement. Combining inputs creates more precise conditions and reduces false triggers.
How do I troubleshoot a sensor that isn’t triggering correctly?
Start by checking the sensor’s power source and signal strength. Verify the current reading in your hub’s dashboard to ensure it’s receiving data. Next, review your automation logic: Are the thresholds too strict? Is there a hysteresis setting preventing the trigger? Finally, test the action device independently to rule out issues with the output side of the equation.