There is a specific kind of satisfaction that comes from finishing a DIY project where everything just... works. But when you add the word "smart" to the mix, that satisfaction can quickly turn into frustration if you skip a single step. You are about to install Smart Blinds motorized window coverings that connect to Wi-Fi or Bluetooth to automate light control, and the difference between a seamless experience and a headache usually comes down to three things: precise measuring, secure mounting, and clean device pairing.
This guide cuts through the marketing fluff to give you the exact workflow I use in my own Portland home. We will look at why standard measuring tape lies to you, how to mount motors without stripping drywall anchors, and how to get your blinds talking to your hub without dropping packets. By the end, you will have a system that opens on command, not one that fights you every morning.
Key Takeaways
- Measure twice, but measure right: Always measure the inside width at the top, middle, and bottom; take the smallest number.
- Mounting Brackets hardware components used to attach the motor unit to the window frame or wall require pilot holes slightly smaller than the anchor diameter to prevent cracking.
- Wi-Fi interference is the #1 cause of pairing failures; keep the router within 15 feet or use a mesh node.
- Battery life depends heavily on cycle frequency; daily full-range motion drains batteries 30% faster than partial adjustments.
Why Standard Measuring Fails for Motorized Units
If you have ever bought traditional blinds, you know the rule: measure the width, buy the size, cut it down if needed. That logic does not apply here. A Motor Unit the electronic component containing the battery and drive mechanism for smart blinds adds bulk to the headrail. If you measure only the widest part of an uneven window frame, your motor might sit flush on one side but gap open on the other, letting light leak in.
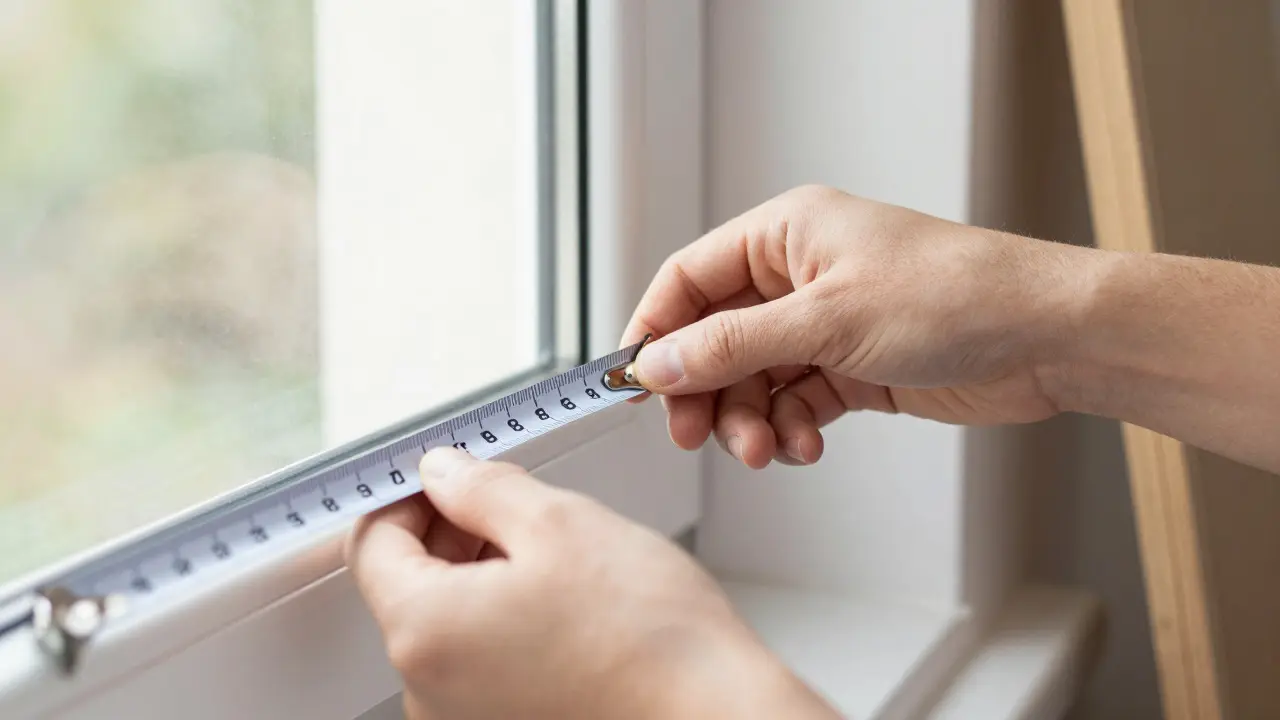
Grab a steel tape measure. Do not use a cloth one; they stretch. For an inside mount, which is most common for retrofits, you need three measurements per window:
- Top width (just below the trim)
- Middle width
- Bottom width (just above the sill)
Write these down. Now, look for the smallest of the three. That is your order size. Why? Because windows are rarely perfectly square. Drywall shifts over decades. If you order for the largest measurement, you risk having the motor housing hit the frame on the narrow side, preventing the slats from tilting fully closed.
For outside mounts, which hide the motor behind the trim, add 1 to 2 inches to your width and ensure you have at least 4 inches of clearance above the window opening for the bracket depth. This extra space prevents the motor from blocking the view when the blinds are raised.
Preparing the Wall and Frame for Mounting
Before you drill a single hole, check what you are drilling into. In older homes, like many in Portland's historic neighborhoods, window frames are wood. In newer constructions, you might be dealing with hollow drywall or metal studs. The material dictates your hardware.
Drywall Anchors plastic or metal inserts used to secure screws in hollow walls are the weak link in most failed installations. If you are mounting to drywall next to the window frame, avoid cheap plastic toggle bolts unless you are confident in your technique. Instead, use self-drilling metal anchors or, better yet, find the stud edge. Most window frames have a vertical stud immediately adjacent to the jamb. Use a stud finder to locate it. Drilling directly into the wood stud gives you a grip strength that no anchor can match.
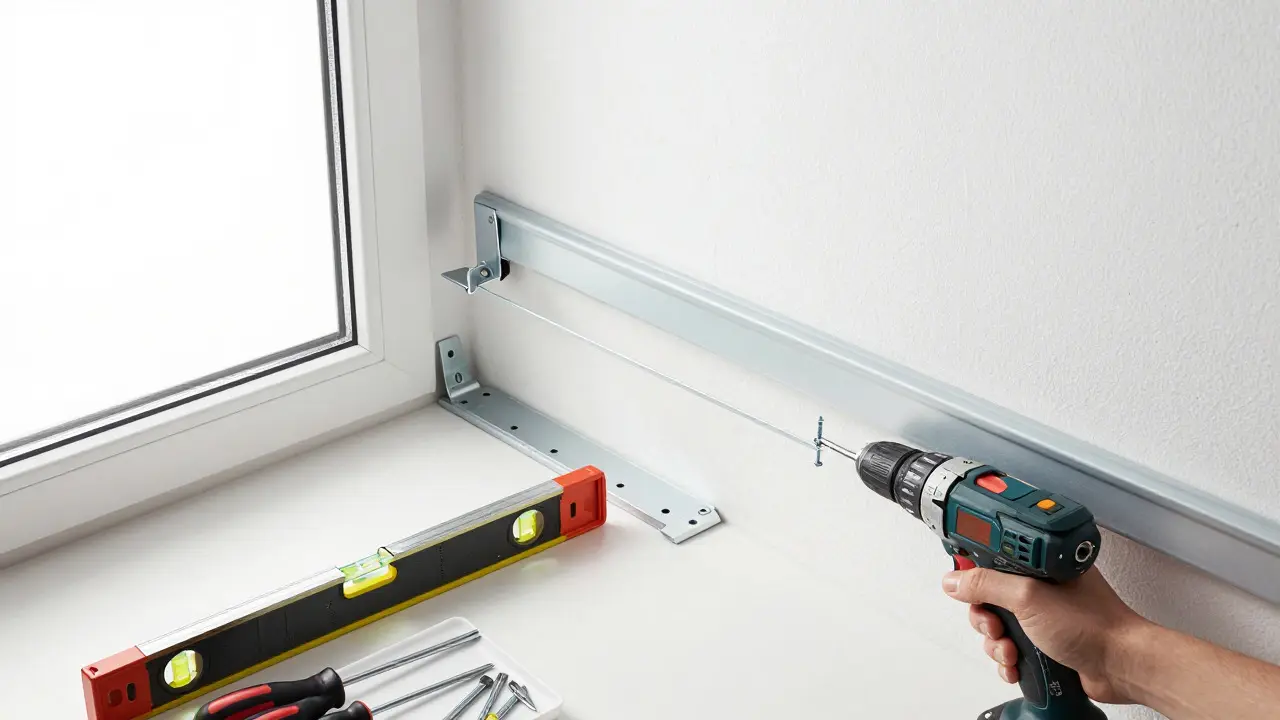
Here is a pro tip: mark your bracket positions with a pencil, then hold a level against them. It sounds obvious, but a 2-degree tilt looks subtle until the sun hits the blinds at 4 PM and casts a skewed shadow across your floor. Once marked, drill pilot holes. For wood, use a bit slightly smaller than your screw. For drywall anchors, use the exact size specified by the anchor manufacturer-usually a 3/16 inch or 1/4 inch bit. Over-drilling creates wobbly holes; under-drilling cracks the plaster.
Step-by-Step Mounting Process
Now that your holes are drilled, it is time to attach the hardware. Follow this sequence to avoid cross-threading or misalignment:
- Insert Anchors/Studs: Tap the anchors gently into the holes with a hammer. They should sit flush with the wall surface, not protruding.
- Attach Brackets: Align the Mounting Bracket the physical interface connecting the smart blind motor to the window structure to the holes. Insert the screws by hand first. This ensures the threads engage correctly before you power up the drill.
- Tighten Securely: Use a Phillips-head driver to tighten the screws. Do not overtighten. You want a snug fit, not a stripped head. A tight bracket transfers vibration from the motor to the wall, which can crack paint over time.
- Slide in the Headrail: Most smart blind systems use a friction-fit or snap-in design for the headrail. Align the rails with the brackets and push firmly until you hear a click. If it feels loose, check that the brackets are parallel.
Once the headrail is seated, test the manual override. Most units have a small pull cord or button on the side. Pull it gently. If the slats move smoothly, your mechanical alignment is good. If it sticks, loosen the bracket screws by half a turn and re-tighten. This micro-adjustment solves 90% of mechanical binding issues.
Pairing Your Blinds to the Hub
The hardware is done. Now for the digital handshake. This is where most people give up. You have a new device, a Wi-Fi network, and a smartphone app. What could go wrong?
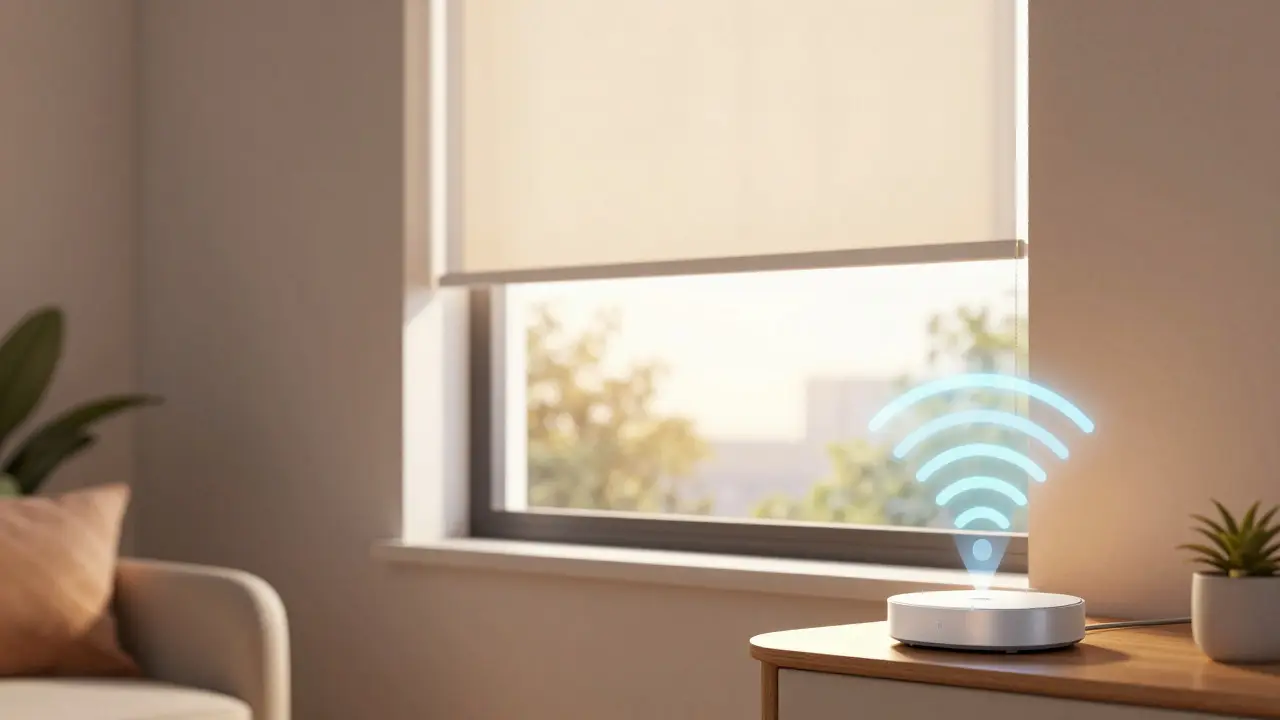
First, understand the connectivity protocol. Does your system use Wi-Fi, Zigbee, or Bluetooth? Zigbee a low-power wireless communication standard used for smart home devices is generally more stable for battery-powered devices because it uses less energy than Wi-Fi. However, it requires a compatible hub. If you are using a standalone Wi-Fi blind, you are dependent on your router's signal strength.
Before you open the app, do this:
- Ensure your phone is connected to the same Wi-Fi band (2.4 GHz) as your router. Many smart devices do not support 5 GHz networks.
- Move your phone within 10 feet of the window. Signal attenuation through brick or concrete is significant.
- Restart your router. Seriously. It clears cached IP addresses and often resolves mysterious connection drops.
Open the manufacturer's app. Select "Add Device." Put the blind into pairing mode. This usually involves holding a button on the motor unit for 5-10 seconds until an LED blinks rapidly. The app will scan for devices. If it finds nothing, wait 30 seconds and try again. Do not tap "Scan" repeatedly; this can confuse the device's state machine. Let it finish its search cycle.
Once paired, name the device something descriptive. "Living Room Left Window" is better than "Blind_01." This naming convention saves you hours later when you create automations.
Testing and Automating Your Setup
You have measured, mounted, and paired. Now, verify performance. Run a full range test: lower the blinds completely, then raise them completely. Listen for grinding noises. Watch for slat misalignment. If the left side hangs lower than the right, adjust the tension on the lift cords (if applicable) or check the motor belt tension.
Next, set up your first automation. Start simple. Create a schedule: "Lower blinds at 7:00 AM, Raise at 8:30 AM." Test it for three days. Note any delays. If the action takes more than 10 seconds to trigger, you likely have latency issues. Check your router's channel congestion. Switching from Channel 6 to Channel 11 often reduces interference in dense urban areas.
Consider adding a light sensor integration. If you have a smart bulb or a dedicated light sensor, create a rule: "If ambient light exceeds 500 lux, raise blinds 20%." This dynamic adjustment keeps your interior lighting consistent throughout the day, reducing eye strain and saving on electric bills.
Troubleshooting Common Issues
Even with perfect installation, glitches happen. Here is how to fix the most frequent problems:
| Issue | Likely Cause | Fix |
|---|---|---|
| Blinds stop halfway | Battery low or obstruction | Check battery voltage; clear debris from tracks |
| App shows offline | Wi-Fi dropout or firmware bug | Reboot router; update app and device firmware |
| Noise during operation | Loose bracket or worn gear | Tighten screws; contact support for gear replacement |
| Slats won't tilt | Motor torque setting too low | Increase torque limit in app settings |
If the problem persists after these fixes, check the manufacturer's support forums. Often, a firmware update released last month has already solved the issue you are experiencing today.
Frequently Asked Questions
Do smart blinds work without Wi-Fi?
Yes, most smart blinds have a local control option. You can operate them via a remote control or a wall switch even if the Wi-Fi goes down. However, voice control and automated schedules will pause until the connection is restored.
How long do smart blind batteries last?
Typically 1 to 2 years, depending on usage. Heavy daily use (multiple full cycles per day) can reduce this to 6 months. Using lithium AA batteries instead of alkaline extends life significantly due to higher voltage stability.
Can I install smart blinds on curved windows?
It is difficult. Most straight-blade motors struggle with curvature. Look for flexible fabric shades designed for curves, or consider custom-molded motor tracks. Standard rigid slats may not close evenly on a curve.
What is the best way to hide the motor housing?
Use an outside mount with a decorative valance or pelmet. Alternatively, choose a slim-profile motor model that fits inside the window recess. Ensure you have enough depth clearance so the motor does not block the glass.
Are smart blinds compatible with all smart home hubs?
No. Compatibility depends on the protocol. Zigbee blinds work with hubs supporting Zigbee (like Home Assistant or SmartThings). Wi-Fi blinds typically work independently via their own cloud service but may integrate with Alexa or Google Home through cloud-to-cloud links.