If you are looking to take control, you have likely run into two big names: Home Assistant is an open-source home automation platform that puts local control and privacy first. It is the Swiss Army knife of the smart home world, capable of connecting almost anything with a power cord. On the other side, Hubitat Elevation is a dedicated hardware hub designed for local processing with a focus on stability and ease of setup.
The real struggle isn't just picking a brand; it is deciding how much of your free time you want to spend tinkering. Do you want a hobby that grows every weekend, or do you just want your porch lights to turn on at sunset without fail?
Key Takeaways for Your Setup
- Home Assistant is best for power users who want total customization and have a spare Raspberry Pi or old PC.
- Hubitat Elevation is the sweet spot for people who want local privacy but prefer a "plug-and-play" hardware experience.
- Both platforms eliminate the "cloud lag" and keep your data private.
- Integration depth varies: Home Assistant supports more niche devices, while Hubitat excels in Z-Wave and Zigbee stability.
The Local Control Advantage
Why bother with a DIY hub when you can just buy an Amazon Echo or a Google Nest? It comes down to latency and reliability. When you use a cloud-based system, a command to turn on a light travels from your phone, to a data center, and back to your bulb. That is why you sometimes see a two-second delay. With a local hub, the signal never leaves your Wi-Fi or mesh network.
Privacy is the other big driver. A local hub doesn't need to know when you are home or which room you are in to function. By using protocols like Zigbee (a low-power wireless mesh network) and Z-Wave (a highly reliable, non-interfering wireless standard), you create a network that operates independently of your ISP.
Deep Dive: Home Assistant
Home Assistant isn't just software; for many, it's a lifestyle. It is developed by a massive global community, meaning if a new smart device comes out today, there is probably already a community-made integration for it. To get started, you typically install it on a Raspberry Pi, a dedicated Home Assistant Green box, or an old laptop running Docker.
The power of Home Assistant lies in its flexibility. You can create complex automations using a visual editor or write actual code in YAML for precision. For example, you can set a rule that says: "If the living room temperature is above 75 degrees AND the sun is up AND I am home, turn on the AC and close the blinds."
However, the learning curve is a cliff. You will likely spend your first few weekends reading forums and troubleshooting why your IKEA bulbs aren't pairing. It requires a commitment to maintenance and updates. If you enjoy the process of building the system as much as using it, this is your winner.
Deep Dive: Hubitat Elevation
Hubitat takes a different approach. Instead of giving you a blank canvas, they give you a finished product that happens to be open to customization. You buy the Hubitat Elevation hub, plug it into your router, and you are ready to go. There is no need to flash an SD card or manage a Linux server.
The interface is less polished than Home Assistant's "Lovelace" dashboards, but the logic engine is incredibly robust. Hubitat uses a "Rule Machine" that allows you to build complex logic without needing to know how to code. It is specifically engineered to handle Z-Wave and Zigbee devices with high efficiency, making it a favorite for those who have 50+ sensors and switches throughout a large house.
The trade-off is the ecosystem. While Hubitat supports the major brands, it doesn't have the sheer volume of community integrations that Home Assistant boasts. If you have a weird, off-brand smart plug from a site you can't remember the name of, Hubitat might struggle to recognize it.
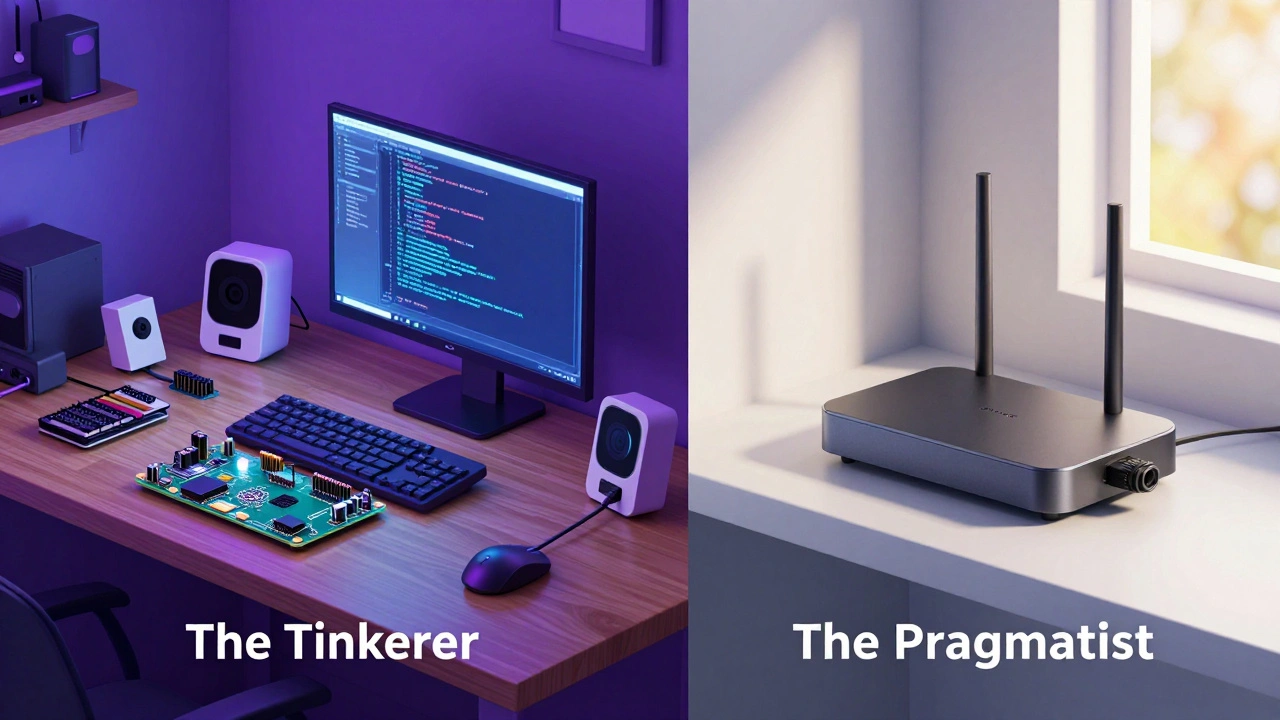
Comparing the Two Heavyweights
Choosing between these two depends on where you fall on the "Tinkerer Scale." Let's look at the hard numbers and specs.
| Feature | Home Assistant | Hubitat Elevation |
|---|---|---|
| Hardware Setup | DIY (Pi, PC, or Green) | Dedicated Hub (Plug-and-Play) |
| Learning Curve | Steep (High) | Moderate |
| Integration Range | Nearly Infinite | Very Broad (but smaller) |
| Interface | Highly Customizable | Functional / Basic |
| Local Processing | 100% Local | 100% Local |
Practical Steps for Your Installation
Regardless of which hub you choose, the process of moving to a DIY setup follows a similar path. Don't try to automate your entire house in one afternoon; you will end up frustrated and with a house that won't let you turn on the bathroom light.
- Audit Your Hardware: List every smart device you own. Check if they are Wi-Fi, Zigbee, or Z-Wave. If you have mostly Wi-Fi devices, you'll need a hub that handles your specific router's protocols.
- Prepare the Network: If you're going with Home Assistant on a Raspberry Pi, use a high-end SD card (Endurance rated) or, better yet, an SSD. Standard SD cards tend to fail after a year of constant database writes.
- The "One Room" Rule: Start with one room-usually the living room or bedroom. Get the lights and a motion sensor working perfectly before moving to the next space.
- Establish a Backup Routine: This is the most ignored step. DIY hubs can crash during an update. Set up an automated backup to Google Drive or a local NAS so you don't lose three months of automation logic.
Common Pitfalls to Avoid
One of the biggest mistakes beginners make is relying on "cloud-to-cloud" integrations even after buying a local hub. If you connect your hub to your lights via a cloud API, you've just rebuilt the problem you were trying to solve. Always look for "Local Push" or "Local Polling" options in the settings.
Another issue is interference. Zigbee and 2.4GHz Wi-Fi live on the same frequency. If your hub is sitting directly on top of your Wi-Fi router, you'll see devices dropping offline. Move the hub at least three feet away from the router, or use a USB extension cable for your Zigbee dongle to reduce electromagnetic noise.
Do I need a separate bridge for Philips Hue or IKEA lights?
You can keep using the official bridges, but the whole point of a DIY hub is to remove them. By using a universal Zigbee coordinator (like a Sonoff dongle for Home Assistant), you can pair Hue and IKEA bulbs directly to your hub. This reduces the number of "brains" in your house and simplifies the network.
Is Home Assistant actually free?
The software is free and open-source. However, you have to pay for the hardware to run it on. Whether it's a $60 Raspberry Pi or a $150 Home Assistant Green, there is an initial investment. There is also a paid subscription called Nabu Casa which makes remote access easier, but it is optional.
Can I use both Hubitat and Home Assistant together?
Yes, and some power users do. They use Hubitat as the "rock solid" engine for basic lighting and sensors, and then link Hubitat into Home Assistant to use its superior dashboards and complex third-party integrations. It is more complex to manage, but it gives you the best of both worlds.
Which is better for a partner or spouse who isn't tech-savvy?
Hubitat is generally better here because it's more stable out of the box. Home Assistant's high customization means it's easier to accidentally "break" a routine while experimenting. If you want a system that "just works" without you having to play IT support for your family every Tuesday, Hubitat is the safer bet.
What happens if my hub dies?
If the hub dies, your automated routines stop working. However, if you use "smart switches" (the physical wall switches) rather than just smart bulbs, the physical switch will still work to turn the light on and off. This is why we always recommend smart switches over smart bulbs for primary lighting.
Next Steps for Your Journey
If you are still undecided, start by mapping out your "must-have" automations. If you just want a few lights and a thermostat to work together, go with Hubitat. If you want to integrate your 3D printer, your Tesla, and your local weather station into one massive dashboard, go with Home Assistant.
Once you pick your hub, the next logical step is exploring Matter and Thread. These are the newest industry standards designed to make all these different brands finally speak the same language without needing a dozen different dongles. Most modern DIY hubs are already updating to support these, ensuring your home stays smart for the next decade.