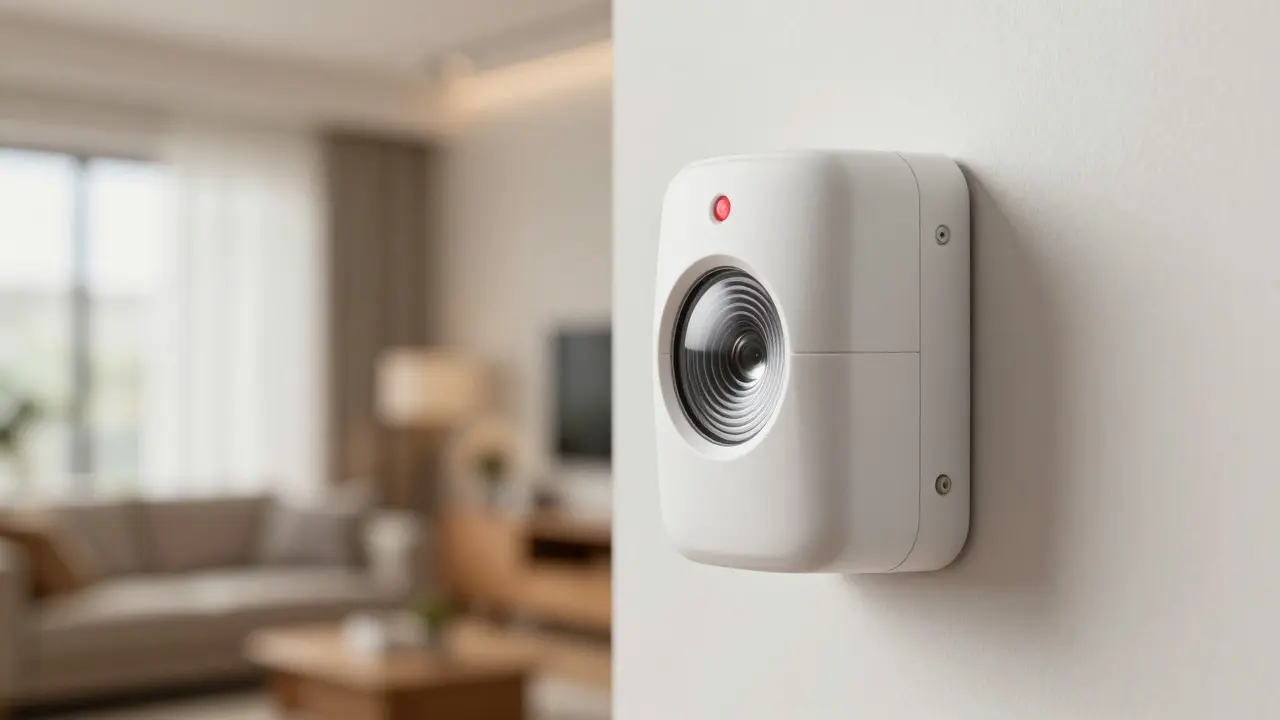
You know that frustrating moment when your smart lights turn on because a cat walked by the window, or worse, they stay off when you actually walk into the room. It’s not just annoying; it breaks the trust you have in your home automation setup. Most people install PIR motion sensors is a device that detects infrared radiation changes caused by moving objects within its field of view. Unlike ultrasonic sensors that emit sound waves, PIR sensors passively detect heat signatures, making them energy-efficient but sensitive to environmental factors like temperature shifts and direct sunlight. without thinking about how to test them properly. You mount it, hope for the best, and deal with the quirks later. But if you want a system that feels invisible and reliable, you need to actively test three specific variables: sensitivity, detection range, and physical placement.
Understanding the Core Variables
Before you grab a ladder, you need to understand what you are actually measuring. Motion sensors aren't binary switches that simply say "on" or "off." They operate on thresholds. The Sensitivity setting determines how much change in infrared energy is required to trigger an event. A high sensitivity setting means even a small change, like a bird flying past, will trip the sensor. A low sensitivity setting requires a larger heat signature, like a human body, to activate. This is distinct from Detection Range, which refers to the maximum distance and angle the sensor can effectively monitor. While manufacturers often quote a 120-degree field of view at 30 feet, real-world performance is almost always lower due to obstructions and signal decay. Finally, placement dictates both of these factors. A sensor placed too high might miss your head if you're short, while one placed too low might get blocked by furniture or triggered by pets.
Testing Sensitivity Without Guesswork
Sensitivity is usually the first thing people mess up. If your garage door opens every time a leaf blows across the driveway, your sensitivity is too high. If you have to run through the hallway to trigger the light, it's too low. To test this, you need to isolate the variable. Start by setting your sensor to its middle position. If it has a dial, set it to 5 out of 10. If it uses software, set it to 50%.
- Create a controlled environment: Turn off all other lights in the room to ensure the sensor isn't reacting to changing ambient light levels (though most modern PIRs ignore this, it's good practice). Ensure no fans are blowing directly on the sensor lens, as air movement can create false positives.
- Perform the "Slow Walk": Walk slowly across the center of the detection zone. Do not stop. Stop-and-go movements can sometimes be missed if the sensor resets too quickly. You should see the indicator light turn on within 1-2 seconds of entering the zone.
- Test the "Pet Threshold": If you have a pet under 40 lbs, have them walk through the zone. Ideally, the sensor should ignore them. If it triggers, increase the sensitivity threshold (make it less sensitive) until the pet passes without tripping it. Note: This only works if the sensor has a pet-immunity feature or if the pet is small enough to be below the sensor's focal plane.
- Verify Human Detection: After adjusting for pets, repeat the slow walk. If you now fail to trigger the sensor, you've gone too far. Back off the setting slightly.
A common mistake is assuming that "more sensitive" is better. In reality, higher sensitivity increases noise. In a drafty attic or a room with fluctuating temperatures, high sensitivity leads to ghost triggers. Aim for the lowest sensitivity level that still reliably detects a human at the furthest point of your desired coverage area.
Mapping Your Actual Detection Range
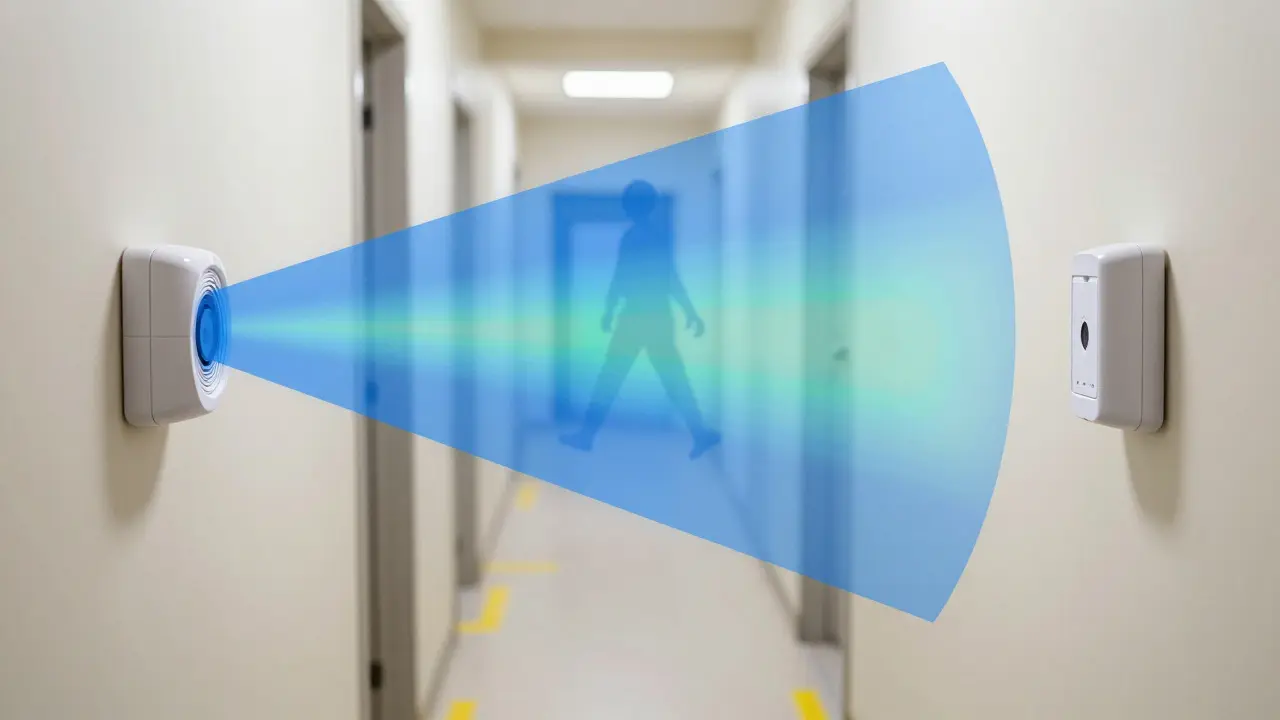
Box specs lie. Or rather, they represent ideal lab conditions. Your living room is not a vacuum chamber. To map your actual range, you need to visualize the cone. Most PIR sensors have a Fresnel lens that divides the view into sectors. Some sectors are more sensitive than others. Usually, the center of the lens provides the longest range, while the edges provide wider angles but shorter distances.
Here is a practical way to test this:
- Mark the Zone: Use painter's tape on the floor to mark where you think the edge of the detection zone is based on the manual. Let's say you think it covers 20 feet.
- Walk the Perimeter: Stand exactly on the tape line. Look directly at the sensor. Does it trigger? If yes, great. Now step back one foot. Does it still trigger? Repeat this until you find the absolute cutoff point. Mark this new line.
- Check the Corners: Walk diagonally toward the corners of the room. Often, the diagonal range is shorter than the straight-on range. If you need coverage in the corner, you may need to rotate the sensor housing or add a second unit.
- Account for Obstacles: If there is a large bookshelf or a sofa between you and the sensor, the effective range drops significantly. Heat signatures bounce off reflective surfaces but are absorbed by fabric and wood. Test behind obstacles to see if the signal penetrates.
If your tested range is consistently 30% shorter than the spec sheet claims, check the voltage supply. Under-volted sensors often have reduced range because the internal processing power dips.
The Critical Role of Placement Height and Angle
Placement is where 80% of DIY failures happen. The height of the sensor relative to the moving object determines whether the heat signature crosses the sensor's active zones. For standard residential ceilings (8-9 feet), mounting the sensor at 7.5 to 8 feet is the sweet spot. This places the sensor roughly at eye level for an average adult, ensuring that as you walk, your head and torso cross multiple Fresnel lens sectors, creating a strong, consistent trigger.
If you mount it too high (above 9 feet), you are relying on the upper part of your body. Since shoulders and heads move less than torsos during walking, you might experience intermittent triggers. If you mount it too low (below 6 feet), you risk triggering on pets and having your own legs block the view if you bend down.
Angle matters just as much as height. Never point a PIR sensor directly at a heat source, such as a fireplace, a radiator, or a large window letting in direct sunlight. Sunlight heating the wall creates a static heat mass. When you walk past, the contrast between your body and the heated wall can confuse the sensor, leading to either missed detections or constant false alarms. Instead, aim the sensor so that the target area is perpendicular to the beam. If you are covering a hallway, mount the sensor on the side wall, angled slightly downward, rather than on the ceiling looking straight down. Ceiling-mounted sensors are harder to tune because the heat signature rises as you walk, potentially exiting the detection zone before the sensor registers the full movement.
Common Pitfalls and How to Fix Them
Even with correct settings and placement, you might face issues. Here are the most frequent problems and their fixes:
| Issue | Likely Cause | Fix |
|---|---|---|
| False Triggers from Windows | Direct sunlight or streetlights hitting the lens | Reposition sensor or use a shade/filter to block direct light sources |
| No Trigger in Far Corner | Obstruction or insufficient range | Move sensor closer to corner or adjust angle to clear obstacles |
| Pet Activations | Sensitivity too high or sensor too low | Increase sensitivity threshold (less sensitive) or raise mounting height above pet's shoulder line |
| Intermittent Signals | Battery low or wiring loose | Replace batteries or tighten terminal screws; check for voltage drop |
Another subtle issue is "shadowing." If you have two sensors overlapping, they might cancel each other out if configured incorrectly, or double-trigger. When testing multi-sensor setups, disable all but one sensor to verify individual performance before enabling the group logic. This isolates faults and ensures each unit is calibrated independently.
Tools You Actually Need for Testing
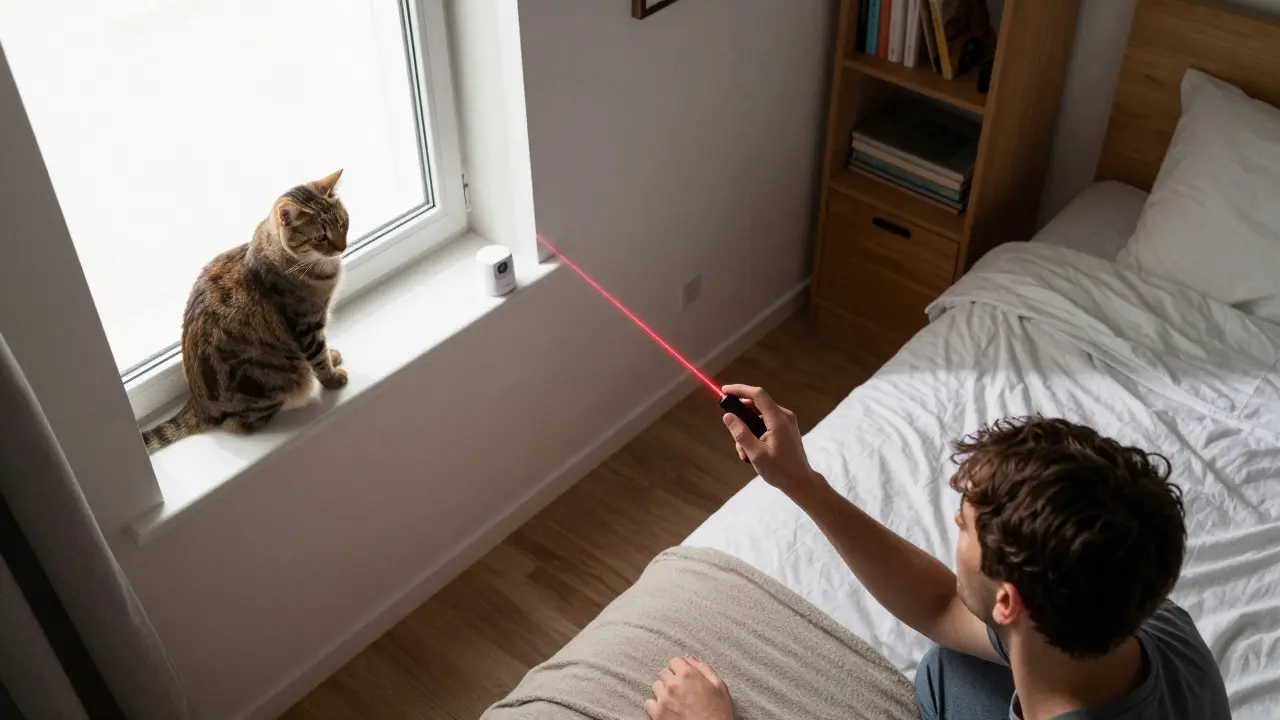
You don't need expensive equipment to do this right. A smartphone app that displays a grid overlay can help you visualize angles, but it's not essential. What you do need is patience and a marker. A simple laser pointer is surprisingly useful. Shine the laser from the sensor location toward the area you want to cover. This gives you a physical line of sight. If the laser hits a piece of furniture, your sensor likely won't see past it. This quick visual check saves hours of trial and error.
For wired sensors, a multimeter is invaluable. Check the voltage at the terminals when the sensor is idle and when it triggers. If the voltage drops significantly during a trigger, your power supply might be undersized, causing the sensor to brown-out and reset, which can lead to missed events in rapid succession.
Frequently Asked Questions
How often should I retest my motion sensors?
Retest your sensors seasonally. Temperature changes affect PIR performance. In winter, cold drafts can make sensors more sensitive, while summer heat can desensitize them. Additionally, retest after any major furniture rearrangement or lighting changes in the room.
Can I use a motion sensor outdoors in the rain?
Yes, provided it has an IP rating suitable for outdoor use (IP65 or higher). Rain itself doesn't trigger PIR sensors because water droplets are too small to create a significant heat differential. However, wind-blown debris or large puddles reflecting heat can cause issues. Ensure the sensor is mounted under an eave to prevent direct exposure to heavy rain, which can degrade the lens over time.
Why does my sensor trigger when I look at it?
This is rare but possible if the sensor is extremely sensitive and your body heat is very close to the lens. More commonly, it's a reflection issue. If you are looking at a mirror or a shiny surface that reflects your heat signature into the sensor's blind spot, it might trigger. Try moving your position slightly. If it persists, the sensor may be faulty.
What is the difference between PIR and Microwave motion sensors?
PIR sensors detect heat movement and are passive, meaning they don't emit signals. Microwave sensors emit radio waves and detect reflections from moving objects. Microwave sensors are more prone to false triggers from outside activity (cars, birds) but can see through thin walls. PIR is generally preferred for indoor residential use due to lower cost and fewer false positives.
Does humidity affect motion sensor accuracy?
High humidity can slightly reduce the range of PIR sensors because moisture in the air absorbs some infrared radiation. However, for typical indoor ranges of 20-30 feet, the impact is negligible. In extreme environments like saunas or unheated basements with condensation, you might see reduced performance. Wipe the lens regularly to remove dust and condensation buildup.