There is nothing quite as frustrating as staring at a blank wall where your old thermostat used to be, wondering if you made a mistake. You bought the sleek, modern Smart Thermostat a connected device that automates heating and cooling schedules to save energy and improve comfort, but now you’re facing a tangle of wires and confusing labels. The good news? Installing one is not rocket science. If you can change a light switch, you can do this. But there are specific pitfalls-like missing the common wire or mismatching voltage-that can turn a 20-minute job into a headache. This guide walks you through the exact process, from checking your HVAC system compatibility to pairing with Wi-Fi, so you get it right the first time.
Before You Start: Check Compatibility and Gather Tools
Do not pull the old unit off the wall yet. First, verify that your HVAC System the central heating and cooling infrastructure in a building, typically including furnaces, air conditioners, and ductwork works with your new device. Most modern smart thermostats support standard forced-air systems, heat pumps, and multi-stage boilers. However, if you have a radiant floor heating system or a high-voltage (240V) electric baseboard heater, you might need a special adapter or a different model entirely. Check the manufacturer’s compatibility list online before buying, or look at the label on your current furnace to see the voltage rating.
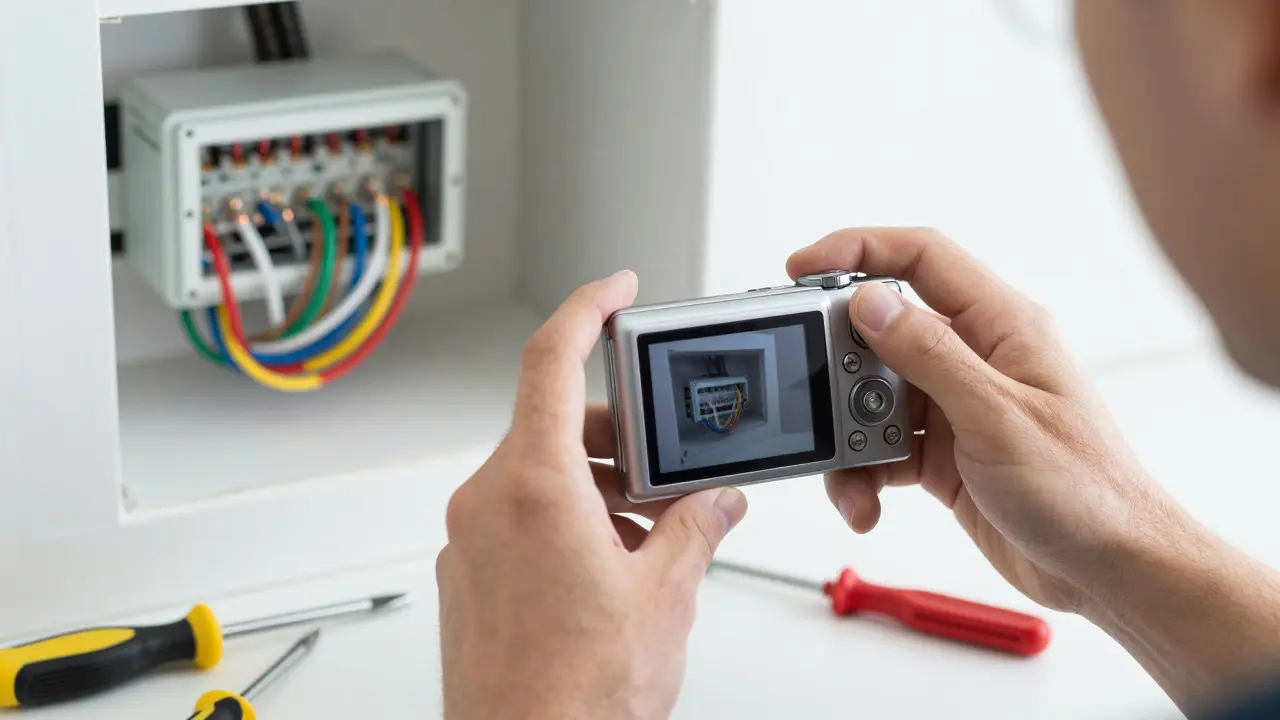
You will need a few basic tools for the job. A Phillips-head screwdriver is essential for removing the cover and disconnecting terminals. A flathead screwdriver helps pry off the faceplate without scratching it. A small digital camera or your smartphone is crucial for taking photos of the wiring before you touch anything. Finally, keep a pencil and paper handy to label each wire as you remove it. This prevents guesswork when reconnecting them later.
Safety First: Cutting Power to the System
While low-voltage thermostat wires (usually 1-5 volts) are generally safe to handle, mistakes happen. If you accidentally bridge a terminal to a live line, you could short-circuit the control board on your furnace or air handler. To be safe, find the circuit breaker that powers your HVAC system. It is usually labeled “Furnace,” “Air Handler,” or “HVAC.” Flip the switch to the OFF position. Then, test the old thermostat by pressing the power button or looking for a display. If nothing lights up, you are safe to proceed. For extra caution, wait a few minutes after cutting power to let any residual charge dissipate.
Removing the Old Thermostat and Mapping Wires
Once power is off, gently pop the old thermostat faceplate off the base. Some models have a simple clip mechanism; others require unscrewing two small screws. Take a clear photo of the wiring arrangement before you detach anything. This photo becomes your reference map. Next, identify the wires attached to the back of the unit. They are usually color-coded, but colors are not always standardized across brands. Common colors include red (R), white (W), yellow (Y), green (G), and blue (C). Use your pencil to write the letter on a piece of tape and stick it to each wire as you unclip it from the terminal block. Be gentle-these wires are thin and brittle, especially if they are old.
The Critical C-Wire Challenge
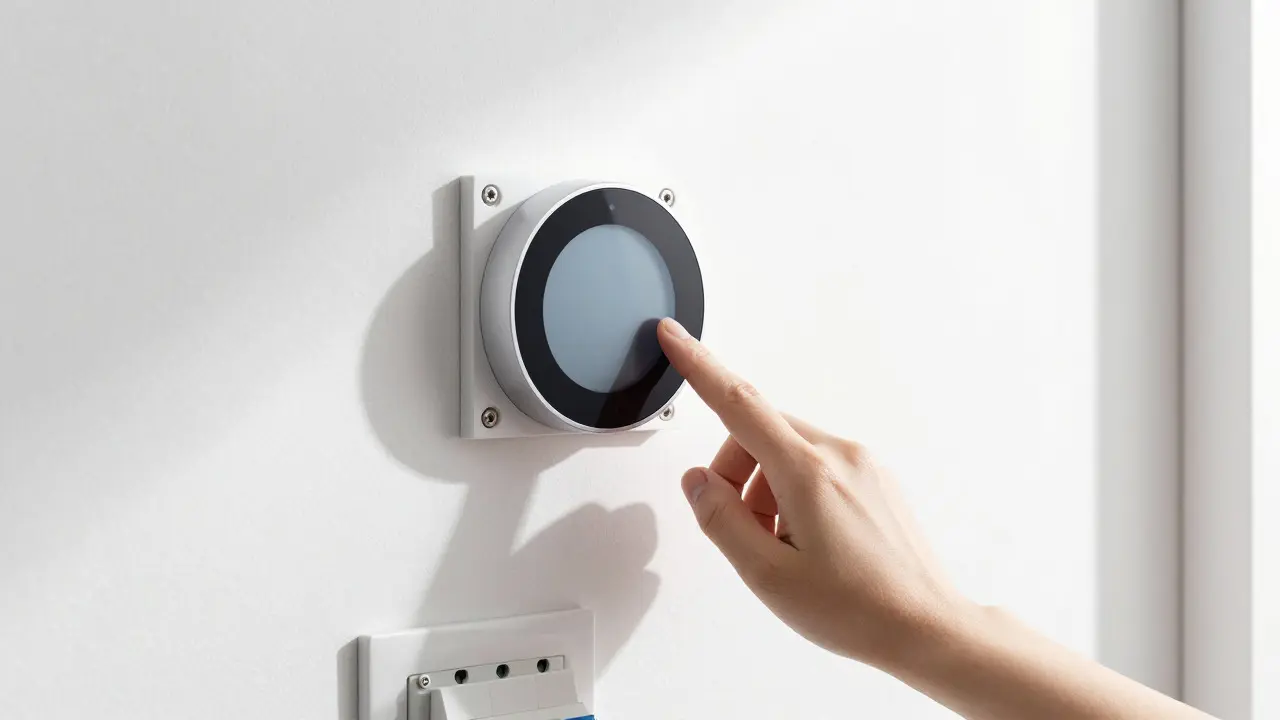
Here is where most installations get tricky. Many smart thermostats require a C-Wire a constant 24-vacuum power source wire that provides continuous electricity to the thermostat, enabling features like Wi-Fi connectivity and advanced scheduling. This wire carries a steady 24-volt AC signal from the transformer in your furnace to the thermostat. Without it, some devices will drain their internal batteries quickly or fail to maintain a connection. If you see a blue or black wire labeled “C” or “Common,” you are in luck. If not, don’t panic. Many newer thermostats come with a power extender kit-a small module that fits inside your furnace-to create a virtual C-wire. Alternatively, some models work without a C-wire but rely on battery backup. Check your specific model’s requirements. If you truly lack a C-wire and your model requires one, you may need to run a new wire from the furnace to the thermostat location, which is a more advanced DIY task or a job for a pro.
Installing the New Base and Connecting Wires
Mount the new thermostat base plate onto the wall. Align it with the existing hole or use the provided template to drill new holes if necessary. Secure it firmly with the included screws. Now, connect the wires. Match the letters on your labels to the corresponding terminals on the new base. Red goes to R, White to W, Yellow to Y, Green to G, and Blue/Black to C. If you have additional wires like O/B for heat pumps, refer to the installation manual for the correct terminal. Tighten the screws just enough to hold the wire securely without crushing it. Once all wires are connected, snap the front display unit onto the base. You should hear a click as it locks into place.
Powering Up and Initial Setup
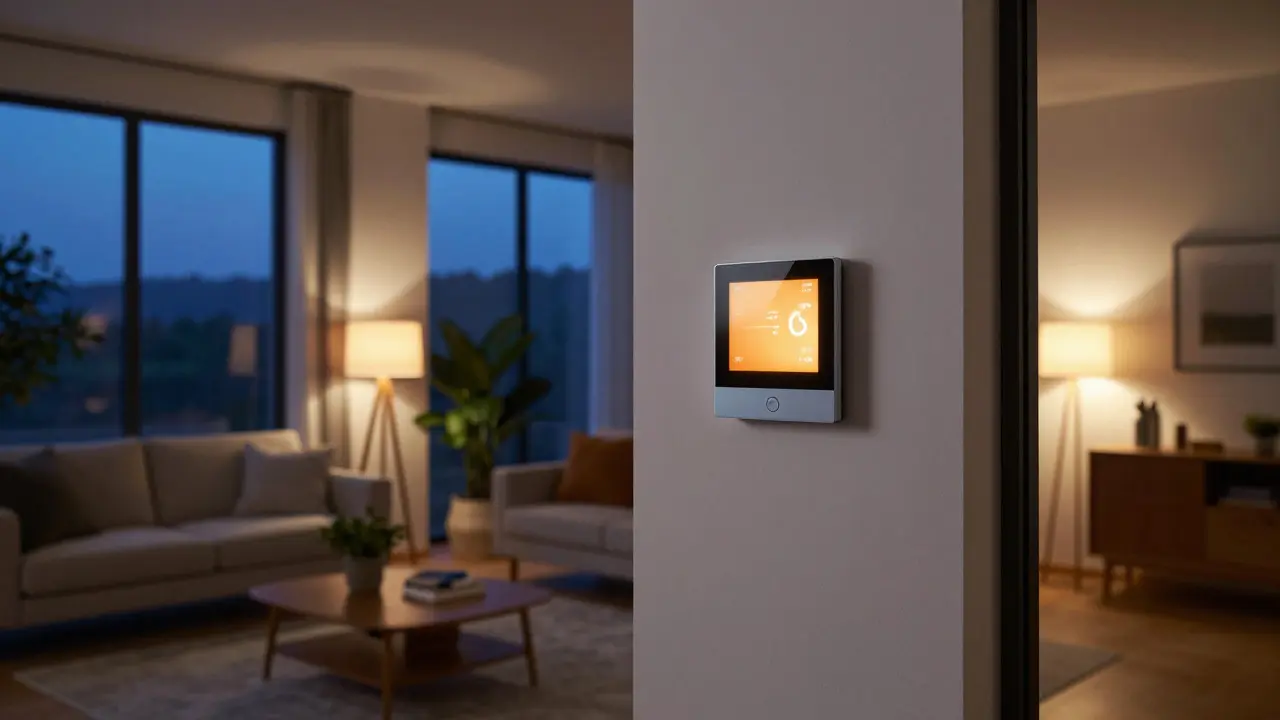
Go back to the circuit breaker and flip the HVAC power back ON. The smart thermostat screen should light up within seconds. Follow the on-screen prompts to set up your account. You will likely need to download the manufacturer’s app on your smartphone. Connect the device to your home Wi-Fi network. Note that many thermostats only support 2.4 GHz networks, not 5 GHz. If you can’t find your network, check your router settings to ensure the 2.4 GHz band is enabled and broadcasting. Pairing the device can take a minute or two, depending on your internet speed.
Configuring Your Heating and Cooling Schedule
Now comes the fun part. Define your home’s zones if you have multiple thermostats. Set your preferred temperature ranges for morning, afternoon, evening, and night. Most smart thermostats learn your habits over time, adjusting automatically to minimize energy usage. Enable geofencing if available; this feature uses your phone’s GPS to detect when you leave home and adjusts the temperature accordingly. Test the system by manually changing the temperature on the screen and listening for the furnace or air conditioner to kick in. If the blower runs but no hot or cold air comes out, double-check your wire connections, particularly the R and C wires.
Troubleshooting Common Issues
If your display flickers or shows an error code, start with the basics. Is the power still on at the breaker? Are all wires seated correctly in their terminals? Loose connections are the number one cause of post-installation failures. If the system won’t turn on at all, check the fuse in the thermostat base (if applicable) or the transformer in your furnace. If the Wi-Fi keeps dropping, move your router closer to the thermostat or use a mesh network node. For persistent issues, consult the manufacturer’s support line-they often have specific troubleshooting guides for their models.
| Wire Color | Label | Function | Typical Voltage |
|---|---|---|---|
| Red | R / Rh / Rc | Power source from transformer | 24V AC |
| White | W / Wh | Heating activation signal | Low voltage trigger |
| Yellow | Y / Y1 / Y2 | Cooling activation signal | Low voltage trigger |
| Green | G | Fan activation signal | Low voltage trigger |
| Blue/Black | C | Common return path for power | 24V AC Ground |
Final Checks and Energy Savings Tips
After a week of use, review your energy reports in the app. You should see a drop in monthly utility bills compared to previous months. Adjust your schedule based on actual usage patterns. If you notice the system running constantly, check for drafts around windows or doors, as poor insulation forces the thermostat to work harder. Regularly clean the filter in your HVAC system to ensure efficient airflow. Proper installation and configuration can reduce energy consumption by up to 10-12% annually, according to Department of Energy estimates.
Do I need a professional to install a smart thermostat?
For most standard forced-air systems, no. If you are comfortable using a screwdriver and following instructions, you can do it yourself. However, if you have complex wiring, no C-wire, or a high-voltage system, hiring an HVAC technician is safer and ensures warranty coverage.
What happens if I don't have a C-wire?
Some smart thermostats will not function properly without a C-wire. You can use a power extender kit, choose a model that supports battery backup, or hire an electrician to run a new wire. Always check your specific model's requirements before installing.
Can I keep my old thermostat as a backup?
Yes, but you must remove its wires completely. Leaving old wires connected can cause conflicts or shorts. Store the old unit in a dry place in case you ever need to revert to it during repairs.
Why is my smart thermostat not connecting to Wi-Fi?
Most thermostats only support 2.4 GHz Wi-Fi networks. Ensure your router is broadcasting this band and that the password is entered correctly. Move the router closer to the thermostat if the signal is weak, or consider using a mesh network extension.
How long does the installation take?
A typical installation takes 20 to 40 minutes for experienced users. Beginners should allow 1 to 2 hours to account for reading manuals, labeling wires, and troubleshooting initial setup issues.