You know that feeling when you walk into your house and it’s freezing or sweltering because the old wall unit didn’t get the memo? If you’re still fiddling with a clunky programmable thermostat that looks like it belongs in a 1990s office cubicle, you are likely leaving money on the table. It’s not just about convenience; it’s about efficiency. Upgrading to a smart thermostat is one of the highest-ROI home improvements you can make right now, especially as we head into the heating season here in Portland.
But let’s be real-the idea of messing with low-voltage wires scares a lot of people. What if I break the furnace? What if the new screen doesn’t work? The good news is that migrating from an old digital or mechanical programmable model to a modern smart device is rarely as complex as it seems. Most homeowners can handle this swap in under an hour. You don’t need an electrician unless your system is ancient or weirdly wired. This guide walks you through exactly how to do it without losing your mind or your heat.
Why Make the Switch Now?
Old programmable thermostats were a big deal when they came out. They let you set a schedule so you weren’t heating an empty house at 2 AM. But they had a fatal flaw: humans are lazy and inconsistent. We forget to change the schedule for weekends, holidays, or unexpected days off. Studies from the Department of Energy suggest that households can save up to 15% on heating and cooling costs by properly using a setback feature, but most people never optimize their old units after the initial setup.
Smart thermostats, on the other hand, learn your habits. They use geofencing to detect when you leave your phone behind, meaning the house goes into eco-mode automatically. They integrate with voice assistants like Alexa or Google Home, allowing you to adjust temps from bed or while stuck in traffic. More importantly, they provide detailed energy usage reports. Seeing exactly where your money goes changes behavior. You stop blasting the heat at 70 degrees all day and start trusting the algorithm to manage comfort efficiently.
| Feature | Old Programmable Thermostat | Modern Smart Thermostat |
|---|---|---|
| Control Method | Physical buttons/dials | App, Voice, Touchscreen, Auto |
| Scheduling | Static (set once, rarely changed) | Dynamic (learns habits, auto-adjusts) |
| Remote Access | None | Full remote control via Wi-Fi |
| Energy Reports | Basic or None | Detailed monthly/yearly analytics |
| Integration | Standalone | Works with Smart Home Ecosystems |
| Avg. Cost (Hardware) | $30 - $80 | $150 - $250 |
Check Your System Compatibility First
Before you run to the store, you need to know what kind of heating and cooling system you have. Not all smart thermostats play nice with every setup. The vast majority of homes in the US use a standard 24V low-voltage system. These are powered by a transformer attached to your furnace or air handler. If your old thermostat has small, thin wires coming out of the wall, you’re probably in this category. This is the easiest scenario.
However, there are exceptions. If you have electric baseboard heaters, radiant floor heating, or a high-voltage line voltage system (often found in older apartments), a standard smart thermostat won’t work directly. You’ll need specific models designed for line voltage or a relay box. Also, check if you have a C-wire (Common wire). This provides continuous power to the thermostat. Many older installations lack this, which used to require batteries in the thermostat. While many modern smart thermostats can work without a C-wire using power adapters, having one ensures stable connectivity and full feature access, like running a fan continuously.
- Standard Forced Air: Gas, oil, or electric furnace + AC. Easy swap.
- Heat Pump: Uses reversing valve. Ensure your new thermostat supports "O/B" wire configuration.
- Hydronic/Radiant: Often uses line voltage. Check specifically for compatible models.
- Multi-Stage Systems: If you have auxiliary heat (like electric strips in a heat pump), ensure the new unit supports multiple stages.
The Wiring Mystery: Decoding Your Wires
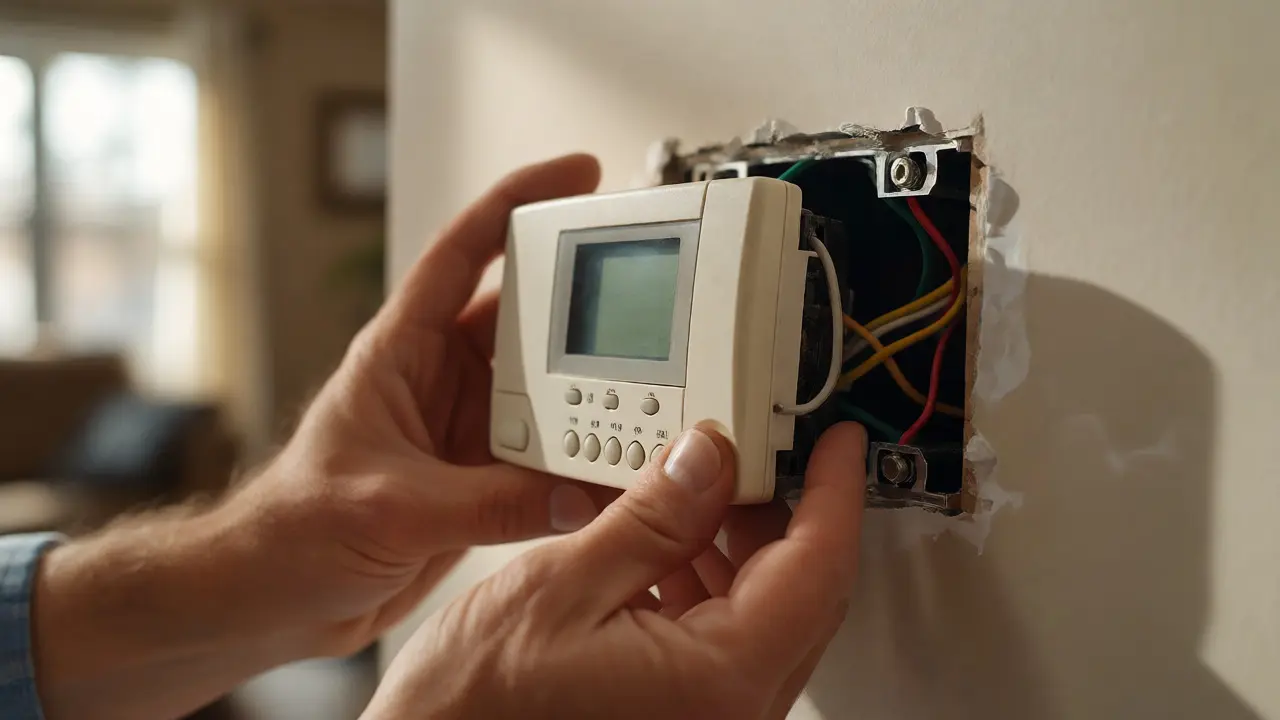
This is the part that stops most DIYers. You pull the faceplate off, see a bunch of colored wires, and panic. Don’t. Take a photo first. Seriously, take three photos from different angles before you touch anything. Label each wire with tape according to its terminal letter (R, W, Y, G, etc.).
Here is a quick cheat sheet for common terminals:
- R (Red): Power supply. Essential.
- W (White): Heat call. Connects to the furnace heat relay.
- Y (Yellow): Cooling call. Connects to the outdoor AC condenser.
- G (Green): Fan only. Allows you to run the blower independently.
- C (Blue or Black): Common. Provides return path for power. If missing, you might need an adapter kit.
- O/B (Orange or Blue): Reversing valve. Only present in heat pumps.
If your old thermostat was battery-operated and didn’t have a C-wire, don’t worry. Brands like Ecobee and Nest offer power extension kits that repurpose unused wires or add a dedicated module at the furnace. It adds ten minutes to the job but solves the power issue permanently.
Step-by-Step Installation Process
Once you’ve bought the right model and decoded your wires, the physical swap is straightforward. Here’s the workflow that keeps things clean:
- Kill the Power: Go to your breaker panel and turn off the switch for your furnace/AC. Test the thermostat to ensure it’s dead. No power means no shocks and no accidental shorts.
- Remove the Old Unit: Unscrew the mounting plate. Pull the wires gently. Note their positions. If the wall plate is ugly or damaged, use the cover plate provided with most smart thermostats to hide imperfections.
- Prepare the New Base: Thread the wires through the new mounting plate. Secure the plate to the wall using the anchors provided. Do not overtighten screws into drywall without anchors.
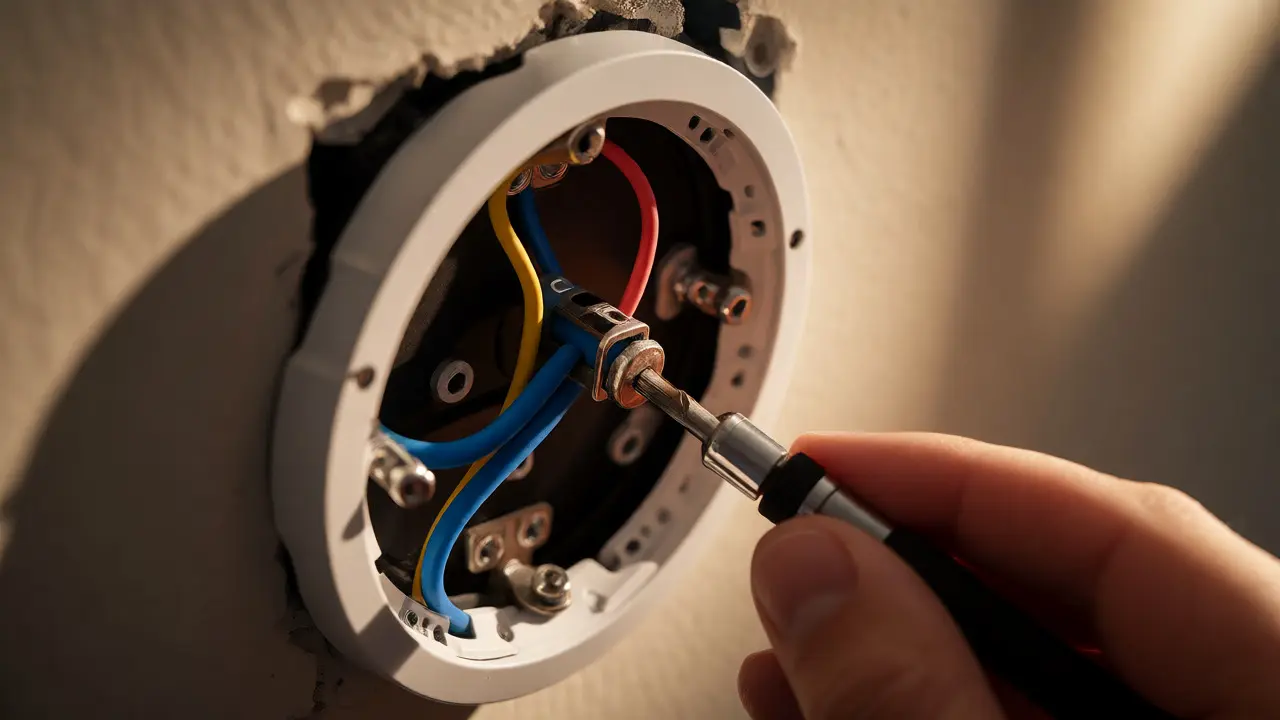
- Connect the Wires: Push each wire into the corresponding terminal on the new base. Use a small screwdriver to tighten the clamp. Give each wire a gentle tug to ensure it’s seated firmly. Loose connections cause intermittent issues later.
- Attach the Display: Snap the main display unit onto the base. Restore power at the breaker.
- Initial Setup: The screen should light up. Follow the on-screen prompts to connect to Wi-Fi and download the app.
Pro tip: If the wires are frayed or too short, trim them back slightly and strip another quarter-inch of insulation. Never mix copper strands with aluminum in the same terminal if possible, though most residential wiring is pure copper.
Configuration and Optimization
Installation isn’t done when the lights come on. You need to configure the software correctly. During setup, the app will ask what type of system you have. Be honest and accurate. If you select "Gas Furnace" but actually have a "Heat Pump," the efficiency algorithms will be wrong.
Enable features like Geofencing immediately. This uses your smartphone’s location to determine if anyone is home. Set a radius of about 1-2 miles. When you drive away, the temp drops; when you return, it climbs back to comfort levels. This automation saves more energy than any manual schedule ever could.
Also, look into utility rebates. In Oregon, PGE and other utilities often offer instant discounts or mail-in rebates for installing ENERGY STAR certified smart thermostats. Check your provider’s website before you buy-you might knock $50 off the price tag instantly.
Troubleshooting Common Issues
Even with careful planning, glitches happen. Here are the most frequent post-installation headaches:
- No Power: Double-check the breaker. Ensure the R and C wires are securely connected. If you used a power adapter, verify it’s plugged into the furnace board correctly.
- Furnace Won’t Start: Verify the W wire connection. Some systems require a specific jumper setting for single-stage vs. multi-stage heat.
- AC Runs Continuously: Check the Y wire. Sometimes, if the C-wire is mistakenly connected to Y, the compressor stays on.
- Wi-Fi Drops: Move the router closer or use a mesh extender. Smart thermostats prefer 2.4GHz networks, not 5GHz. Ensure you’re connecting to the correct band.
If everything seems wired right but the system acts up, reset the thermostat to factory settings and redo the setup wizard. Software bugs are rare, but misconfigurations are common.
Frequently Asked Questions
Do I really need a C-wire for a smart thermostat?
Not always, but it is highly recommended. Without a C-wire, some smart thermostats rely on power-stealing techniques that can cause flickering displays or unreliable Wi-Fi connections. Many brands sell simple adapter kits that install at the furnace to create a virtual C-wire if you don't have a spare conductor available.
Can I install a smart thermostat myself if I have a heat pump?
Yes, but pay close attention to the O/B wire. This wire controls the reversing valve that switches between heating and cooling modes. If your heat pump uses an Orange wire for O, or Blue for B, ensure your new thermostat's settings match this polarity. Incorrect setup can result in the system blowing hot air when you want cold, or vice versa.
How much money can I actually save?
The EPA estimates average savings of around 8% on heating and 15% on cooling annually. For a typical household spending $1,500 a year on HVAC, that’s roughly $120-$150 in savings. Combined with utility rebates, many users recoup the cost of the device within two years.
What happens if my internet goes down?
Your smart thermostat will continue to function locally. It will maintain the last known schedule or revert to a default energy-saving mode depending on the brand. You lose remote control and cloud-based learning features, but your house will still heat and cool normally until the connection returns.
Are smart thermostats compatible with all HVAC systems?
Most are compatible with standard 24V forced-air, heat pump, and dual-fuel systems. However, they are generally NOT compatible with line-voltage systems (common in electric baseboards) or millivolt systems (older gas fireplaces). Always check the manufacturer's compatibility tool before purchasing.