Nothing kills the vibe of a fully automated home faster than a smart doorbell that stops talking or a motion sensor that refuses to wake up. Most people assume these devices are sealed units meant to be replaced entirely when they die, but that’s rarely true. In fact, over 80% of common wireless smart gear is consumer electronics designed with user-replaceable power sources to extend lifespan and reduce e-waste. Whether you’re dealing with coin cells, lithium-ion packs, or proprietary rechargeable blocks, knowing how to handle the power source can save you hundreds of dollars in unnecessary hardware swaps.
This guide breaks down exactly how to identify, replace, and charge the batteries in your connected devices without voiding warranties or shorting out sensitive circuitry. We’ll cover the specific tools needed, the safety protocols for different battery chemistries, and the hidden charging quirks that trip up even experienced DIYers.
Identifying Your Battery Type Before You Start
The first step isn’t prying open the case; it’s identifying what you’re actually dealing with. Mixing up battery types is the fastest way to ruin a $150 sensor. There are three main categories you’ll encounter in modern smart home devices is IoT-enabled hardware that connects to a central hub via Wi-Fi, Z-Wave, Zigbee, or Bluetooth.
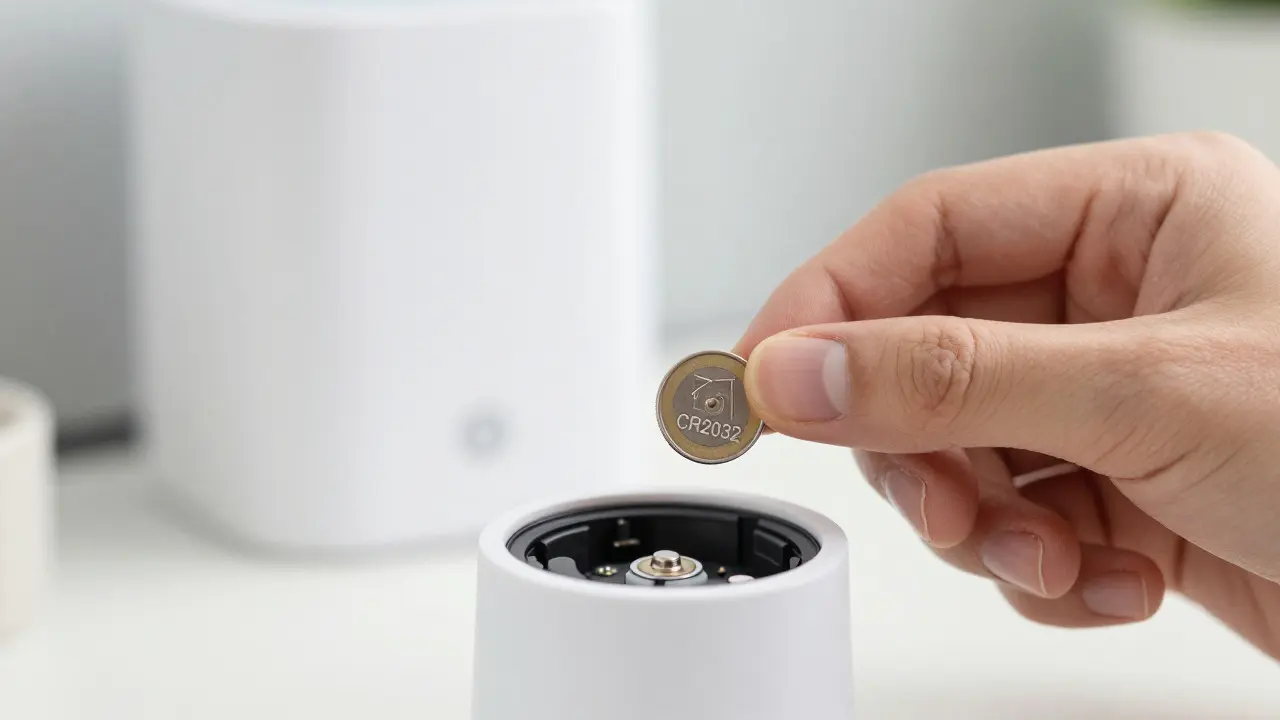
- Coin Cell Batteries (CR2032, CR2450): These are non-rechargeable lithium primary cells. They are standard in remotes, key fobs, and low-power sensors. If your device uses two or more of these, check the orientation carefully-installing them backwards will drain them instantly or prevent operation.
- Lithium-Ion Packs (Li-ion/Li-Po): Found in video doorbells, security cameras, and high-drain locks. These are rechargeable and often come as a single sealed unit. They require specific voltage levels (usually 3.7V per cell) and are sensitive to heat.
- Proprietary Rechargeable Blocks: Brands like Ring or Nest often use custom-shaped battery packs that only fit their specific models. While they look unique, they usually operate on standard Li-ion chemistry inside.
Always check the label on the existing battery before buying a replacement. Look for the capacity rating in milliamp-hours (mAh). If you upgrade from a 1000mAh pack to a 1500mAh pack, you might get 50% more runtime, provided the physical dimensions match.
Tools and Safety: What You Actually Need
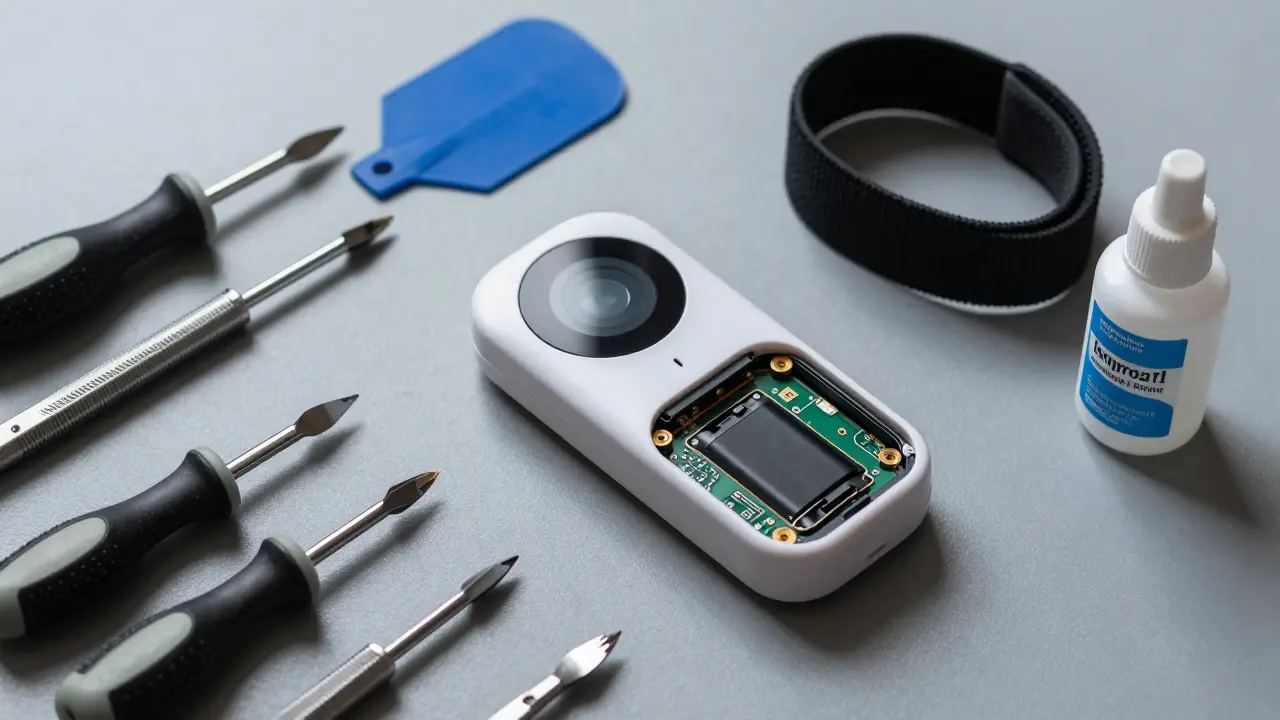
You don’t need a professional tech bench to do this job, but you do need the right tools to avoid stripping screws or cracking plastic housings. Here is the essential toolkit for a clean installation:
- Precision Screwdriver Set: Most smart gear uses Phillips #00 or Torx T6/T8 screws. Standard household drivers are too large and will strip the heads immediately.
- Plastic Spudger or Guitar Pick: For devices with clip-on back covers, a metal pry tool will scratch the finish. A plastic spudger lets you pop the seams without damage.
- Anti-Static Wrist Strap: While less critical for simple battery swaps, handling exposed circuit boards with static electricity can kill sensitive components. Ground yourself before touching the board.
- Isopropyl Alcohol (90%+): Use this to clean contacts if you see green corrosion or dust buildup. Never use water or tap water, which leaves conductive residue.
Safety note: If you are replacing a swollen Li-ion battery, work in a well-ventilated area. Swollen cells release flammable gases when punctured. Keep a small fire extinguisher or sand nearby just in case.
Step-by-Step: Replacing Coin Cell Batteries
Replacing coin cells is the easiest task in this list, but it has one major pitfall: polarity. Here is how to do it right.
- Open the Compartment: Most devices have a sliding cover or a screw-off cap. Remove it gently. Take a photo of the battery arrangement before removing anything. This saves you from guessing the orientation later.
- Remove Old Batteries: Use a flat-head screwdriver or your fingernail to pop them out. If they feel stuck, apply gentle pressure rather than forcing them, as the retaining spring can snap.
- Clean Contacts: Wipe the metal contacts inside the compartment with a cotton swab dipped in isopropyl alcohol. Let it dry completely. Dirty contacts are the number one cause of "dead" devices that still have good batteries.
- Insert New Batteries: Match the positive (+) and negative (-) signs on the battery to the markings in the compartment. Usually, the side with the text faces up, but always verify with your photo.
- Test Immediately: Close the cover and check the device status. If it doesn’t light up, re-open and flip the batteries. Do not wait hours to check.
Handling Lithium-Ion Packs and Proprietary Blocks
Swapping larger battery packs requires more care because these units often connect via delicate ribbon cables or soldered points. Unlike coin cells, these batteries store significantly more energy, so short circuits are a real risk.
When removing an old Li-ion pack, disconnect the battery connector from the motherboard first. This isolates the power source and prevents sparks when you unplug the rest of the assembly. If the pack is held in place by adhesive strips, heat them slightly with a hair dryer on low setting for 30 seconds to soften the glue. This makes removal much easier and reduces the chance of tearing the flex cable.
For proprietary blocks, ensure you are buying the exact model number listed on the sticker. Even if the shape looks identical, the internal cell configuration might differ, leading to charging issues. Once the new pack is installed, reconnect the battery cable last. Press firmly until you hear a click; a loose connection here causes intermittent power loss, making the device appear randomly offline.
Charging Best Practices for Longevity
Getting the battery in is only half the battle. How you charge it determines how long it lasts. Modern lithium-ion chemistry is a battery technology known for high energy density but sensitivity to extreme temperatures and deep discharge cycles. To maximize cycle life, follow these rules:
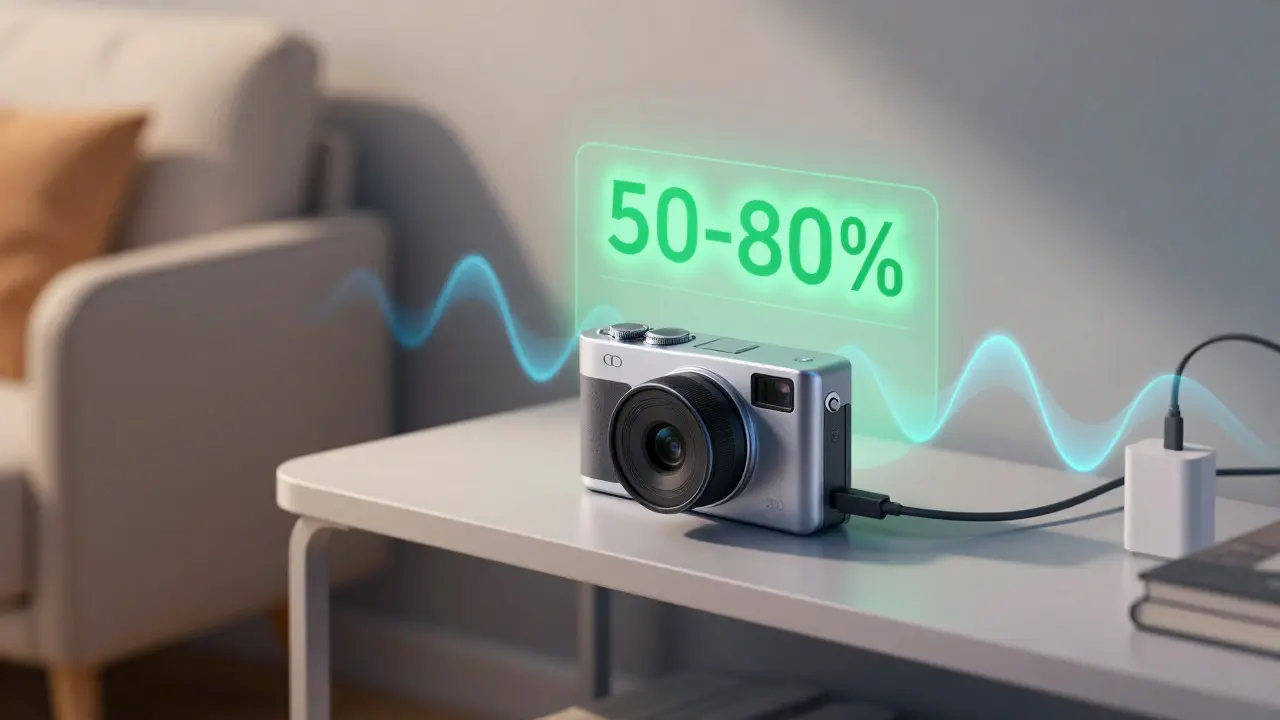
- Avoid Deep Discharges: Try to recharge your devices when they hit 20-30% capacity, rather than letting them die completely. Deep discharges stress the internal chemical structure.
- Temperature Control: Charge devices at room temperature (around 20°C or 68°F). Charging a hot camera after it’s been sitting in direct sun accelerates degradation. Conversely, charging in freezing conditions can permanently reduce capacity.
- Use Original Chargers: Third-party chargers often lack proper voltage regulation. A charger that outputs 5.2V instead of 5.0V may seem minor, but over hundreds of cycles, it degrades the battery faster. Stick to the manufacturer’s recommended wattage.
- Store Properly: If you have spare batteries, store them at 50% charge in a cool, dry place. Storing them fully charged or fully drained for months will shorten their usable life significantly.
Troubleshooting Common Power Issues
If your device still acts up after a fresh battery swap, the problem likely lies elsewhere. Here are the most common scenarios and how to fix them:
| Issue | Possible Cause | DIY Fix |
|---|---|---|
| Device won't turn on | Corroded contacts or dead battery | Clean contacts with alcohol; test battery in another device |
| Intermittent connectivity | Loose battery connector or failing cell | Reseat battery cable; check for swelling; replace pack |
| Battery drains fast | High-frequency polling or software bug | Update firmware; reduce motion detection sensitivity |
| Charging LED stays red | Faulty charger or damaged port | Try a different cable/adapter; inspect port for debris |
One subtle issue is firmware bugs. Sometimes, a device reports low battery even when the pack is full due to a calibration error. A factory reset can often recalibrate the battery gauge. Perform this last, as it wipes your settings.
When to Replace the Device Entirely
While most gear is repairable, there are limits. If the battery compartment is glued shut with no clear seam, or if the battery is soldered directly to the mainboard, the cost of labor and parts often exceeds the price of a new unit. In these cases, consider the total cost of ownership. If a replacement battery costs $30 and the device is five years old, buying a new $80 device might be more economical and give you newer features and better security patches.
However, if you enjoy the challenge and have the tools, opening sealed units is possible. Just accept that you may not be able to close it perfectly, which could let in moisture. For outdoor gear, this is a significant risk. For indoor sensors, it’s usually manageable.
Can I use AA batteries in my smart lock?
Only if the manufacturer specifies it. Some older smart locks used AA alkaline batteries, but many newer models use lithium AA batteries for longer life in cold weather. Never mix alkaline and lithium batteries in the same slot, as the voltage difference can cause leaks or uneven drainage. Check your user manual for the required chemistry.
Why does my smart doorbell battery drain so quickly in winter?
Lithium-ion batteries lose efficiency in cold temperatures. Below 32°F (0°C), the internal resistance increases, reducing available capacity. Additionally, frequent doorbell rings and video streaming consume more power. To mitigate this, keep the device away from direct drafts and consider switching to a wired version if feasible.
Is it safe to leave smart gear plugged in all the time?
For devices with built-in battery management systems, yes. Modern chips stop charging once the battery hits 100%. However, keeping a battery at 100% constantly can slightly accelerate degradation over years. If you have the option, using the device while plugged in (bypassing the battery) is ideal for stationary units like cameras.
What should I do if a battery leaks into the compartment?
Remove the batteries immediately. Wear gloves to avoid contact with the corrosive fluid. Clean the compartment thoroughly with isopropyl alcohol and a soft brush. If the corrosion has reached the circuit board, the device may need professional cleaning or replacement, as the acid can eat through traces.
How often should I replace smart gear batteries?
It depends on usage. Low-power sensors with coin cells may last 2-5 years. High-drain devices like video doorbells with Li-ion packs typically last 6-12 months on a single charge or replacement. Monitor your app’s battery health indicator to predict when service is needed.