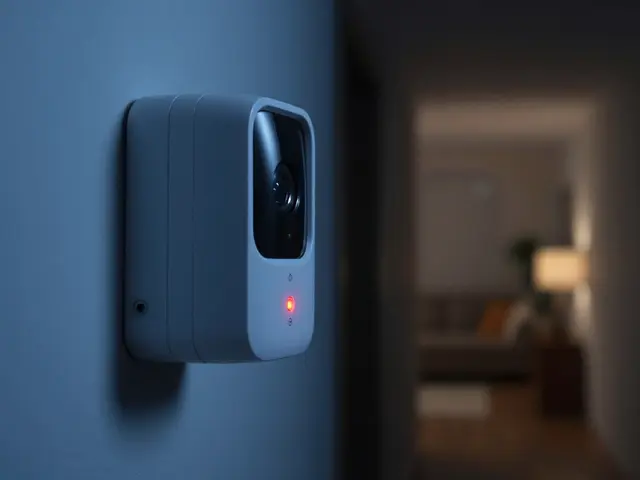
Living in Portland, you know that "dry" weather is a myth. One minute it’s sunny, the next it’s a sideways drizzle that soaks everything. If your outdoor security camera or smart doorbell keeps glitching after rain, don’t assume the hardware is broken. More often than not, it’s just water getting into places it shouldn’t. You don’t need to be an electrician to fix this. With a few cheap tools and some patience, you can seal up these devices and keep them running through the worst of our Pacific Northwest winters.
Understanding Water Resistance vs. Waterproofing
First, let’s clear up a common confusion. Most people think their device is waterproof because the box says so. But manufacturers use specific ratings called IP Ratings. This stands for Ingress Protection. The first number tells you about solids (dust), and the second number tells you about liquids. For our purposes, look at the second digit. An IP65 rating means protected against low-pressure water jets from any direction. An IP67 rating means you can submerge it in one meter of water for 30 minutes. If your camera only has an IP44 rating, it’s splash-proof, not rain-proof. That’s why it fails when the wind blows rain directly into the lens housing.
The goal of DIY waterproofing isn’t to make your camera submarine-ready; it’s to close the gaps where air-and therefore moisture-can sneak in. Condensation inside the lens is usually the first sign of trouble. It looks like fog on the inside of the glass. Once condensation starts, corrosion follows, and that’s when the electronics start dying.
Tools and Materials You Actually Need
You don’t need expensive industrial gear. Here is what works best for standard consumer-grade devices:
- Silicone Sealant: Use a neutral-cure silicone. Avoid acidic vinegar-based silicones, which can eat away at plastic casings over time. Clear silicone is best because it dries transparent.
- Dielectric Grease: This goes on electrical contacts. It repels water and prevents oxidation on the pins where the cable connects to the camera.
- Electrical Tape and Heat Shrink Tubing: Standard electrical tape degrades in UV light. Heat shrink tubing with adhesive lining is far superior for long-term outdoor use.
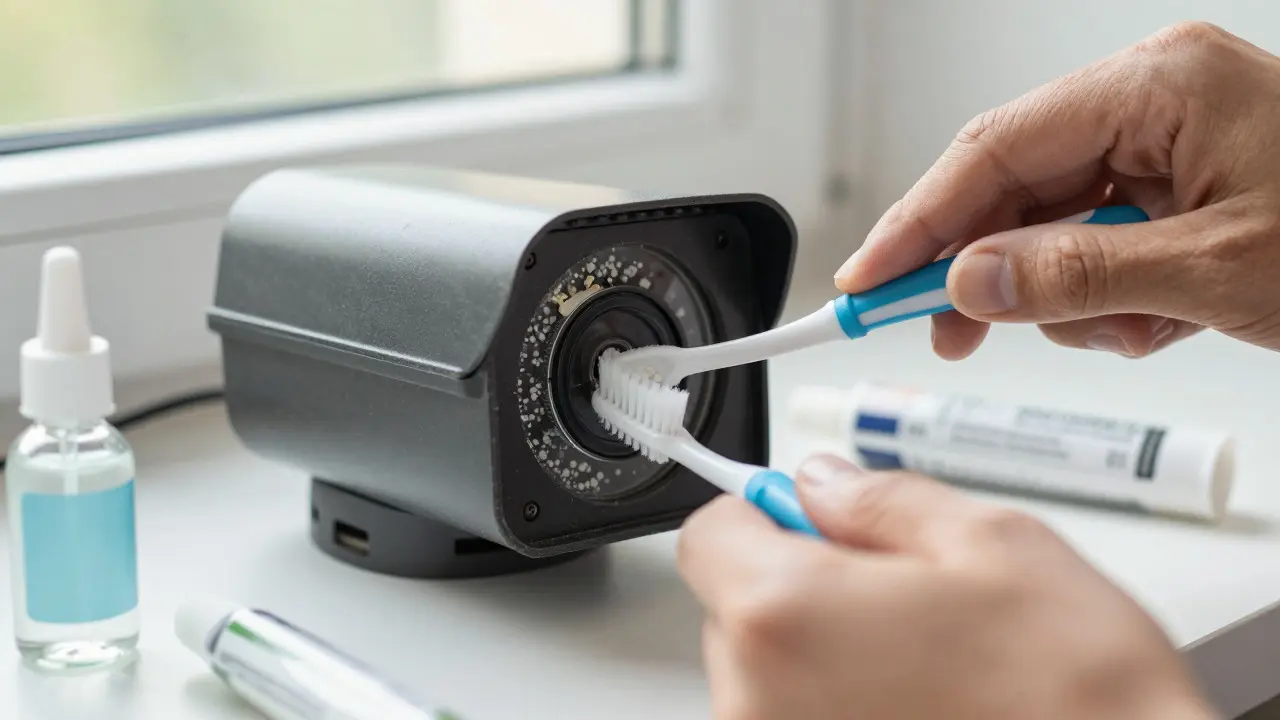
- A Small Brush or Toothbrush: To clean out old, dried-out sealant before applying new stuff.
- Isopropyl Alcohol (90%+): To degrease surfaces so the new sealant sticks properly.
Step-by-Step: Sealing the Cable Entry Point
This is the most critical step. Ninety percent of water damage enters through the hole where the power cable or Ethernet cable plugs into the back of the camera. Manufacturers often leave this open or provide a weak rubber grommet that hardens and cracks after two years of sun exposure.
- Disconnect Power: Always unplug the camera or turn off the breaker. Working with live low-voltage lines is safer, but dead lines are safest.
- Clean the Area: Wipe down the port area with isopropyl alcohol. Remove any old, crumbly silicone or dirt. If the surface isn’t clean, the new seal won’t stick.
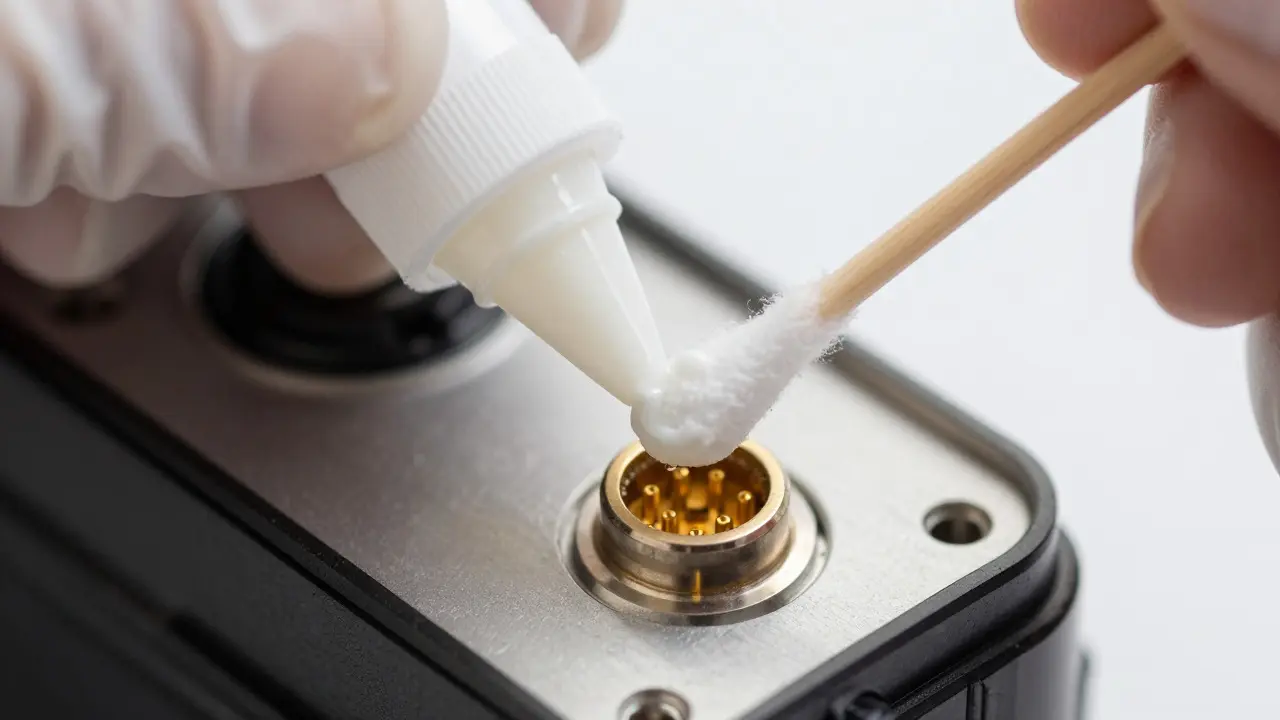
- Apply Dielectric Grease: Put a small amount of dielectric grease on the metal pins inside the connector. This creates a barrier against moisture that might wick up the cable insulation.
- Seal the Gasket: Take your neutral-cure silicone and apply a thin, continuous bead around the base of the cable where it enters the housing. Don’t glob it on. A thin line is enough. Press the cable firmly into the center of the bead.
- Wrap the Cable Base: Wrap electrical tape or, better yet, heat shrink tubing around the cable right where it exits the wall or bracket. This stops water from traveling down the outside of the cable and finding its way into the entry point.
Protecting the Lens and Front Housing
If your camera has a removable lens cover or a front faceplate, check the screws. Often, the factory-applied thread sealant wears off. Apply a tiny drop of silicone to the threads of these screws before tightening them. This ensures the plate sits flush against the body without gaps.
For doorbells, pay attention to the button mechanism. The physical button is a hole in the casing. While modern designs are sealed, dust and grit can jam the internal spring. Clean the button area gently with a dry brush. Do not spray cleaner directly onto the button; use a damp cloth instead. If your doorbell has a visible gap between the faceplate and the main unit, run a thin line of silicone along the inner edge of the faceplate rim. This creates a secondary seal if the primary O-ring fails.
Common Mistakes to Avoid
Don’t over-tighten screws. Plastic housings crack easily. If you strip a screw head, you’ll have a bigger problem than a leak. Use a screwdriver that fits perfectly and stop turning once it feels snug.
Avoid using super glue (cyanoacrylate) on plastics. It becomes brittle when cold and shatters in Portland’s winter temperatures. Stick to flexible silicones and rubbers.
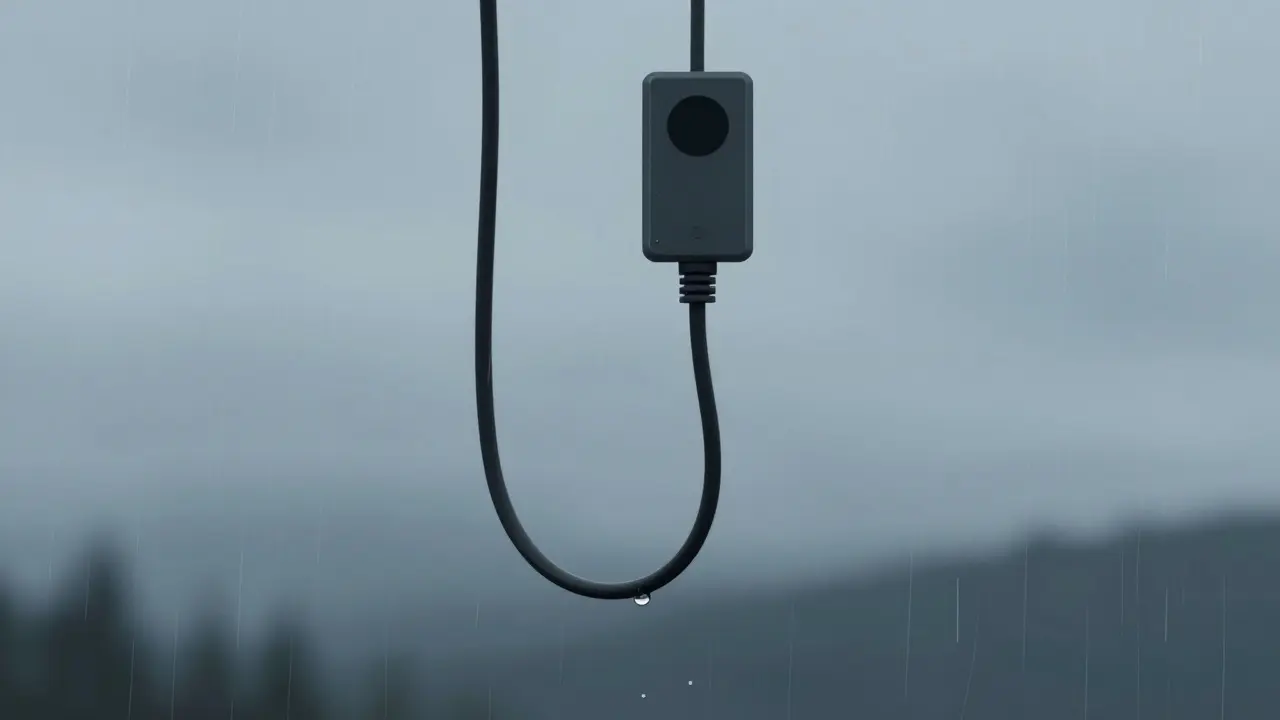
Finally, don’t ignore the wiring path. If your cable runs horizontally along a wall, gravity helps drain water away. If it runs vertically upward, water can pool at the connection point. Ensure the cable has a slight downward loop (a drip loop) before entering the house or the camera. This lets water drip off the end of the cable rather than flowing into the device.
Maintenance Schedule for Longevity
Waterproofing isn’t a one-time fix. Silicone degrades under UV exposure. In our climate, check your seals every six months. Look for white spots or cracking in the silicone. If you see any, scrape it off and reapply. It takes five minutes and saves you from replacing a $150 camera.
| Material | Best For | Lifespan (Outdoor) | UV Resistance |
|---|---|---|---|
| Neutral-Cure Silicone | Housing seams, cable entries | 5-7 years | High |
| Acidic Silicone | Glass/metal bonds (avoid on plastic) | 3-5 years | Medium |
| Dielectric Grease | Electrical connectors/pins | Indefinite (until dirty) | High |
| Heat Shrink Tubing | Cable strain relief | 8-10 years | Very High |
Frequently Asked Questions
Can I use regular caulk to waterproof my camera?
Technically yes, but it’s not ideal. Regular latex caulk shrinks as it dries, which can create gaps. It also doesn’t bond well to plastic. Neutral-cure silicone is specifically formulated to stay flexible and adhere to non-porous surfaces like camera housings.
How much dielectric grease should I use?
Less than you think. A pea-sized amount spread thinly across the contact points is sufficient. Too much grease can attract dust and debris, which might interfere with the connection later. The goal is a microscopic barrier, not a thick coating.
My camera fogs up even though it’s sealed. Why?
If the exterior is sealed but the interior fogs, you likely have trapped moisture or a temperature differential issue. Warm air holds more moisture than cold air. When the camera cools down at night, that moisture condenses. Adding a small desiccant packet inside the housing (if accessible) can help absorb this internal humidity.
Does painting the camera help with waterproofing?
No, and it can hurt. Paint can block ventilation holes designed to equalize pressure. It can also trap heat, causing thermal expansion that cracks seals. Only paint if you are using a specialized high-heat or marine-grade enamel, and ensure all vents remain clear.
How often should I re-seal the cable entry?
Inspect it every six months. Re-seal annually or whenever you notice the silicone becoming brittle, whitish, or pulling away from the cable. In harsher coastal environments, you might need to do this every four months due to salt air degradation.