Imagine waking up to the perfect temperature, coffee brewing, and lights fading in gently. No fumbling for switches or waiting for the house to warm up. That’s the power of DIY home automation. You don’t need a professional installer or a massive budget to create these experiences. With a few affordable sensors, a hub, and some logic, you can build routines that save time and reduce energy waste. This guide walks you through setting up three essential scenarios: your morning wake-up, your away-from-home security, and your evening wind-down.
Key Takeaways
- Central Hub is Key: A central controller like Home Assistant or SmartThings connects all devices, allowing complex multi-device actions.
- Sensors Drive Logic: Motion detectors, door contacts, and thermostats provide the data needed to trigger automated responses.
- Start Simple: Begin with one room or one routine (like lighting) before expanding to whole-house integration.
- Energy Savings are Real: Automated thermostat adjustments based on presence can lower utility bills by 10-15%.
- Reliability Matters: Use battery-backed devices and check sensor batteries regularly to avoid failed automations.
The Core Components of Your DIY System
Before wiring anything, you need the right hardware. The backbone of any serious DIY setup is a local hub. While cloud-based systems work, local hubs offer faster response times and better privacy. Popular choices include the Raspberry Pi running Home Assistant, or dedicated hubs like the Samsung SmartThings Station. These devices act as the brain, receiving signals from sensors and sending commands to actuators.
You’ll also need input devices to tell the system what’s happening. Think of these as the eyes and ears of your home. Common inputs include:
- Motion Sensors: Detect movement in hallways or living rooms. Brands like Aeotec and Fibaro offer reliable Z-Wave options.
- Door/Window Contacts: Magnetic switches that report open/closed status. Essential for security modes.
- Thermostats: Smart models like Nest or Ecobee allow remote control and scheduling via API.
- Lighting Controllers: Switches or plugs that can turn lights on/off. Zigbee bulbs (like Philips Hue) are popular for their color and brightness control.
Finally, you need output devices to execute the actions. These are the things that change the physical environment: lights, locks, fans, or media players. The protocol matters here. Z-Wave and Zigbee are low-power radio protocols ideal for home automation because they form mesh networks, extending range as you add more devices. Wi-Fi is easier to set up but consumes more bandwidth and power.
Building the Morning Routine: Wake Up Smoothly
Your morning routine should ease you into the day without jarring alarms. The goal is gradual stimulation. Let’s say you want the house ready by 6:30 AM. Instead of a single alarm clock, we use a sequence of events triggered by time and presence.
- Pre-Heat (5:45 AM): The thermostat ramps up the temperature to your desired comfort level (e.g., 72°F). This ensures the house is warm when you get out of bed.
- Light Fade-In (6:15 AM): Bedroom lights start at 5% brightness and slowly increase to 40% over 15 minutes. This mimics sunrise and helps regulate your circadian rhythm.
- Coffee Maker Activation (6:20 AM): If you have a smart plug connected to your coffee machine, it turns on. By the time you’re dressed, coffee is ready.
- Blinds Open (6:30 AM): Motorized blinds rise to let in natural light. This signal tells your brain it’s time to be alert.
To make this robust, add a condition: only run this routine if no motion was detected in the bedroom after 11 PM. This prevents the lights from turning on if you stayed up late. You can implement this logic in most home automation platforms using “if-this-then-that” rules with time delays.
Away Mode: Secure and Efficient
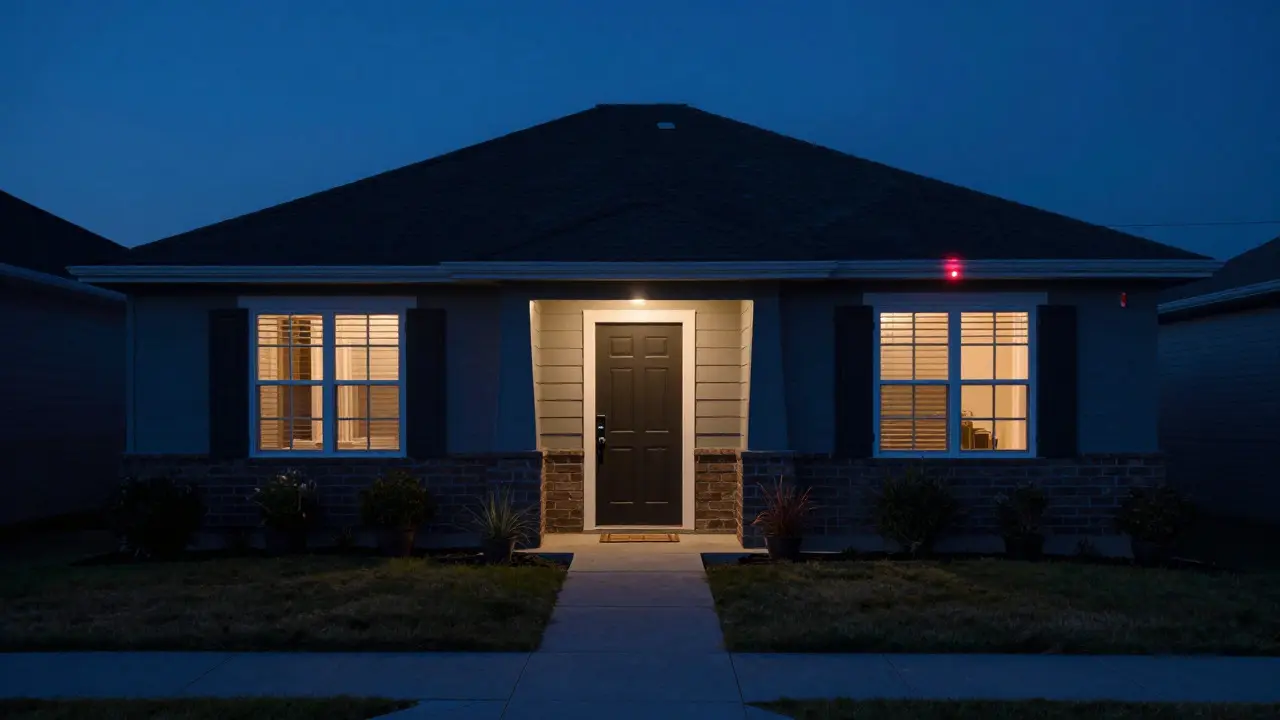
When you leave the house, your system should shift to conservation and security. Manual toggling is error-prone; automatic detection is superior. The best trigger for Away Mode is a combination of door sensors and geofencing.
Here’s how to structure the logic:
- Trigger: All exterior doors/windows are closed AND the last person leaves the geofence zone (set to 500 meters radius).
- Action 1 (Security): Arm the perimeter sensors. Any motion now triggers an alert or camera recording.
- Action 2 (Energy): Set the thermostat to Eco mode (e.g., 68°F in summer, 60°F in winter).
- Action 3 (Lights): Turn off all non-essential lights. Optionally, schedule random “presence” lights to turn on/off during the day to deter burglars.
A critical detail is the “grace period.” Give yourself 5-10 minutes to exit the geofence before the system fully arms. This prevents false triggers if you step outside to get mail. Once the grace period passes and no entry is detected, the Away state activates. When you return, the reverse happens: disarming, heating/cooling back to comfort, and lights turning on in the entryway.
Night Routine: Wind Down and Sleep
The evening routine focuses on reducing stimulation and preparing for sleep. Unlike the morning, this is about dimming and cooling. A common mistake is keeping lights too bright until bedtime, which suppresses melatonin production.
- Evening Transition (8:00 PM): Living room lights dim to 30% and shift to warmer color temperatures (around 2700K). This signals relaxation.
- Bedtime Cue (10:30 PM): If no motion is detected in the main areas for 30 minutes, assume everyone is in bed. Turn off hallway and living room lights completely.
- Thermostat Adjustment (11:00 PM): Lower the temperature by 2-3 degrees. Cooler rooms promote deeper sleep.
- Locks Engage (11:30 PM): Automatically lock all exterior doors if not already locked. This adds a safety layer without requiring manual checks.
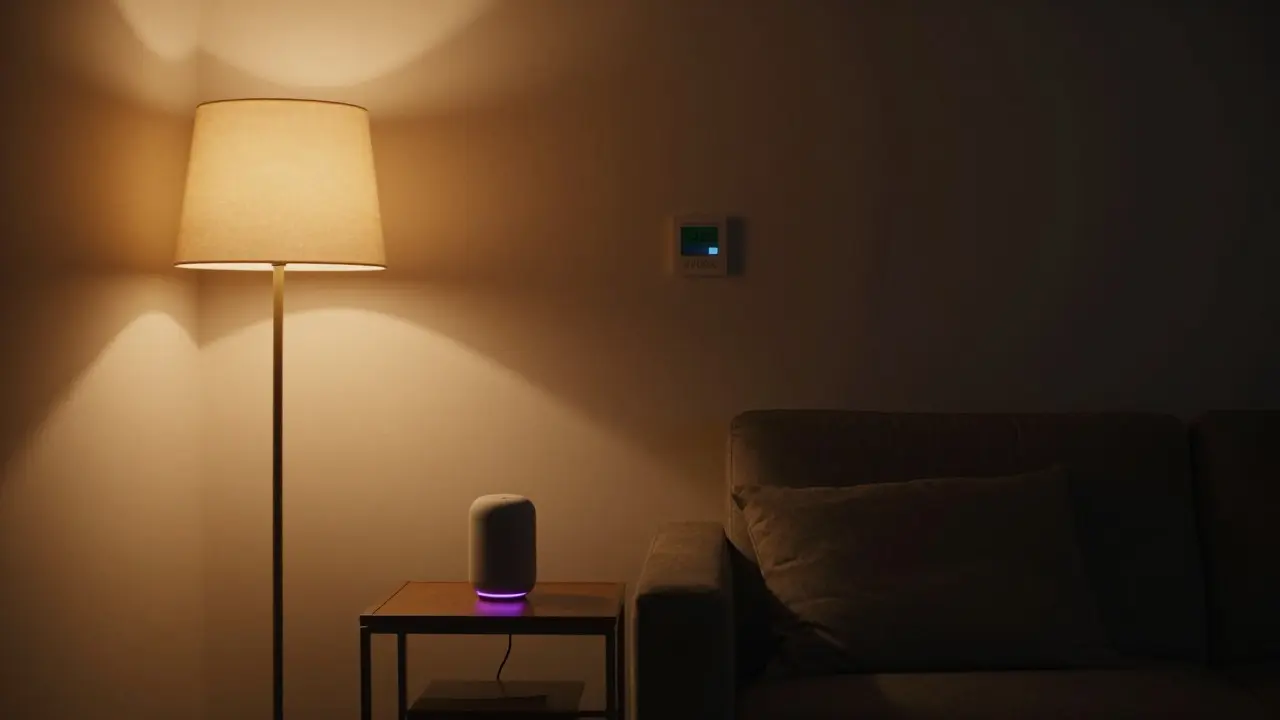
Add a “Goodnight” voice command option. If you forget to go to bed on time, saying “Goodnight” to a smart speaker can trigger this entire sequence manually. This hybrid approach-automatic defaults with manual override-is key to user-friendly automation.
Comparison of Protocols for DIY Installations
Choosing the right communication protocol affects reliability and cost. Here’s a quick comparison to help you decide.
| Protocol | Range | Power Consumption | Best For | Cost Level |
|---|---|---|---|---|
| Z-Wave | ~100 ft (mesh) | Low | Security sensors, locks | Medium-High |
| Zigbee | ~65 ft (mesh) | Very Low | Lighting, plugs | Low-Medium |
| Wi-Fi | Depends on router | High | Cameras, hubs, speakers | Low |
| Bluetooth LE | ~30 ft | Low | Short-range accessories | Low |
Troubleshooting and Pro Tips
Even well-planned automations fail sometimes. Here’s how to fix common issues.
- False Triggers: If motion sensors activate in empty rooms, adjust sensitivity or move them away from windows where sunlight changes can confuse infrared sensors.
- Latency Issues: If lights take too long to respond, check your network congestion. Move your Wi-Fi router closer to the hub or use a wired Ethernet connection for the hub itself.
- Battery Drain: Battery-powered sensors can die unexpectedly. Set up notifications for low battery levels in your hub app. Replace batteries every 12-18 months proactively.
- Time Zone Errors: Ensure your hub’s time zone matches your location. DST changes can break schedules if not handled correctly by the software.
Pro tip: Log everything. Most advanced hubs allow you to view event logs. If a light didn’t turn on, check the log to see if the command was sent. This distinguishes between a device failure and a logic error.
Frequently Asked Questions
Do I need a hub for DIY home automation?
Not always. If you only use Wi-Fi devices like smart plugs and bulbs, they can connect directly to your router. However, a hub is recommended for complex routines involving multiple device types (like Z-Wave sensors and Zigbee lights) because it handles the translation between different protocols and provides local processing speed.
What is the cheapest way to start automating my home?
Start with Wi-Fi smart plugs and a free app like Google Home or Apple HomeKit. Buy two or three plugs for lamps or appliances. This costs under $50 and lets you learn basic scheduling and voice control without investing in proprietary ecosystems.
How do I prevent my morning routine from triggering when I stay up late?
Use a motion sensor in your bedroom. Set the rule so the morning routine only starts if there has been NO motion in the bedroom between 11 PM and 5 AM. If you were awake, the motion will cancel the pre-dawn heating and lighting cues.
Is it safe to automate my front door lock?
Yes, provided you use a reputable smart lock with deadbolt compatibility. Always keep a physical key backup stored securely inside. Automate locking only when you are confirmed away via geofence, and ensure the lock reports its status to your hub so you know if it fails to engage.
Can I use Alexa or Google Assistant as my main hub?
They work well as interfaces but are limited as logic engines. They handle simple “turn on light” commands easily. For complex multi-step routines with conditions (like “if door opens AND motion detected THEN...”), a dedicated hub like Home Assistant or SmartThings offers more flexibility and reliability.