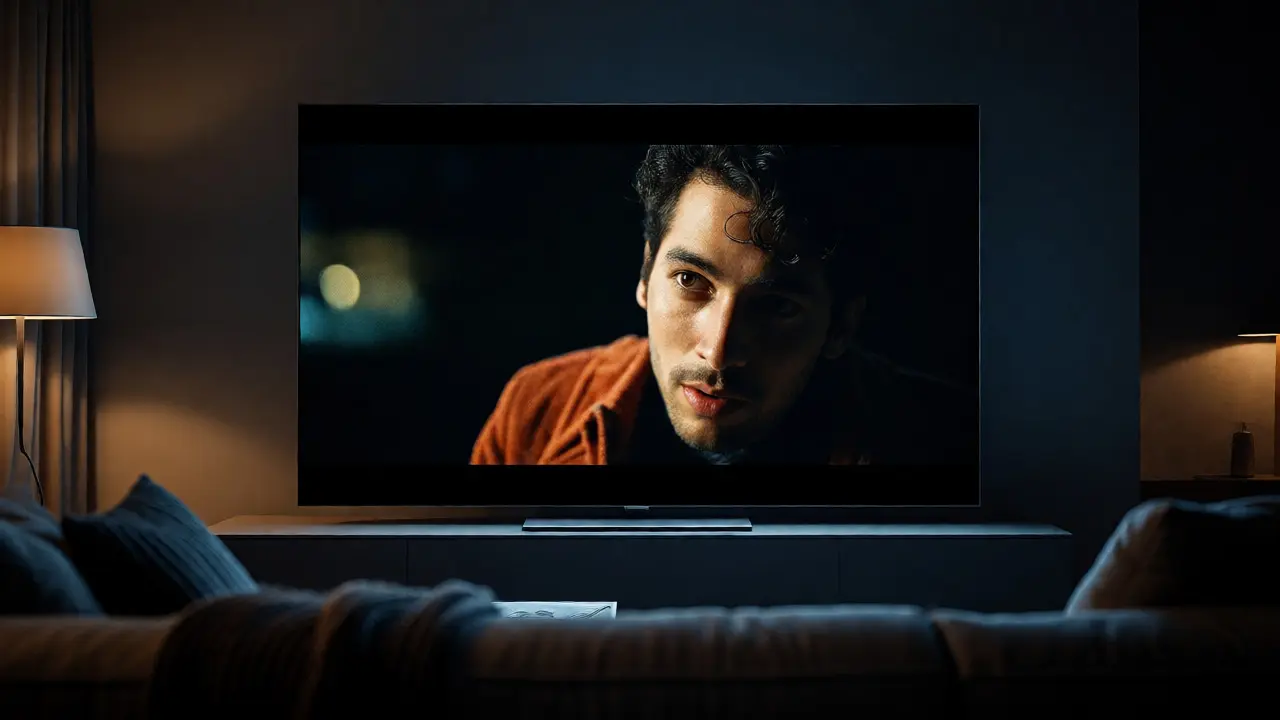
You just unboxed a shiny new OLED or high-end LCD. The salesperson told you it looks incredible in the store. But when you get it home, under your living room lights, something feels off. The blacks aren't quite black, the skin tones look orange, and fast-moving objects in video games leave a blurry trail behind them. This isn't a defect. It's because factory settings are designed to grab attention in a brightly lit showroom, not to deliver accurate images in your home.
TV Calibration is the process of adjusting your television's picture settings to match industry-standard reference levels for brightness, color, and contrast. It sounds technical, but you don't need a degree in optics to do it. With a few free apps and some basic adjustments, you can transform a "good" picture into a cinematic experience. Whether you're watching the latest Marvel blockbuster or playing a competitive shooter on your PS5, getting these settings right changes everything.
Why Factory Settings Lie to You
Manufacturers have one goal: make their TV pop against competitors on a crowded wall. To do this, they crank up the Brightness and Saturation to maximum levels. They also enable aggressive Motion Smoothing, often called "Soap Opera Effect," which makes movies look like cheap daytime TV by interpolating extra frames.
This approach destroys accuracy. In a standard movie scene, shadows should be dark but detailed, not crushed into pure black. Skin tones should look natural, not sunburned. When you calibrate your TV, you're essentially telling it to stop trying to win a beauty contest and start acting like a professional monitor.
Essential Tools for DIY Calibration
You don't need expensive hardware to get started. While professional calibrators use colorimeters costing hundreds of dollars, you can achieve 90% of the results with tools you likely already own.
- Test Patterns: Download the THX Optimizer app (available on many streaming devices) or use YouTube channels like AVS Forum or Rtings that offer free test patterns.
- A Dark Room: Calibrate at night or with curtains drawn. Ambient light confuses your eyes and the TV's sensors.
- Your Remote: That's it. Most modern TVs allow deep menu access without special buttons.
If you want to go deeper, consider a smartphone-based colorimeter app like i1Display Pro paired with a compatible sensor, but for most users, visual pattern matching is sufficient.
Step-by-Step: Setting Up Your Picture Mode
Start by resetting your TV to its default state. Then, choose the right starting point. This is crucial because different content types require different baselines.
For Movies and Streaming
Select the Cinema, Filmmaker Mode, or Movie preset. These modes disable most post-processing effects and adhere closely to Rec.709 (SDR) or Rec.2020 (HDR) color standards. If your TV has a Filmmaker Mode, use it. It locks out motion smoothing and sets the white point to 6500K, which is the industry standard for daylight balance.
For Gaming
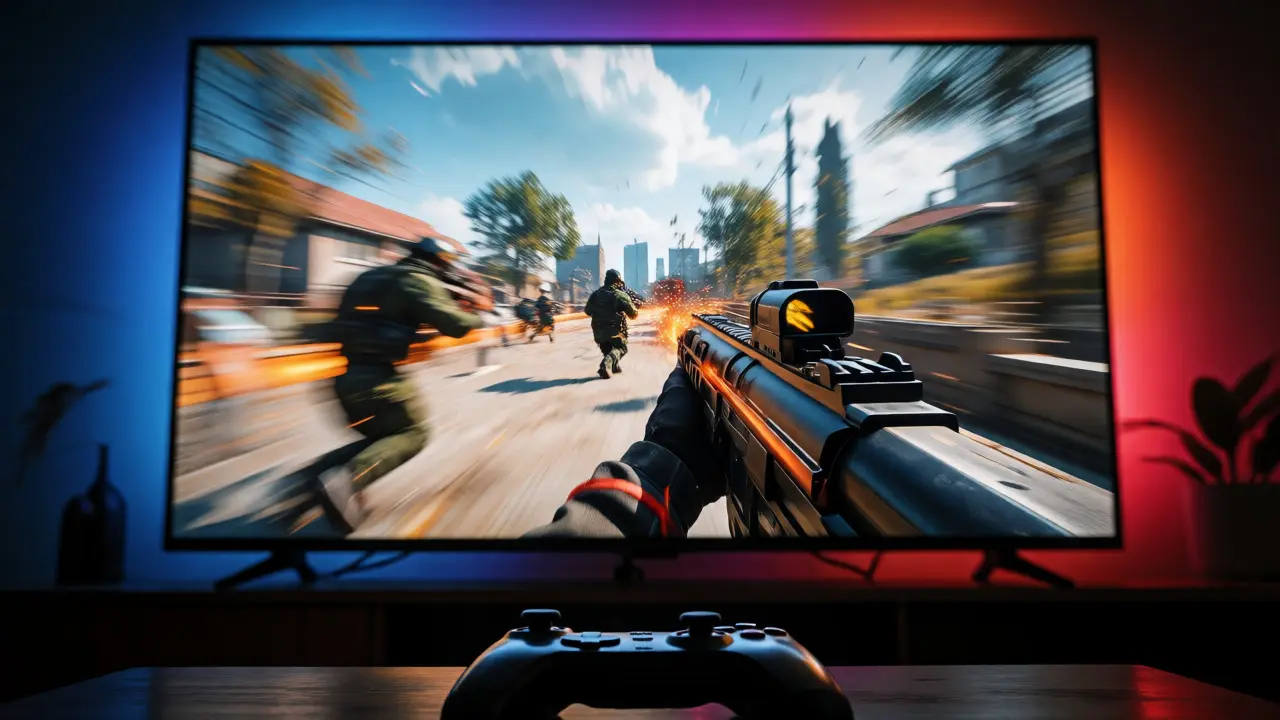
Gaming requires low input lag above all else. Look for a Game Mode or Auto Game Mode. On Sony Bravia TVs, this is often labeled "Game." On Samsungs, it's usually enabled automatically when you connect via HDMI 2.1. Avoid "Vivid" or "Dynamic" modes for gaming; they introduce significant processing delays that make controller inputs feel sluggish.
Fine-Tuning Brightness and Contrast
Once you've picked the right mode, open your test patterns. Start with Black Level (often called Brightness in older menus). Find a pattern with a black background and faint gray squares. Adjust the Black Level until you can barely see the darkest square. If you set it too high, blacks become gray. Too low, and you lose detail in shadows, turning dark scenes into a muddy mess.
Next, tackle Contrast (sometimes labeled Backlight or Peak Brightness). Use a white-level pattern. Increase the setting until the brightest whites just begin to clip-meaning details disappear into pure white. For SDR content, aim for around 100-120 nits if possible, though most TVs max out higher. For HDR content, let the TV handle peak brightness dynamically, but ensure the global backlight isn't set so high that it causes blooming (halos around bright objects).
Mastering Color Accuracy and Tint
Color is where most people struggle. Stick to the Warm or Cold color temperature settings rather than custom RGB gains unless you're advanced. Warm2 is typically the closest to the D65 standard used by filmmakers. It might look yellowish at first because you're used to the blue-heavy Cool settings, but give it a day. Your eyes will adjust, and skin tones will suddenly look realistic.
Check your Tint (Hue) using a red/blue test pattern. If the reds look pink or the blues look purple, tweak the tint slider slightly. Most modern panels are factory-calibrated well enough here, so small nudges are usually all that's needed. Saturation should generally stay near the middle (50%). Cranking saturation makes colors vibrant but unnatural, especially for faces.
The Motion Smoothing Trap
This is the biggest enemy of cinematic realism. Features like Motion Interpolation, TruMotion, Auto Motion Plus, or Smooth Motion create fake frames to smooth out judder. For movies shot at 24fps, this creates an artificial "hyper-real" look that breaks immersion.
| Content Type | Recommended Setting | Why? |
|---|---|---|
| Movies (24fps) | Off or Low | Preserves director's intent; avoids Soap Opera Effect. |
| Sports/Live TV | Medium-High | Reduces blur during fast pans; helps track balls/pucks. |
| Gaming | Off | Adds input lag; interferes with game engine frame pacing. |
If you must use motion smoothing for sports, keep it low. High settings introduce artifacts, such as halos around moving players or distorted backgrounds.
HDR Specifics: Don't Ignore Tone Mapping
HDR (High Dynamic Range) adds complexity. Your TV needs to map the wide brightness range of HDR content to what its panel can actually produce. Look for settings labeled HDR Tone Mapping or HDR Brightness.
Set this to "Low" or "Standard" initially. Many TVs default to "High," which crushes highlights and makes bright explosions look like white blobs. If you watch content from Netflix or Disney+, enable Dolby Vision IQ if available. This feature uses the TV's ambient light sensor to adjust HDR brightness based on your room lighting, ensuring you see detail even in a sunny afternoon.
Gaming Optimization: VRR and Input Lag
For gamers, picture quality matters less than responsiveness. Ensure VRR (Variable Refresh Rate) is enabled. This syncs the TV's refresh rate with your console's frame rate, eliminating screen tearing. Both Xbox Series X/S and PS5 support HDMI 2.1 VRR.
Also, check for AllM (Auto Low Latency Mode). This tells the TV to switch to Game Mode automatically when it detects a gaming signal. Without AllM, you might forget to switch modes, leaving motion smoothing on and adding 50ms+ of input lag, which feels terrible in shooters.
Do I really need to calibrate my TV if it's expensive?
Yes, even expensive TVs benefit from calibration. Factory presets are tuned for showrooms, not homes. Calibration ensures you get the performance you paid for, particularly regarding color accuracy and shadow detail.
What is the best picture mode for general use?
There is no single "best" mode for everything. Use Movie/Cinema/Filmmaker Mode for films and streaming shows. Use Game Mode for consoles and PCs. Use Sports or Vivid only if you prefer brighter, punchier colors for live broadcasts, accepting the loss of accuracy.
Why does my TV look yellow after changing to Warm color temp?
Your eyes are accustomed to the blue-shifted "Cool" settings found in stores. Warm (D65) is the actual standard for film production. Give it 24-48 hours to adjust; you'll likely find that neutral colors look more natural and less fatiguing over time.
Should I turn off dynamic contrast?
Generally, yes. Dynamic contrast adjusts the backlight based on the average scene brightness. While it can deepen blacks, it often causes flickering or pumping effects where the screen dims and brightens noticeably between scenes. Static contrast offers a more stable image.
How do I fix banding in gradients?
Banding (visible steps in color gradients) is often caused by excessive noise reduction or sharpness. Turn Noise Reduction to Off or Low. Also, ensure your source device is outputting 10-bit color if your TV supports it, especially for HDR content.
Calibration isn't a one-time chore. As seasons change and your viewing habits evolve, revisit these settings. Maybe you add a new soundbar that changes how you perceive dialogue clarity, or perhaps you switch from cable to 4K streaming. Small tweaks yield big rewards. Spend an hour this weekend running through these steps. Your future self, watching a dark scene in a thriller or landing a headshot in a multiplayer match, will thank you.