Living in a dense neighborhood means one thing: you can hear your neighbor’s vacuum cleaner at 2 AM. If you live in an apartment or townhome, acoustic isolation is the process of blocking sound transmission between separate spaces to prevent noise from traveling through walls, floors, and ceilings. It is not just about adding foam; it is about stopping vibration. Unlike simple absorption, which soaks up echo inside a room, isolation stops the noise before it enters your space. For most residents, this is the difference between a peaceful evening and a constant headache.
The core challenge in multi-unit housing is that structures are designed for cost efficiency, not silence. Drywall is thin, studs are hollow, and pipes run close together. To fix this, you need to understand how sound moves. Airborne sound (like voices or TV) travels through the air and hits surfaces. Structure-borne sound (like footsteps or bass) travels through the building frame. Your strategy must address both.
Understanding How Noise Travels Through Walls
Before buying materials, you need to know where the leak is. Most people assume thick walls stop all noise, but physics says otherwise. The Law of Mass states that heavier materials block more sound, but the Law of Stiffness says rigid connections transmit vibration. In a typical apartment, the path of least resistance is often around doors, windows, or electrical outlets.
- Airborne Noise: High-frequency sounds like speech or music. These are easier to block with dense barriers.
- Structure-Borne Noise: Low-frequency impacts like footsteps or heavy furniture. These require decoupling layers to stop vibration transfer.
- Flanking Paths: Gaps around pipes, ducts, or door frames. Even a 1/8-inch gap can reduce the effectiveness of your entire wall by 50%.
If you hear a deep thud, it is structure-borne. If you hear clear words, it is airborne. Identifying the type dictates your solution. You cannot solve a footstep problem with just acoustic foam on the wall; you need mass and separation.
Key Materials for Effective Isolation
You do not need to tear out your home to get quiet. Three specific materials form the backbone of effective soundproofing in residential settings. Each serves a different purpose in the chain of isolation.
- Mass Loaded Vinyl (MLV): A flexible, heavy sheet material. It adds mass without much thickness. Ideal for backing drywall or hanging behind curtains.
- Green Glue: A viscoelastic compound that turns kinetic energy into heat. Applied between two layers of drywall, it dampens vibration significantly.
- Rockwool Insulation: Denser than fiberglass, it absorbs mid-to-high frequencies within wall cavities. It does not block low-end bass alone but helps overall performance.
Combining these creates a barrier. For example, adding MLV to an existing wall and then covering it with a second layer of drywall separated by Green Glue can raise the Sound Transmission Class (STC) rating by 10-15 points. An STC of 35 blocks normal conversation; an STC of 50 makes it nearly inaudible.
Step-by-Step: Upgrading Interior Walls
Let’s look at a practical scenario. You share a party wall with a neighbor who watches movies late. Here is how you upgrade that wall without moving furniture permanently.
- Preparation: Remove baseboards and outlet covers. Seal any gaps around pipes or wires with acoustic caulk. Do not use standard silicone; it remains flexible and lets sound pass.
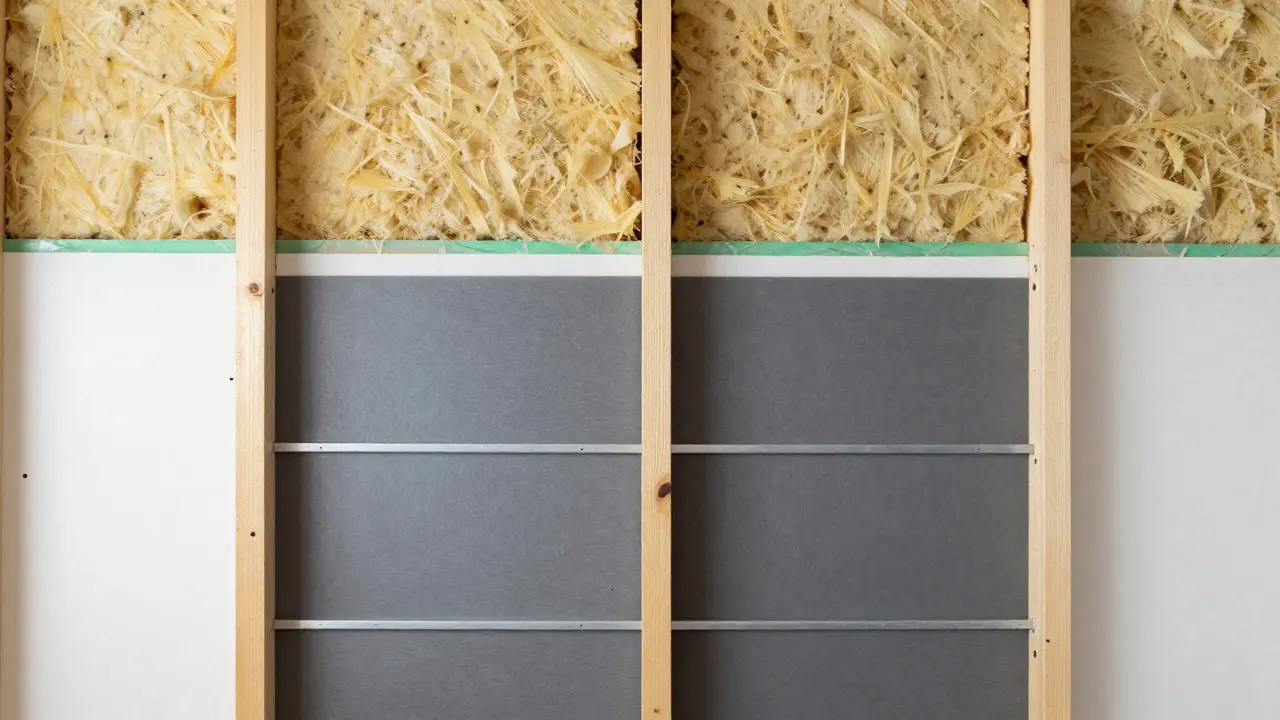
- Insulation Check: If the wall is empty, add Rockwool batts. If it already has fiberglass, consider replacing it if it is compressed or old.
- Apply MLV: Hang Mass Loaded Vinyl directly on the studs. Use adhesive or staples. Ensure there are no overlaps that create seams, as seams are weak points.
- Add Decoupling: Install resilient channels (metal strips) horizontally across the studs. This creates a small air gap between the new drywall and the existing structure.
- Drywall Layer: Attach the first layer of 5/8-inch Type X drywall. Apply a thin coat of Green Glue over it.
- Second Layer: Attach the second layer of drywall immediately after the glue cures slightly. This sandwiches the damping compound.
- Seal and Finish: Tape, mud, and paint. Reinstall outlets using gaskets designed for soundproofing to seal the holes.
This process takes a weekend for a skilled DIYer. The result is a wall that feels solid and significantly reduces the volume of external noise.
Handling Floors and Ceilings
Floors are tricky because they involve gravity. If you live above a neighbor, their footsteps are your ceiling noise. Standard carpet helps a little, but it is not enough for heavy impact.
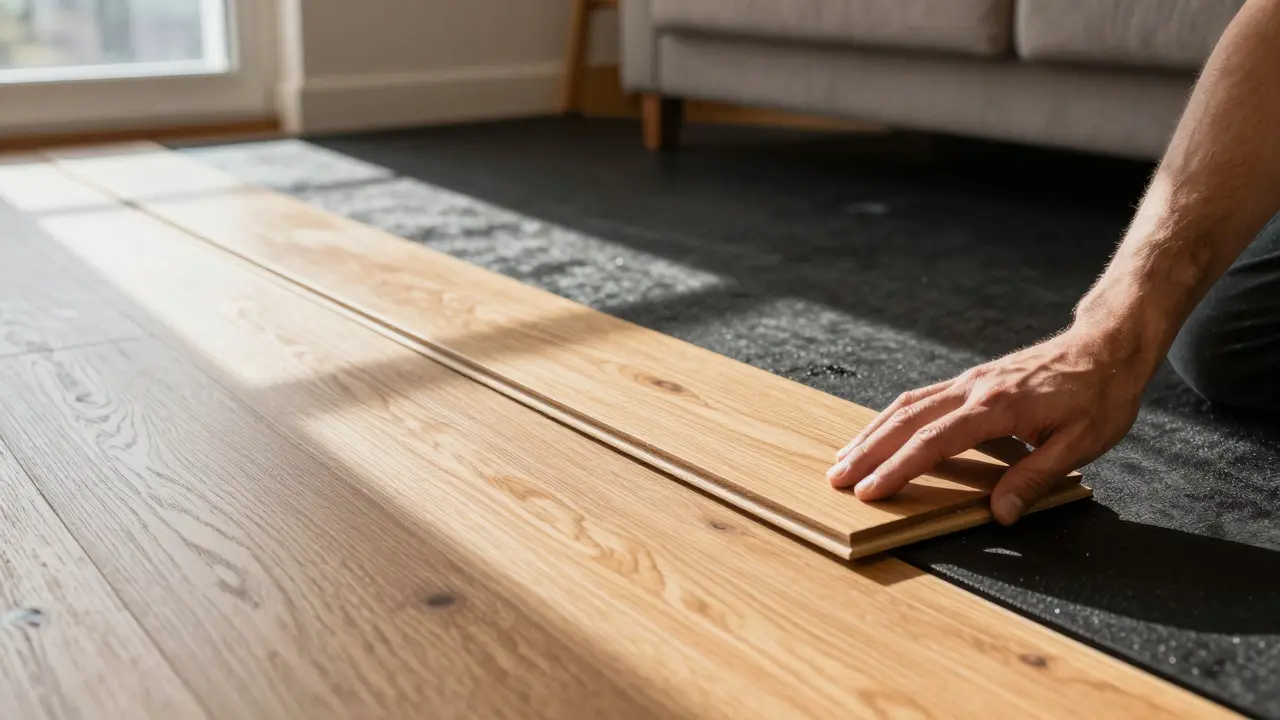
The best non-invasive solution is a floating floor system. This involves laying a layer of rubber underlayment or cork directly on the subfloor. Then, you install your finished flooring (hardwood, laminate, or tile) on top. The key is that the finished floor should not be glued directly to the subfloor. Instead, it floats, allowing it to move independently when stepped on. This breaks the vibration path.
For ceilings, you have fewer options unless you are renovating. Adding a suspended ceiling grid with acoustic tiles can help, but it lowers headroom. A more modern approach is attaching a secondary ceiling with resilient clips. This requires professional installation due to weight and height constraints, but it offers the highest level of isolation for overhead noise.
Doors and Windows: The Weak Links
No amount of wall insulation matters if your door has a 1-inch gap at the bottom. Sound follows air. If air gets in, sound gets in.
Doors: Replace hollow-core interior doors with solid-core doors. They weigh twice as much and block far more noise. Add a weatherstrip seal around the frame and an automatic drop-down draft stopper at the bottom. This single change can reduce noise intrusion by 10 dB.
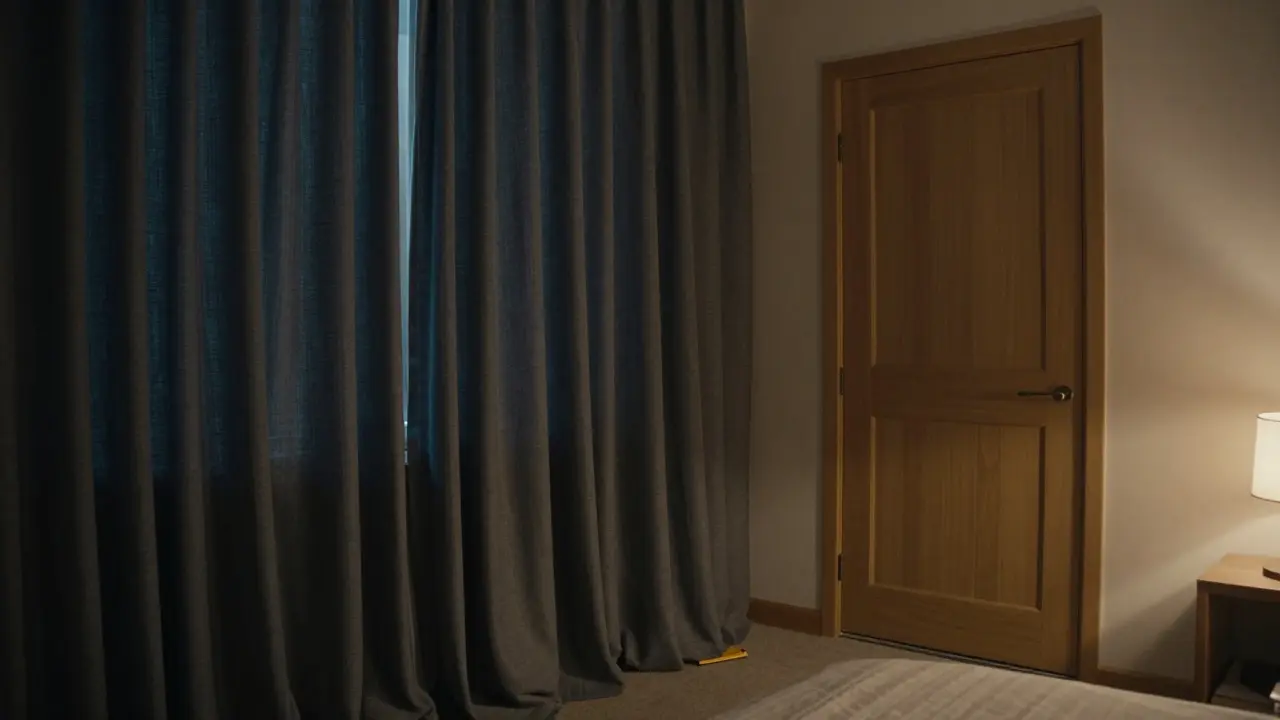
Windows: If you can’t replace windows, hang heavy, lined curtains. Look for thermal blackout curtains with multiple layers of fabric. While they don’t match the performance of double-pane glass, they add mass and absorb some high-frequency noise. For extreme cases, acoustic window inserts fit inside the existing frame and create a sealed air pocket.
Comparison of Common Solutions
Note that STC gains are cumulative but diminishing. Adding the first layer of insulation gives the biggest jump. Subsequent layers provide less additional benefit per dollar spent. Focus on the weakest link first.
Common Mistakes to Avoid
Many homeowners spend money on the wrong things. Here are the pitfalls I see often in Portland rentals and homes.
- Relying on Egg Crate Foam: This cheap foam is for recording studios to control reverb. It does almost nothing to stop sound from passing through a wall. It looks cool, but it is largely decorative for isolation purposes.
- Ignoring Electrical Outlets: An outlet box connects two rooms electrically and physically. Without a sound-rated gasket, it acts as a speaker cone. Always use gaskets.
- Overlooking Pipes: Water hammer and flow noise travel through copper pipes. Wrap pipes with rubber insulation to dampen this structure-borne noise.
- Assuming Carpet Fixes Everything: Carpet helps with squeaks and minor taps, but it does not stop bass from a subwoofer or loud TV audio. You need mass, not just softness.
Also, check your lease agreement. Some landlords restrict drilling or painting. In those cases, focus on movable solutions like heavy curtains, portable white noise machines, and solid-core door replacements if permitted.
Budgeting Your Project
How much does it cost? It varies wildly based on square footage and labor. As a rule of thumb, expect to spend $2-$4 per square foot for basic upgrades like sealing doors and adding insulation. For full wall reconstruction with MLV and double drywall, budget $8-$12 per square foot including materials and labor.
If you are doing it yourself, material costs dominate. A roll of MLV (10x10 feet) costs around $60-$80. Two sheets of 5/8-inch drywall cost about $40. Green Glue is roughly $25 per tube. Labor is the biggest variable. Hiring a contractor for a full wall job can easily exceed $2,000 for a standard 10x10 wall section.
Start small. Fix the door seals and add heavy curtains. See if that solves 80% of the problem. If not, tackle the wall. This phased approach prevents overspending on unnecessary upgrades.
Maintaining Your Quiet Space
Soundproofing is not a one-time fix. Over time, seals degrade, doors warp, and gaps open. Once a year, check the following:
- Door sweeps and weatherstripping for cracks or compression set.
- Window seals for dust buildup that compromises the airtight fit.
- Outlet gaskets for looseness.
- Baseboard gaps where paint may have chipped away.
Taking ten minutes to reseal a gap can save you from hearing the next neighbor’s renovation project. Proactive maintenance keeps your investment working effectively.
Frequently Asked Questions
Does acoustic foam actually stop noise from outside?
No, not really. Acoustic foam is designed to absorb sound waves inside a room to reduce echo and reverberation. It has very little mass, so it does not block sound transmission through walls. For isolation, you need dense materials like Mass Loaded Vinyl or extra layers of drywall. Foam is useful for making a home theater sound better internally, but it won't keep the neighbor's dog barking out.
What is the best material for blocking low-frequency bass?
Low-frequency bass is the hardest to block because it has long wavelengths and carries a lot of energy. The most effective method is decoupling combined with high mass. Using resilient channels to separate drywall from studs, along with double layers of 5/8-inch drywall and Green Glue, is the standard pro solution. Adding MLV behind the drywall also helps. Simple insulation alone will not stop bass.
Can I soundproof a rental apartment without damaging walls?
Yes, but with limitations. Focus on reversible changes. Replace door hardware with solid-core doors if allowed. Install heavy, lined curtains over windows. Use rug pads and area rugs to dampen floor impact. Consider portable white noise machines to mask external sounds. Avoid drilling into drywall or applying permanent adhesives. Check your lease for rules on painting or installing hooks.
How many decibels can I expect to reduce with double drywall?
Adding a second layer of drywall with Green Glue typically increases the STC rating by 10 to 15 points. In decibel terms, this translates to a perceived volume reduction of about 10-15 dB for mid-range frequencies. This means a conversation that was clearly audible becomes a faint murmur. However, low-end bass may only be reduced by 5-8 dB with this method alone.
Is it worth hiring a professional for soundproofing?
It depends on the scope. For sealing doors and windows, DIY is sufficient. For full wall reconstruction involving removing drywall, adding insulation, and installing resilient channels, a professional ensures proper technique. Mistakes in decoupling or sealing can ruin the performance. If you are comfortable with drywall installation and have the tools, DIY saves significant labor costs. Otherwise, hire a specialist experienced in acoustic construction.