You just spent hours mounting sensors, running cables, and pairing Bluetooth devices. The box is empty, the tools are back in the drawer, and you’re ready to relax. But wait-did that motion sensor actually connect? Is the smart lock engaging fully, or is it just clicking against the frame? Most DIYers skip the verification phase, assuming that if the green light blinks, everything works. That’s a mistake. Device testing after installation isn’t just about checking boxes; it’s about catching subtle failures before they become midnight emergencies.
Why Verification Matters More Than Installation
Think of your home network like a plumbing system. You can install every pipe perfectly, but if one joint leaks slowly, you’ll find out when the floor rots three months later. Electronic devices have their own "leaks." A Wi-Fi signal might drop intermittently when the microwave runs. A battery-operated sensor might report correctly for a week, then fail silently when the voltage dips below threshold. Verification procedures are systematic checks designed to confirm that installed hardware meets functional specifications under real-world conditions. Skipping them means you’re trusting hope over data.
In Portland, where humidity fluctuates and old wiring systems are common, these issues pop up faster than you’d expect. I’ve seen smart thermostats work fine in a dry summer but struggle with condensation on the terminals in November. If you don’t test under actual operating conditions, you’re missing half the picture.
The Three-Tier Verification Framework
Don’t just flip a switch and call it done. Use a layered approach to catch different types of errors. This method saves time because you isolate problems quickly instead of guessing.
- Tier 1: Physical Integrity. Check mounts, connections, and power sources. Did you strip the wire correctly? Is the screw tight? Does the device sit flush against the wall?
- Tier 2: Functional Response. Trigger the device manually. Walk in front of the sensor. Press the button. Lock the door. Watch the app update immediately.
- Tier 3: Network Stability. Monitor connectivity over time. Ping the IP address. Check signal strength logs. Ensure the device doesn’t drop off the mesh network during peak usage.
Most people stop at Tier 2. They see the light blink and assume success. But Tier 3 is where the hidden gremlins live. A device might respond instantly when you’re standing next to it, but lag by ten seconds when you’re across the house. That delay ruins automation routines.
Tools You Actually Need (No Lab Required)
You don’t need an oscilloscope or a spectrum analyzer unless you’re debugging RF interference. For most DIY installations, basic tools suffice. Here’s what stays in my kit:
| Tool | Purpose | Estimated Cost |
|---|---|---|
| Multimeter | Verifies voltage levels and continuity in wired devices. | $20-$50 |
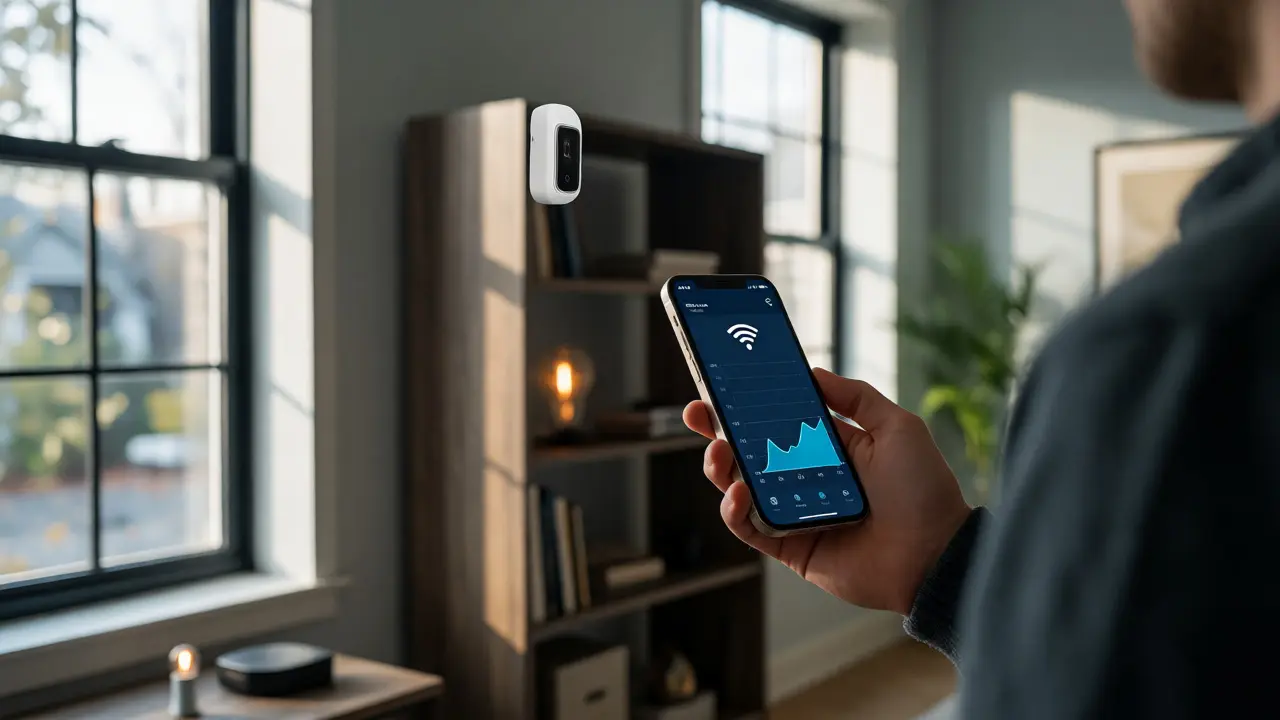
| Wi-Fi Analyzer App | Checks signal strength (RSSI) and channel congestion. | Free-$10 |
| Smart Plug with Energy Monitoring | Confirms device draws expected power; detects standby loads. | $15-$25 |
| Network Scanner (e.g., Fing) | Identifies MAC addresses and open ports for security checks. | Free |
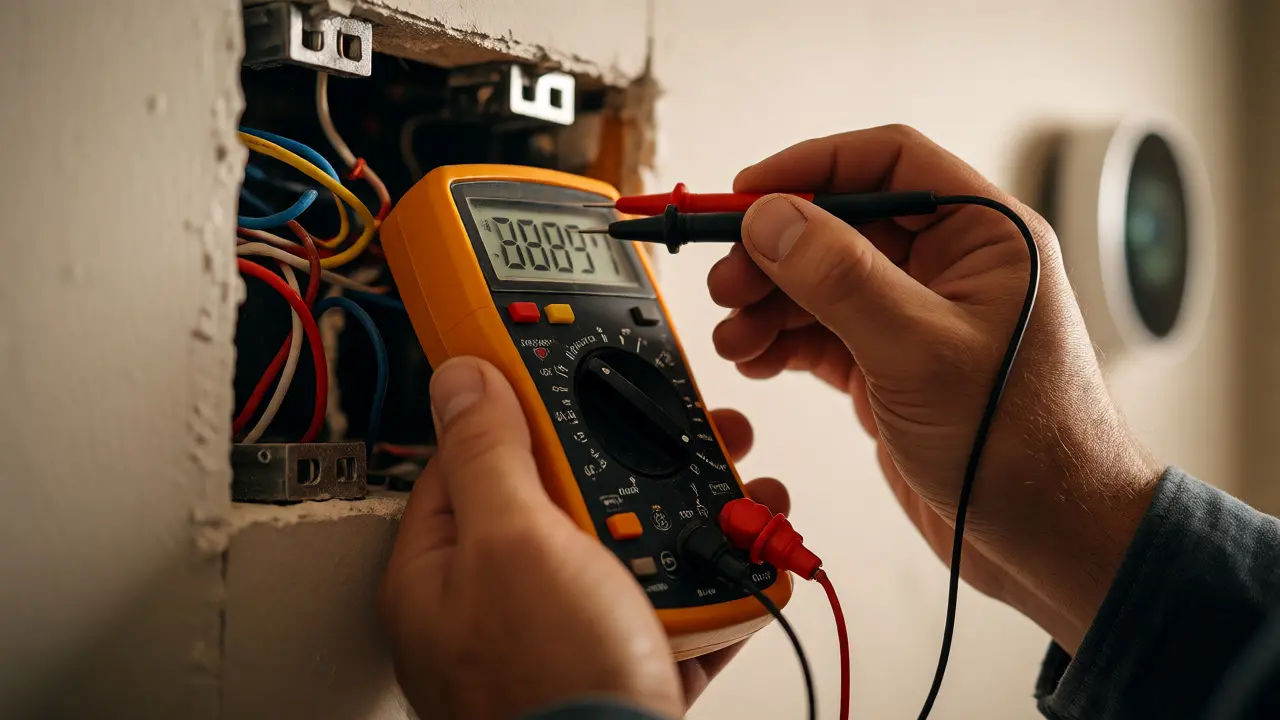
A multimeter seems old-school, but it’s invaluable. If a hardwired smoke detector isn’t triggering, check the voltage at the junction box. Often, the issue isn’t the detector-it’s a loose neutral wire causing voltage sag. No app can tell you that.
Step-by-Step: Wired vs. Wireless Devices
Wired and wireless devices fail differently. Your testing strategy should reflect that.
For Wired Devices (Cameras, Doorbells, Thermostats)
- Power Check: Before connecting the device, measure voltage at the transformer or outlet. It should match the spec sheet (usually 24V AC for doorbells, 120V AC for standard plugs).
- Continuity Test: With power off, use the multimeter to ensure wires aren’t crossed or broken inside the conduit.
- Load Test: Connect the device and monitor current draw. If a camera pulls twice its rated amperage, there’s a short or failing component.
- Data Verification: Access the local web interface. Check firmware version and error logs. Look for "packet loss" counters increasing over an hour.
For Wireless Devices (Sensors, Bulbs, Switches)
- Signal Strength Baseline: Place the device in its final location. Open your Wi-Fi analyzer. RSSI should be above -65 dBm for reliable performance. Below -70 dBm, expect delays.
- Interference Scan: Turn on nearby appliances (microwave, baby monitor). Re-check signal. If RSSI drops sharply, move the router or change channels.
- Battery Health Simulation: For battery-powered sensors, simulate low battery by using a partially drained cell. Verify the app sends a warning before total failure.
- Range Stress Test: Move the controlling phone/device to the farthest point from the hub. Trigger actions repeatedly. Note any timeouts or missed commands.
Common Pitfalls That Pass Initial Tests
Here’s where experience kicks in. Some failures only appear under specific conditions. If you don’t plan for them, you’ll miss them.
The "Works Now, Fails Later" Battery Drain: Some Zigbee devices wake up too frequently due to poor configuration. They report fine initially but die in two weeks. Check the sleep interval settings in the companion app. If it’s set to 1 second, change it to 30+ seconds unless real-time monitoring is critical.
IP Address Conflicts: Two devices grab the same DHCP lease. One works, the other disconnects randomly. Assign static IPs to fixed installations like cameras and hubs. This prevents conflicts when routers reboot.
Firmware Mismatches: A new smart bulb might require a hub firmware update. If you skip updating the hub first, the bulb pairs but behaves erratically. Always update controllers before adding endpoints.
Environmental Blind Spots: A water leak sensor placed behind a washing machine might not trigger if the vibration moves the sensor slightly. Secure it firmly. Test by pouring a small amount of water near the detection zone, not directly on the contacts, to simulate realistic leakage.
Documenting Your Results
You won’t remember which channel you chose for Wi-Fi or why you mounted the sensor at six feet instead of five. Write it down. Keep a simple log per room or system.
- Date Installed: Track age for warranty claims.
- IP/MAC Address: Essential for remote troubleshooting.
- Signal Strength (RSSI): Record baseline values to detect degradation later.
- Firmware Version: Helps diagnose bugs introduced by updates.
- Known Issues: Note quirks like "sensor takes 3 seconds to wake." This prevents panic when you forget why it’s slow.
This log becomes your reference when things go wrong six months from now. Instead of reinstalling everything, you compare current metrics against the baseline. If RSSI dropped from -50 to -75, something changed in the environment-maybe a new appliance or a neighbor’s router upgrade.
When to Call a Pro
DIY testing covers 90% of scenarios. But some issues require specialized equipment or expertise. Call a professional if:
- You suspect electrical faults beyond simple voltage checks (e.g., ground loops causing hum in audio systems).
- Network architecture requires VLAN segmentation or QoS tuning for mixed traffic.
- Devices fail consistently despite correct configuration, suggesting hardware defects.
- Integration with existing building management systems demands proprietary protocols.
In Portland, many electricians also handle low-voltage smart home setups. Ask for references who specialize in post-installation diagnostics, not just wiring.
How long should I run stability tests before considering the installation complete?
Run critical devices for at least 24 hours. This captures daily patterns like morning Wi-Fi congestion or evening temperature shifts affecting sensors. For non-critical devices, 4-6 hours may suffice, but always verify during peak usage times.
What is a good RSSI value for smart home devices?
An RSSI between -30 dBm and -65 dBm is ideal. Values between -65 dBm and -70 dBm are acceptable but may cause occasional latency. Anything below -70 dBm risks disconnections. Zigbee devices generally tolerate lower signals better than Wi-Fi, but aim for -60 dBm or higher for reliability.
Do I need to reset devices if testing fails?
Not always. First, check physical connections and power. Then verify network credentials and firmware versions. Resetting should be a last resort because it erases custom configurations. If a reset fixes the issue, document it-there was likely a corrupted handshake during initial pairing.
Can environmental factors affect device testing results?
Yes. Humidity, temperature, and physical obstructions impact both signal propagation and electronic performance. Test in winter conditions if possible, as cold can reduce battery efficiency. Also, large metal objects or thick concrete walls can attenuate signals significantly more than drywall.
Is it necessary to test each device individually?
Start individually to isolate variables, then test in groups. Individual testing confirms basic functionality. Group testing reveals interference or bandwidth saturation. For example, turning on all smart lights simultaneously might overload a weak hub, even if each light works alone.