You’ve installed the bulbs. You’ve paired them with your app. But something feels... off. The kitchen looks too sterile, like a hospital waiting room. The living room feels muddy and dull, even though the lights are on full blast. You’re not crazy. Your smart lighting is misaligned.
Most people treat smart lighting as an on/off switch with a dimmer slider. That’s a mistake. True control comes from calibrating three specific metrics: brightness, color temperature, and CRI (Color Rendering Index). When these three work together, you don’t just light a room; you shape how it feels, how productive you are in it, and how good your food looks.
Let’s fix that mismatched vibe. We’ll break down exactly what each metric does, why your current setup might be failing you, and how to dial in the perfect atmosphere for every corner of your home.
The Foundation: Understanding Lumens vs. Perceived Brightness
First, let’s talk about brightness. In the old world, we looked at watts. A 60-watt bulb was standard. Now, we look at lumens. But here’s the trap: lumens measure total light output, not how bright a surface actually appears to your eye.
If you put a 1000-lumen bulb in a dark corner with black walls, it won’t feel bright. If you put that same bulb in a small white bathroom, it will blind you. This is called "perceived brightness." It depends on two things: the intensity of the source and the reflectivity of the surfaces around it.
To calibrate this, stop guessing. Use a lux meter app on your phone or a dedicated sensor if your ecosystem supports it (like Apple HomeKit or Samsung SmartThings). Aim for these targets:
- Ambient Living Areas: 100-200 lux. Enough to navigate, soft enough to relax.
- Kitchen Counters: 300-500 lux. You need to see chopping boards clearly without straining.
- Reading/Work Zones: 500+ lux. High contrast reduces eye strain during focused tasks.
The biggest mistake? Over-lighting. People crank the brightness to 100% because they think more light equals better visibility. Often, it just creates glare. Glare hides detail. Dial it back until the shadows soften but the task remains clear.
Setting the Mood: The Power of Color Temperature
Now, let’s address the "hospital" look. That’s usually caused by incorrect color temperature. Measured in Kelvins (K), this number tells you how "warm" or "cool" the light appears.
Low Kelvin numbers (2700K) are warm, yellowish, and cozy. Think candlelight or sunset. High Kelvin numbers (5000K+) are cool, bluish, and alerting. Think daylight or a fluorescent office.
Your circadian rhythm-the internal clock that regulates sleep-is heavily influenced by blue light. Exposure to high-Kelvin light in the evening suppresses melatonin, making it harder to fall asleep. So, calibration isn’t just about aesthetics; it’s about biology.
Here’s a simple rule of thumb for mapping Kelvin to activity:
| Room / Activity | Morning / Day | Evening / Night |
|---|---|---|
| Kitchen / Cooking | 4000K (Neutral) | 2700K (Warm) |
| Living Room | 3000K (Soft White) | 2200K (Dim Warm) |
| Bedroom | 3000K (Gentle Wake) | 1800K (Deep Amber) |
| Bathroom (Shaving/Makeup) | 4000K (Clear) | 2700K (Relaxing) |
Notice the shift? During the day, you want clarity. At night, you want warmth. Most smart lighting apps have "scenes" or "routines." Don’t just set one static temperature. Program a gradient that shifts from 4000K at 8 AM to 2200K by 9 PM. This mimics natural sunlight and helps your body wind down.
The Hidden Factor: Why Colors Look Muddy (CRI Explained)
This is where most guides stop, and where your lighting fails. You can have perfect lumens and the right Kelvin, but if your colors look washed out, you have a CRI problem.
CRI (Color Rendering Index) is a scale from 0 to 100 that measures how accurately a light source reveals the true colors of objects compared to natural sunlight. Natural sunlight has a CRI of 100. An incandescent bulb also scores near 100. Many cheap LEDs score between 70 and 80.
Why does this matter? Imagine wearing a red shirt under a low-CRI LED. It might look brownish or dull. Under high-CRI light, it pops as vibrant red. In the kitchen, fresh vegetables lose their appeal. In the bathroom, skin tones look sallow.
For residential use, aim for a CRI of 90 or higher. These are often labeled as "High CRI" or "Ra > 90." They cost slightly more upfront, but they make everything in your home look more expensive and alive. If you’re into art, cooking, or makeup, this is non-negotiable.
Note: Some newer bulbs advertise TM-30 instead of CRI. TM-30 is a more advanced metric that provides two numbers: fidelity (Rf) and gamut (Rg). For simplicity, stick to CRI for now, but know that a CRI of 90+ is the gold standard for quality.
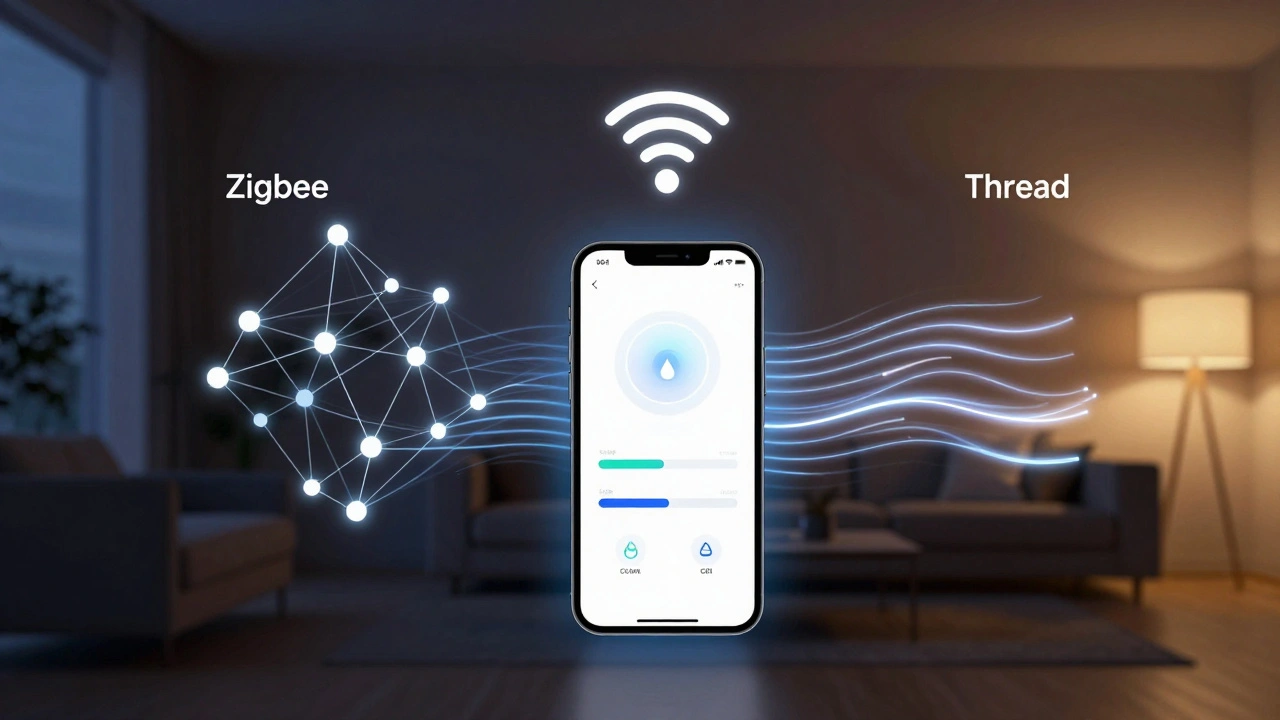
Calibrating Your Ecosystem: Zigbee, Wi-Fi, and Thread
Your hardware choice affects calibration stability. Not all protocols handle smooth transitions well.
Zigbee is a wireless protocol designed for low-power, mesh-networked devices, offering reliable local control without relying on cloud servers. It’s great for complex scenes because it communicates directly between bulbs and hubs. If you’re fading lights slowly over 30 seconds, Zigbee handles the data packets smoothly.
Wi-Fi is a common wireless technology that connects devices directly to your router, requiring no hub but potentially congesting your network. Cheap Wi-Fi bulbs often lag when changing color temperatures. You tap "Sunset," and the light stutters before shifting. That breaks immersion. If you use Wi-Fi, ensure your 2.4GHz band isn’t overcrowded.
Thread is a newer, low-latency IP-based protocol that forms a self-healing mesh network, ideal for responsive smart home automation. This is the future. Thread offers the reliability of Zigbee with the ease of Wi-Fi. If you’re buying new bulbs in 2026, prioritize Thread-compatible devices for the snappiest response times.
Step-by-Step Calibration Routine
Ready to fix your lighting? Follow this routine to calibrate one room at a time.
- Baseline Test: Turn off all other light sources. Set your smart bulbs to 100% brightness and 4000K. Look at a white piece of paper. Does it look gray or yellow? If so, your bulbs may have different manufacturing batches. Try swapping sockets to isolate bad units.
- Adjust Brightness for Task: Lower the brightness until you can read text comfortably without squinting. Note the percentage (e.g., 60%).
- Set Temperature for Time of Day: If it’s evening, drop the Kelvin to 2700K. Watch how the room changes. Does it feel cozier? Good.
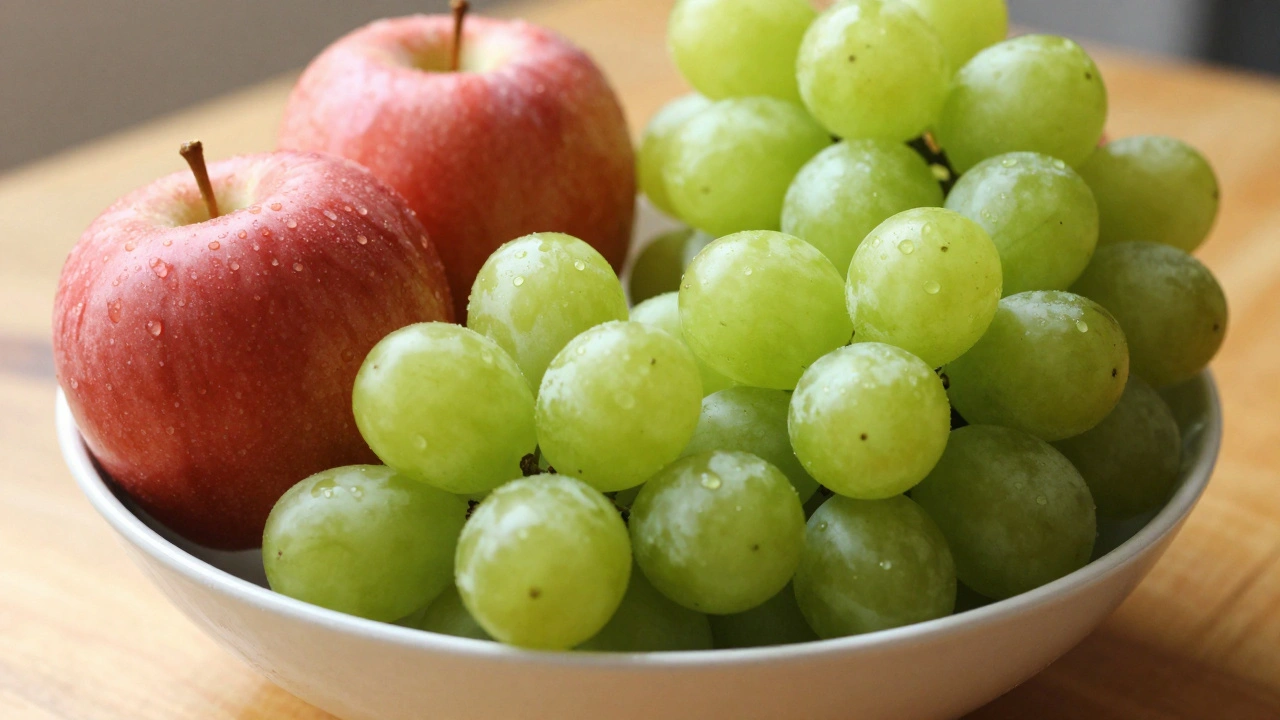
- Check Color Accuracy: Place a colorful object (like a fruit bowl) in the light. Do the colors look vivid? If they look flat, check your bulb specs. You likely need higher CRI bulbs.
- Create Scenes: Save this combination as "Evening Relax." Create another for "Morning Focus" (Higher brightness, 4000K).
- Automate Transitions:** Set the transition time to 30-60 seconds. Instant switches feel jarring. Slow fades signal to your brain that it’s time to change activities.
Troubleshooting Common Issues
Issue: Lights flicker when dimmed. This is usually a compatibility issue between the bulb and the dimmer switch or driver. If you’re using smart bulbs with existing dimmer switches, bypass the physical dimmer. Let the app control the dimming. Physical dimmers chop the electrical waveform, which confuses smart drivers.
Issue: Colors look inconsistent across bulbs. Even from the same brand, bulbs can vary slightly. Use the "Tune White" feature in apps like Hue or LIFX to manually adjust the RGB balance of individual bulbs until they match visually. It’s tedious but worth it for uniformity.
Issue: App controls are slow. If you’re using Wi-Fi bulbs, move your router closer or add a mesh node. If you’re using Zigbee, ensure your hub is centrally located. Signal strength directly impacts calibration speed.
What is the best color temperature for reading?
For reading, aim for 3000K to 4000K. This range provides enough contrast to distinguish text clearly without the harsh blue spike of 5000K+ light, which can cause eye strain over long periods. Pair this with a brightness level of 500+ lux for optimal focus.
Does CRI really matter for home lighting?
Yes, especially if you care about aesthetics. A CRI below 80 makes skin tones look unhealthy and food look unappetizing. For bedrooms, kitchens, and bathrooms, a CRI of 90+ ensures that colors appear natural and vibrant, similar to daylight.
Can I calibrate smart lights without a hub?
You can, but it’s limited. Wi-Fi bulbs connect directly to your router, allowing basic calibration via their app. However, hubs (or Thread borders routers) provide more stable connections, faster response times, and better support for complex automations like gradual sunsets.
How do I fix flickering smart bulbs?
Flickering is often caused by incompatible dimmer switches or poor power quality. The easiest fix is to remove the physical dimmer switch from the equation and control brightness entirely through the smart app. Ensure your bulbs are rated for your voltage and that the wiring is secure.
What is the difference between Zigbee and Thread for lighting?
Zigbee is a mature, reliable mesh protocol that requires a hub. Thread is a newer, IP-based protocol that offers lower latency and easier integration with modern ecosystems like Matter. Both create mesh networks, but Thread is generally considered more future-proof for 2026 and beyond.