You just bought a sleek Amazon Echo Show. It looks great on the box, but where does it actually live in your house? The kitchen counter is already crowded with coffee makers and mail. The nightstand is buried under books. You plug it in, and now you have a tangled mess of wires trailing off the edge of the furniture like a tail. This is the silent killer of smart home aesthetics. We spend hundreds on devices, then treat them like clutter. The fix isn't buying more gadgets; it's buying the right smart home accessories.
We're talking about mounts, stands, and power solutions. These aren't glamorous items. No one posts a photo of their surge protector on Instagram. But if you want your home to feel seamless rather than like a tech store explosion, these small hardware pieces do the heavy lifting. They hide the chaos, free up space, and keep your devices exactly where you need them. Let’s look at how to pick the right ones without wasting money.
Why Your Smart Home Needs Physical Infrastructure
Think of your smart home as two layers. The first layer is software: apps, voice assistants, automations. The second layer is physical: where things sit, how they get power, and how they stay secure. Most people ignore the second layer until something falls off a shelf or a cord gets pulled out during a vacuuming session.
Proper infrastructure solves three specific problems:
- Accessibility: A speaker mounted at ear level sounds better than one hidden behind a sofa cushion.
- Aesthetics: Visible wires scream "temporary setup." Hidden wires say "integrated system."
- Durability: Devices that wobble on unstable surfaces are prone to damage. Secure mounts prevent accidents.
When you plan your layout, think about sightlines and reach. If you use voice commands often, place devices where you naturally stand or sit. If you use touchscreens, mount them at eye level. The goal is invisibility. The best smart home technology is the kind you forget is there because it works so smoothly.
Mounting Strategies for Speakers and Screens
Not all mounts are created equal. The type you choose depends entirely on what you’re mounting and where. Wall mounts, ceiling mounts, and surface stands each have their place.
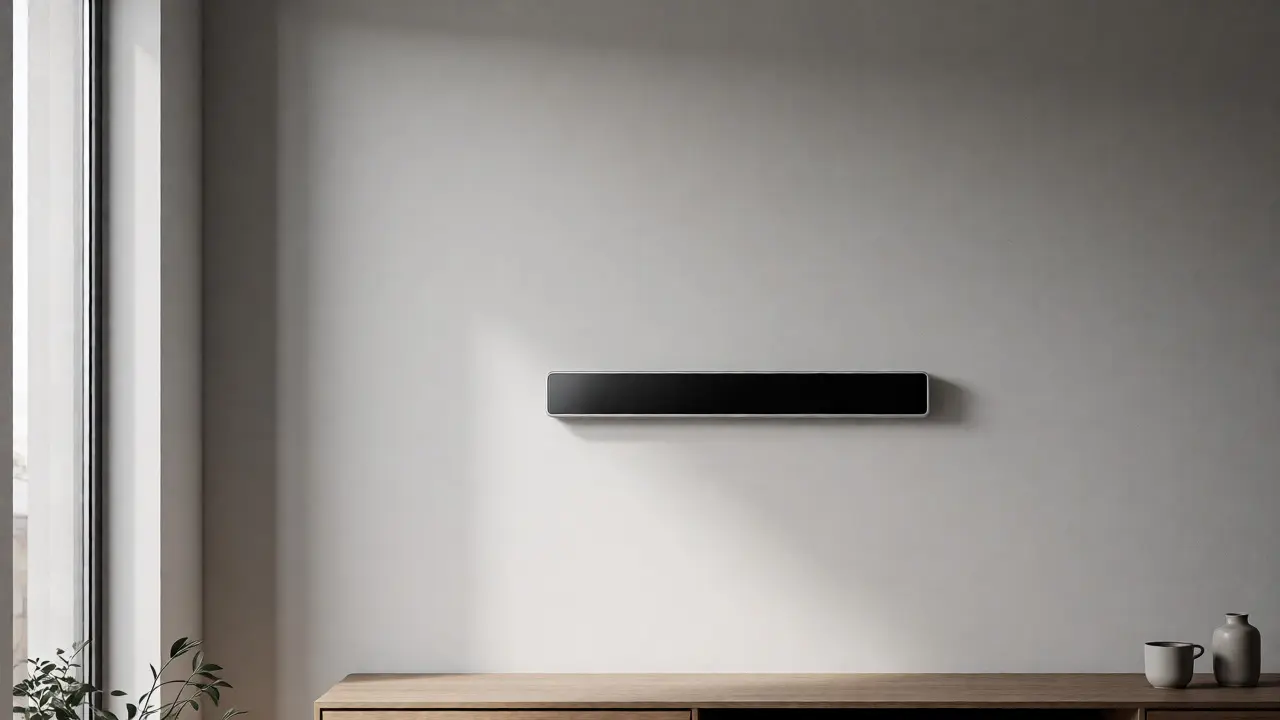
For smart displays like the Google Nest Hub, wall mounting is often the cleanest option. It turns a bulky gadget into a piece of decor. However, not every wall can support the weight. Drywall alone won’t hold much. You’ll need anchors designed for hollow walls, or better yet, hit a stud. If you rent, adhesive mounts might seem tempting, but they often fail over time due to temperature changes and weight stress. Look for mounts with adjustable angles. Being able to tilt the screen down slightly prevents glare from overhead lights, which is a common frustration with flat-mounted screens.
Ceiling mounts work well for speakers in open-plan living areas. They save floor space and provide even sound distribution. But installation is harder. You’re drilling into joists, running wires through insulation, and working above your head. Unless you’re comfortable with a ladder and a drill, hire a pro. For most renters, surface stands are safer and easier.
| Mount Type | Best For | Installation Difficulty | Rental Friendly? |
|---|---|---|---|
| Wall Bracket (Fixed) | Lightweight tablets, small displays | Low | Yes (with adhesive hooks) |
| Articulating Wall Arm | Larger screens, adjustable viewing angles | Medium | No (requires studs) |
| Ceiling Flush Mount | Speakers, cameras | High | No |
| Floor Stand | Heavy speakers, hubs | None | Yes |
The Art of Choosing Device Stands
If you can’t or don’t want to drill holes, stands are your best friend. But avoid the generic plastic trays that come in the box. They usually look cheap and collect dust. Instead, look for stands made from wood, metal, or high-quality composite materials that match your existing furniture.
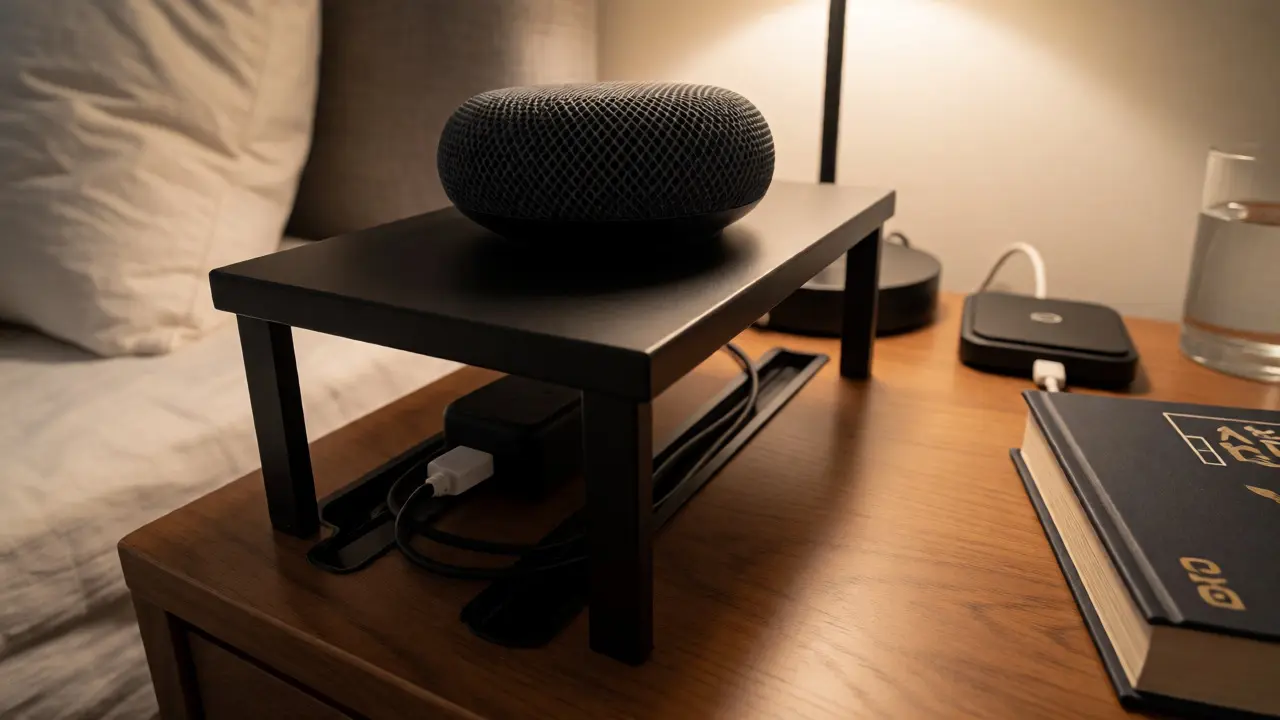
Consider the height. A smart hub placed on the floor might struggle with Wi-Fi range or Bluetooth connectivity if surrounded by dense furniture. Elevating it on a stand improves signal propagation. For bedside devices, choose stands with built-in storage. A stand that hides the power brick and cords underneath keeps the nightstand clear for your phone and book.
Another factor is stability. Some lightweight smart plugs or sensors are top-heavy. If you place them on a smooth glass table, they slide easily. Look for stands with rubberized bases or non-slip pads. This seems minor, but if you have pets or kids, preventing a $50 device from sliding onto the floor saves hassle.
Also, think about cable routing. Many premium stands have channels or cutouts for wires. This allows you to run the power cable straight down the back of the stand instead of draping it across the front. It’s a subtle detail, but it makes the device look intentional rather than accidental.
Power Solutions That Actually Work
Every smart device needs electricity. Most come with a short, white USB cable and a tiny adapter. These adapters are notorious for blocking adjacent outlets on standard power strips. You plug in one, and suddenly half your strip is useless.
The solution is smart power strips or outlet splitters. Look for models with widely spaced outlets or rotating heads. Brands like Anker and Belkin offer compact designs that fit multiple large adapters side-by-side. This maximizes your available ports without needing a massive extension cord.
For a cleaner look, consider under-desk or under-shelf power bars. These mount directly to the underside of your desk or cabinet, keeping cables completely out of sight. You plug everything in below, and only the necessary cords emerge. This is particularly effective for home offices or media centers where you have multiple devices clustered together.
Don’t forget about long-term reliability. Cheap power strips can overheat or lose contact over time. Since your smart home relies on constant uptime, investing in a higher-quality strip with surge protection is worth it. If lightning strikes or a power surge occurs, you don’t want to replace five smart bulbs and a hub. Surge protection adds a layer of insurance for your electronics.
Mastering Cable Management
Cables are the enemy of a polished smart home. Even the best mounts look bad if wires dangle everywhere. You don’t need expensive systems to fix this. Simple tools work wonders.
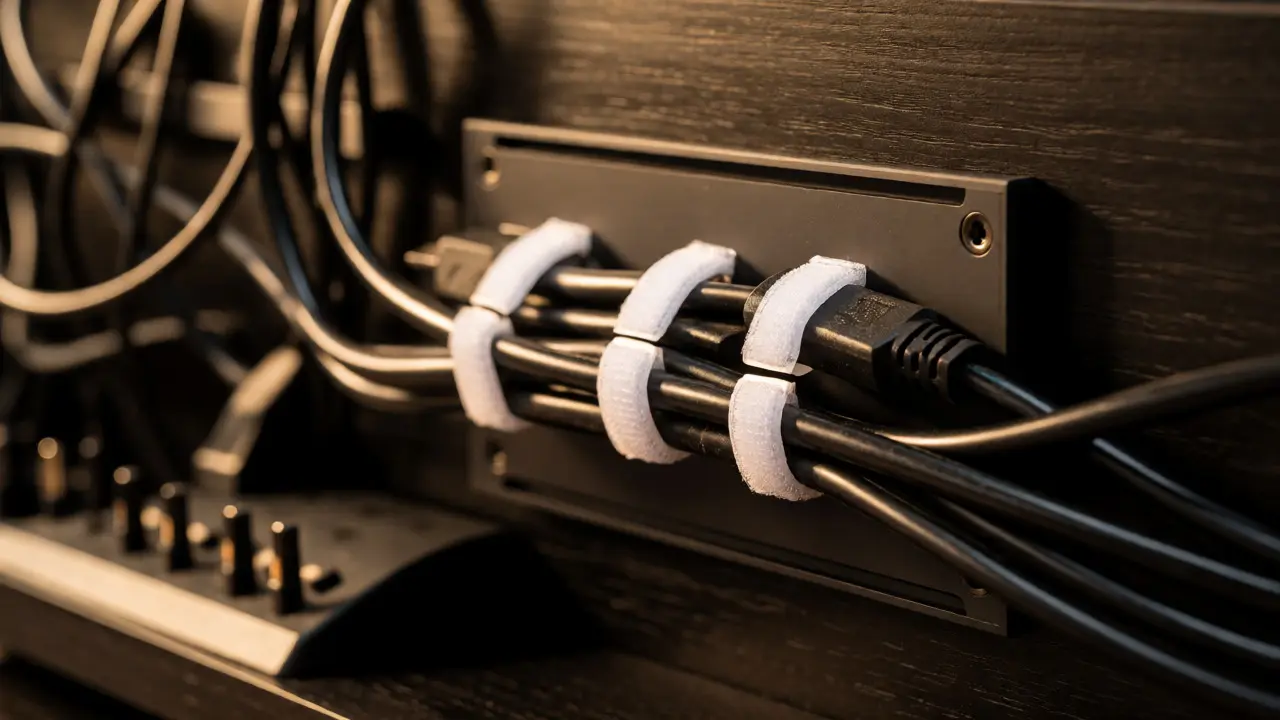
Velcro ties are superior to zip ties. Zip ties are permanent and hard to remove if you change your setup. Velcro lets you adjust bundles easily. Use them to group cables running along baseboards or behind TV stands. For longer runs, use raceways-plastic channels that stick to the wall. Paint them to match your wall color, and the wires disappear entirely.
Behind the TV or monitor, things get messy fast. HDMI cables, power cords, Ethernet lines-it’s a jungle. Use a cable tray or basket that mounts to the wall behind the screen. This holds the weight of the cables so they don’t pull on the device ports. Label each cable with a tag. When you eventually need to troubleshoot, knowing which cable goes to which device saves hours of confusion.
For wireless chargers, ensure the cable is tucked neatly. A loose cable around a charging pad looks sloppy. Route it through a desk grommet or clip it to the leg of the table. Small efforts here add up to a significantly cleaner visual environment.
Budgeting for Smart Home Hardware
How much should you spend on mounts and power? It varies, but here’s a rule of thumb: allocate 10-15% of your total smart home budget to physical accessories. If you’ve spent $500 on devices, set aside $50-$75 for mounts, stands, and power strips.
You can find decent wall mounts for $10-$20. Premium articulating arms cost $30-$50. Quality power strips range from $15 to $40 depending on features like USB-C ports or smart control. Don’t skimp on safety-critical items like wall anchors or surge protectors. But you can save on decorative stands by repurposing existing furniture or using DIY solutions like wooden blocks with drilled holes.
Start with the most visible areas. Your living room and entryway are seen by guests. Prioritize cable management and mounting there. Bedrooms and utility rooms can wait. This approach gives you immediate impact without overwhelming your wallet.
Pitfalls to Avoid
Even experienced homeowners make mistakes with smart home accessories. Here are the most common traps.
First, ignoring weight limits. Check the maximum load rating of any mount before hanging a device. A 5-pound tablet might seem light, but combined with the bracket and leverage, it can tear out drywall anchors rated for only 10 pounds. Always err on the side of caution.
Second, forgetting heat dissipation. Some smart devices generate heat, especially those with processors like smart displays. Placing them inside enclosed cabinets or tight stands can cause overheating. Ensure there’s airflow around vents. If a device feels hot to the touch, move it to a more open area.
Third, poor placement for sensors. Motion sensors and door/window contacts rely on line-of-sight or proximity. Mounting a sensor too low or behind an object can reduce its effectiveness. Test placement temporarily with tape before drilling permanent holes.
Finally, mismatched aesthetics. Buying black mounts for a white-walled room creates visual noise. Match your hardware finishes to your existing decor. Matte black, brushed nickel, and white are safe choices that blend in.
Practical Checklist Before You Buy
Before heading to the store or clicking buy online, run through this checklist:
- Measure your device: Dimensions and weight determine compatible mounts.
- Check wall type: Drywall, plaster, brick, or concrete require different anchors.
- Locate power sources: How far is the nearest outlet? Do you need an extension cord?
- Assess visibility: Will the mount be seen? Choose a finish that blends or complements.
- Plan cable path: Where will the wire go? Behind the wall, along the baseboard, or hidden in a channel?
Taking ten minutes to measure and plan saves you from returning products and redoing installations. It ensures everything fits perfectly the first time.
Can I mount a smart display on drywall without hitting a stud?
Yes, but you must use appropriate drywall anchors. Toggle bolts or self-drilling anchors rated for the device's weight are essential. Standard plastic expansion anchors often fail under dynamic loads, such as when someone touches the screen. For heavier displays, hitting a stud is always safer.
Do smart power strips require Wi-Fi to function?
No. The basic power delivery functions work without internet. Wi-Fi is only needed for remote control via an app, scheduling, or energy monitoring. If your router goes down, the devices plugged into the strip will still receive power.
What is the best way to hide cables behind a TV?
The cleanest method is installing an in-wall cable kit, which routes wires through the wall between plates. If you cannot cut into the wall, use a paintable raceway or a cable management box that sits on the media console. Bundling cables with velcro ties and securing them to the back of the TV mount also helps reduce visible clutter.
Are adhesive mounts reliable for smart home devices?
Adhesive mounts work well for lightweight devices like smart plugs, sensors, or small tablets on smooth surfaces. However, they can lose adhesion over time due to temperature fluctuations and humidity. For critical devices or heavier items, mechanical fasteners (screws) are recommended for long-term reliability.
How many outlets do I need for a typical smart home setup?
A single room typically requires 4-6 outlets for core devices (hub, speakers, displays, chargers). High-density areas like entertainment centers may need 8-12. Using multi-outlet smart strips can expand capacity, but be mindful of the total wattage load to avoid tripping circuit breakers.