Most people start their smart home journey with a voice command or a phone app. But clicking a button is still a manual task. True automation happens when the house reacts to you. By combining motion, contact, and ambient light sensors, you can eliminate the "light switch struggle" entirely. You'll save energy, extend the life of your bulbs, and make your home feel intuitive.
The Brains of the Operation: Motion and Presence Sensors
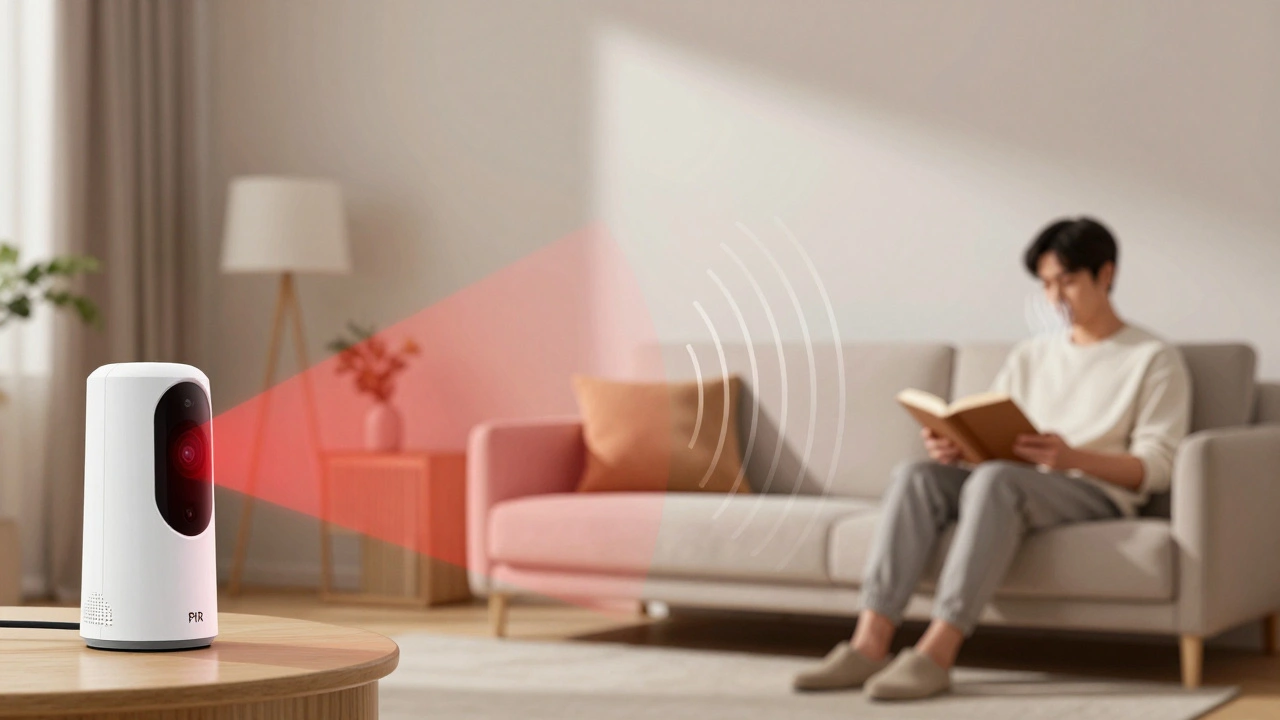
To make lighting adaptive, you first need to know if someone is actually in the room. This is where PIR Sensors is Passive Infrared sensors that detect heat signatures moving across their field of view come into play. These are the standard motion sensors you see in most smart home kits. They're great for triggering a light when you walk into a garage, but they have a fatal flaw: they can't see you if you're sitting still on a couch reading a book. You end up sitting in the dark because the sensor thinks the room is empty.
To fix this, pro-level setups now use mmWave Radar is millimeter-wave radar technology capable of detecting micro-movements like the rise and fall of a chest during breathing. Unlike PIR, mmWave can detect presence. If you're leaning back in a chair working on a laptop, mmWave keeps the lights on. When you combine these two-PIR for fast triggering and mmWave for presence detection-you get a lighting system that never accidentally turns off while you're still in the room.
Think of it as a two-stage handshake. The PIR sensor says, "Someone just entered!" and the mmWave sensor says, "And they're still here." This prevents the annoying "dance" people do to trigger a motion sensor when they've been sitting still for too long.
Adding Context with Contact Sensors
Motion sensors tell you that someone is there, but Contact Sensors is magnetic switches that detect when two components are separated or joined, typically used on doors and windows tell you how they got there. Adding these to your lighting logic prevents "ghost triggers" and adds a layer of intelligence to your automation.
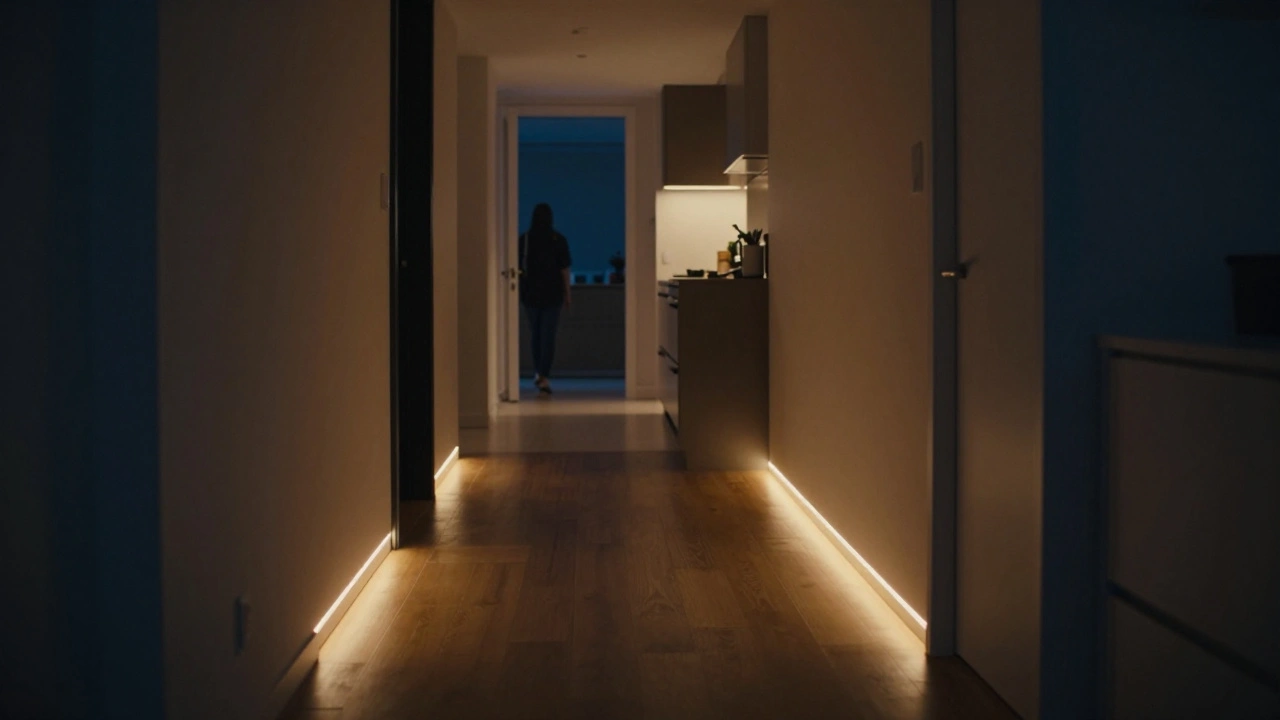
For example, if your motion sensor in the bedroom triggers at 2 PM, you might not actually want the lights on because the room is flooded with sunlight. But if the contact sensor on the bedroom door opens AND the motion sensor triggers, you know someone just entered the room. Even better, you can use them to create "conditional zones." If the pantry door is closed, the motion sensor inside should be ignored. The moment the door opens, the light snaps on instantly.
Here is a practical way to map these triggers for a typical home layout:
| Room | Primary Trigger | Condition (The "If") | Lighting Action |
|---|---|---|---|
| Entryway | Contact Sensor | Front door opens | Bright white light (Warmth/Welcome) |
| Bathroom | PIR Sensor | Between 11 PM and 6 AM | Dim amber light (Night mode) |
| Living Room | mmWave Radar | No movement for 10 mins | Gradual fade out |
| Closet | Contact Sensor | Door opens | Instant full brightness |
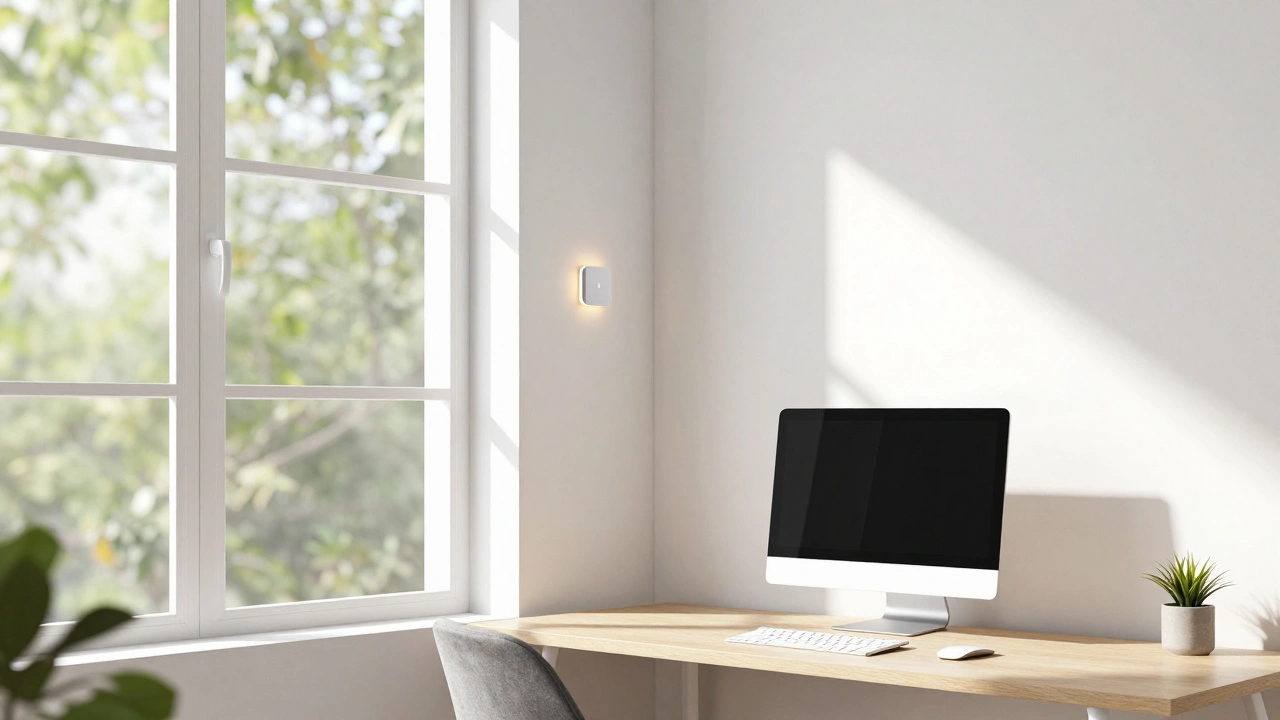
The Secret Ingredient: Ambient Light Sensors
The biggest mistake in smart lighting is using a clock to decide when lights should turn on. Setting your porch lights to turn on at 6 PM is a guess-some days it's pitch black by 5:30 in November, and other days it's sunny until 8 PM in June. This is where Ambient Light Sensors is photo-resistors or digital sensors that measure the intensity of light (lux) in a specific area change the game.
By measuring the actual Lux level of a room, your system can make decisions based on reality, not a calendar. If the lux value in your home office drops below 200, the system can automatically trigger "task lighting" to prevent eye strain. If the room is already bright from the sun, the motion sensor can be told to ignore the trigger, saving a massive amount of electricity.
This creates a "harvesting" effect. Your home uses natural light as its primary source and only supplements with artificial light when the sensor detects a dip in brightness. In a large house, this can reduce lighting energy consumption by 20-30% because lights aren't burning in rooms that are already bright enough.
Putting it All Together: Creating Adaptive Scenes
Once you have these three sensor types, you can stop thinking in "on/off" terms and start thinking in "scenes." An adaptive scene is a combination of sensor data that results in a specific lighting state. To build these, you need a hub-like Home Assistant or Hubitat-that can process logic (If This, Then That).
Let's look at a real-world scenario: The "Late Night Kitchen" scene.
- The Trigger: A contact sensor on the bedroom door opens, and a PIR sensor in the hallway detects motion.
- The Condition: The current time is between midnight and 5 AM, and the ambient light sensor in the kitchen reports less than 5 lux.
- The Action: The hallway lights turn on at 5% (warm amber), and the kitchen under-cabinet lights turn on at 10%.
This prevents you from waking up your partner with a blast of light while still providing enough visibility to navigate safely. If the same trigger happened at 10 AM, the ambient light sensor would see 300 lux, and the system would do absolutely nothing, because the room is already lit.
Common Pitfalls and Pro Tips
It sounds easy, but if you've ever had a light turn off while you were still in the room, you know it's tricky. Here are a few rules of thumb to ensure your adaptive lighting actually feels "smart":
- Avoid "Dead Zones": PIR sensors have a conical field of view. If you place one in a corner, there might be a spot in the middle of the room where you're invisible. Always test your "blind spots" by walking slowly through the room.
- Use a "Cool-down" Period: Don't set your lights to turn off the instant motion stops. Set a 2-to-5 minute timer. This prevents the lights from flickering off and on if you're just sitting very still.
- Layer Your Lighting: Don't rely on one big overhead light. Use a mix of recessed lights, lamps, and LED strips. You can then program your sensors to trigger only the strips at night and the full overheads during the day.
- Calibrate Your Lux: Not all ambient sensors are created equal. Spend one day recording the lux levels in your room at different times (noon, 4 PM, 8 PM) so you know exactly what number constitutes "dark" for your specific space.
Do I need a professional installer for these sensors?
Not necessarily. Most modern sensors use Zigbee or Thread protocols, which means they are battery-powered and stick-on. You can set up a basic adaptive system using off-the-shelf smart bulbs and sensors from brands like Philips Hue or Aqara without touching a single wire in your walls.
Will mmWave sensors interfere with my Wi-Fi?
Generally, no. mmWave sensors operate at much higher frequencies (typically 24GHz or 60GHz) than standard Wi-Fi (2.4GHz or 5GHz). They are designed to detect movement, not transmit large amounts of data, so they won't slow down your internet connection.
What is the best sensor for a bathroom?
A combination of a contact sensor on the door and a PIR sensor on the ceiling is best. Since bathrooms are small, a PIR sensor usually suffices, but the contact sensor ensures the lights turn on the second the door cracks open, rather than waiting for you to walk a few feet into the room.
Can ambient light sensors help save money on my electric bill?
Yes. By implementing "daylight harvesting," your lights only operate when necessary. If a room has enough natural light, the sensors will override the motion triggers, ensuring you aren't paying to light a room that the sun is already handling.
How do I stop my pet from triggering the motion lights?
There are two ways: placement and sensitivity. Place your PIR sensors higher up and angle them slightly downward so they don't see the floor. Alternatively, many high-end sensors allow you to adjust the sensitivity threshold so that smaller heat signatures (like a cat or a small dog) don't trigger the "on" command.
Next Steps for Your Setup
If you're just starting, don't try to automate the whole house at once. Start with one "high-traffic, low-complexity" area, like a hallway or a laundry room. Get a basic PIR sensor and a smart bulb, and get used to the timing. Once that feels natural, add a contact sensor to the door to refine the trigger.
If you've already got the basics down, the next level is integrating your lighting with other data. For example, you can link your lighting to your phone's location (Geofencing). If you're home AND it's dark AND the motion sensor triggers, the lights go on. If you're away, the motion sensors can act as a security system, sending you an alert if something moves while the house should be empty.