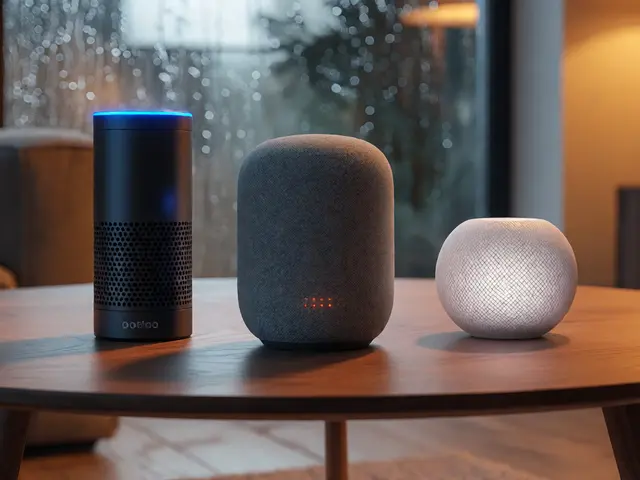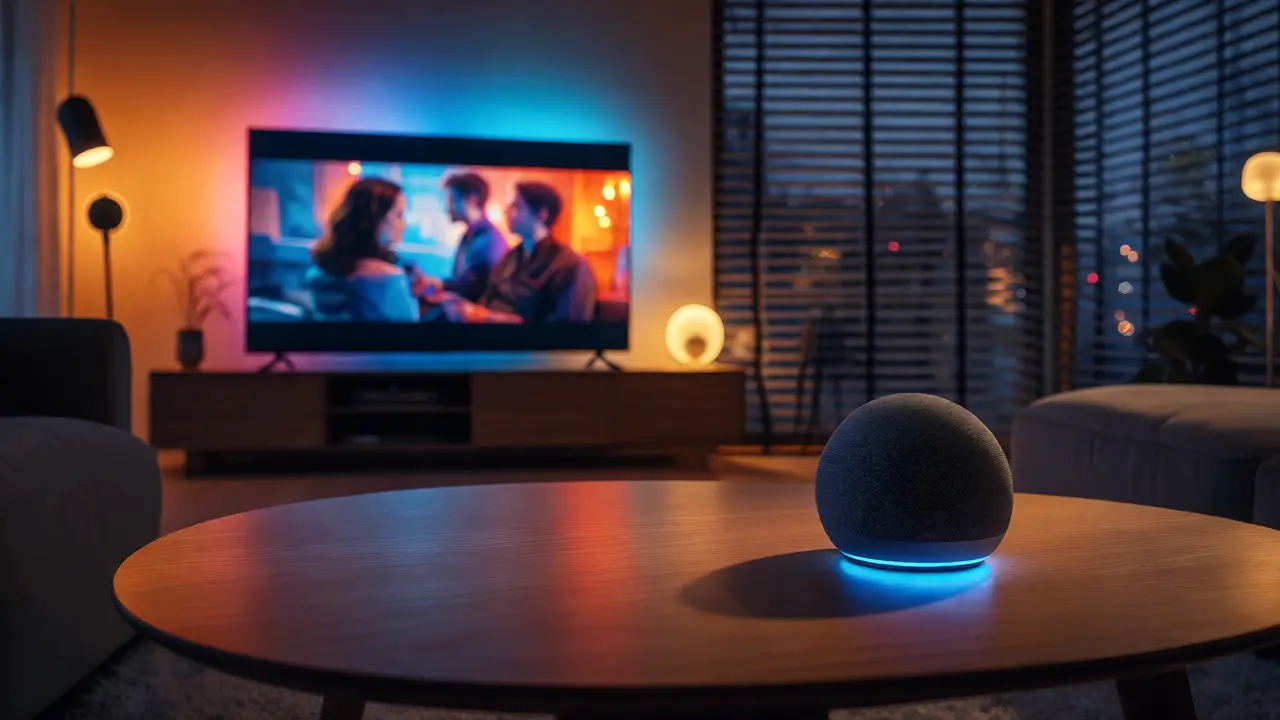
Imagine you're settling in for a movie night. You grab the remote, fumble through menus, and realize you forgot to dim the lights. Sound familiar? Now imagine just saying, "Hey Google, start Movie Mode." The lights fade, the blinds close, the Home Assistant is an open-source home automation platform that puts you in control of your home. triggers your projector, and your soundbar switches to Dolby Atmos. This seamless flow isn't magic; it's the result of properly integrating your entertainment gear with your smart home hub.
Most people stop at turning lights on and off. But the real power of home automation unlocks when you bridge the gap between your media devices and your central controller. Whether you use Apple HomeKit, Amazon Alexa, or a self-hosted Home Assistant instance, getting your TV, streaming sticks, and audio systems to talk to each other transforms how you consume content. Let’s break down exactly how to make this happen without pulling your hair out.
Why Bother Integrating Your Media Setup?
You might ask, "My TV works fine with its own remote. Why complicate things?" Fair point. But standalone remotes are limited. They don’t know if you’re watching Netflix or playing Xbox. They don’t care that you want the room dark during a horror movie but bright during a comedy special.
Integrating your entertainment system with a home assistant gives you three major wins:
- Context-Aware Control: Instead of separate buttons for volume, input, and lighting, you get scenes. "Movie Time" does everything at once.
- Cross-Device Harmony: Your phone, tablet, and voice assistants all see the same state. If you pause your show on the TV, your watch knows it too.
- Automation Triggers: Did you just walk into the living room after sunset? Maybe the TV should automatically turn on to your favorite news channel. These logic flows only work if the devices are connected to a brain like Home Assistant.
The key here is not just connectivity, but intelligence. A universal remote app is dumb; it sends signals. A home assistant is smart; it understands states and conditions.
Choosing Your Integration Method: IR, HDMI-CEC, or Wi-Fi?
Before you buy any hardware, you need to understand how your devices actually communicate. There are three main ways to control entertainment gear, and each has pros and cons.
| Protocol | Best For | Pros | Cons |
|---|---|---|---|
| Infrared (IR) | Older TVs, non-smart receivers | Works with almost anything; cheap hardware | Line-of-sight required; no feedback (doesn't know if device turned on) |
| HDMI-CEC | Modern Smart TVs, Soundbars | Single remote control; power sync; automatic input switching | Can be buggy; brands implement it differently (Anynet+, Bravia Sync) |
| Wi-Fi / IP Control | Streaming Sticks, Smart TVs, Sonos | No line-of-sight needed; two-way communication; rich metadata | Requires network stability; some older devices lack API support |
For most modern setups, Wi-Fi is king. It allows your Home Assistant server to query the current track playing on Spotify or check if your Roku is paused. However, don't discard HDMI-CEC. If you have a Sony TV and a Sony soundbar, enabling CEC lets them share a single power button. This reduces the number of entities your home assistant needs to manage, simplifying your automations.
Step-by-Step: Connecting Your Smart TV
Let’s assume you’re using Home Assistant, as it offers the deepest integration capabilities. If you use Alexa or Google Home, the steps are similar but less customizable.
- Check Compatibility: Go to the Home Assistant documentation and search for your TV brand. Most major brands (Samsung, LG, Sony) have native integrations. If yours doesn’t, look for a community-made custom component.
- Enable Network Discovery: On your TV, go to Settings > General > Network. Ensure "Wake on LAN" and "Remote Start" are enabled. Without these, your assistant can wake the TV, but it can’t turn it off completely.
- Add the Integration: In Home Assistant, go to Settings > Devices & Services > Add Integration. Search for your brand (e.g., "Samsung Smart TV"). Enter your TV’s IP address. You’ll likely need to accept a pairing request on the TV screen.
- Test Basic Commands: Try turning the TV on and off from the dashboard. Check if the volume slider works. If the TV turns on but stays black, you might need to adjust the "Source" setting in the integration config.
Pro Tip: Assign a static IP address to your TV in your router settings. DHCP leases change, and if your TV gets a new IP, your integration breaks until you update it manually.

Mastering Streaming Devices (Roku, Fire Stick, Apple TV)
Smart TVs are great, but most of us rely on external streaming boxes. These devices are often easier to integrate because they are designed for network control.
For Roku, which is a digital media player that streams over-the-top content, the integration is surprisingly robust. You can launch specific apps directly from Home Assistant. Want to jump straight to YouTube Kids? Create a script that sends the command to open the YouTube Kids app ID. No more navigating menus.
Apple TV users love the Apple TV integration because it provides detailed media information. You can see what song is playing on Apple Music or what episode of a show you’re watching on Apple TV+. This data is gold for automations. Imagine a rule: "If the Apple TV detects I’m watching 'The Office', set the living room lights to a warm orange hue." That level of detail requires deep API access, which Apple provides via AirPlay protocols.
Amazon Fire TV Stick users should note that while basic control works well, retrieving now-playing info can be hit-or-miss depending on the app. Use the official Amazon Alexa integration within Home Assistant to bridge this gap effectively.
Audio Systems: From Soundbars to Whole-Home Audio
Video is half the experience. Audio integration is where things get tricky but rewarding. If you have a simple soundbar connected via HDMI ARC, controlling it often falls under the TV’s umbrella. When you mute the TV, the soundbar mutes. Simple.
But what if you have a dedicated AV Receiver (AVR)? Brands like Denon and Marantz offer IP-based control. This means Home Assistant can tell the receiver to switch to "Blu-ray," set the volume to 40%, and enable "Pure Direct" mode. You can even monitor the active input source. This prevents the annoying scenario where you start a movie, but the audio is still coming from the cable box.
For multi-room audio, Sonos is a wireless home sound system company known for its easy-to-use app and high-quality speakers. Its integration is flawless. You can group rooms, sync playback across zones, and pull playlist data. If you use Home Assistant, you can create a "Party Mode" scene that groups the Living Room, Kitchen, and Patio speakers, sets the volume to 50%, and starts a specific Spotify playlist.
Building Scenes and Automations That Actually Work
Connecting devices is step one. Making them useful is step two. This is where you build "Scenes." A scene is a snapshot of desired states. Don’t just toggle devices; trigger scenes.
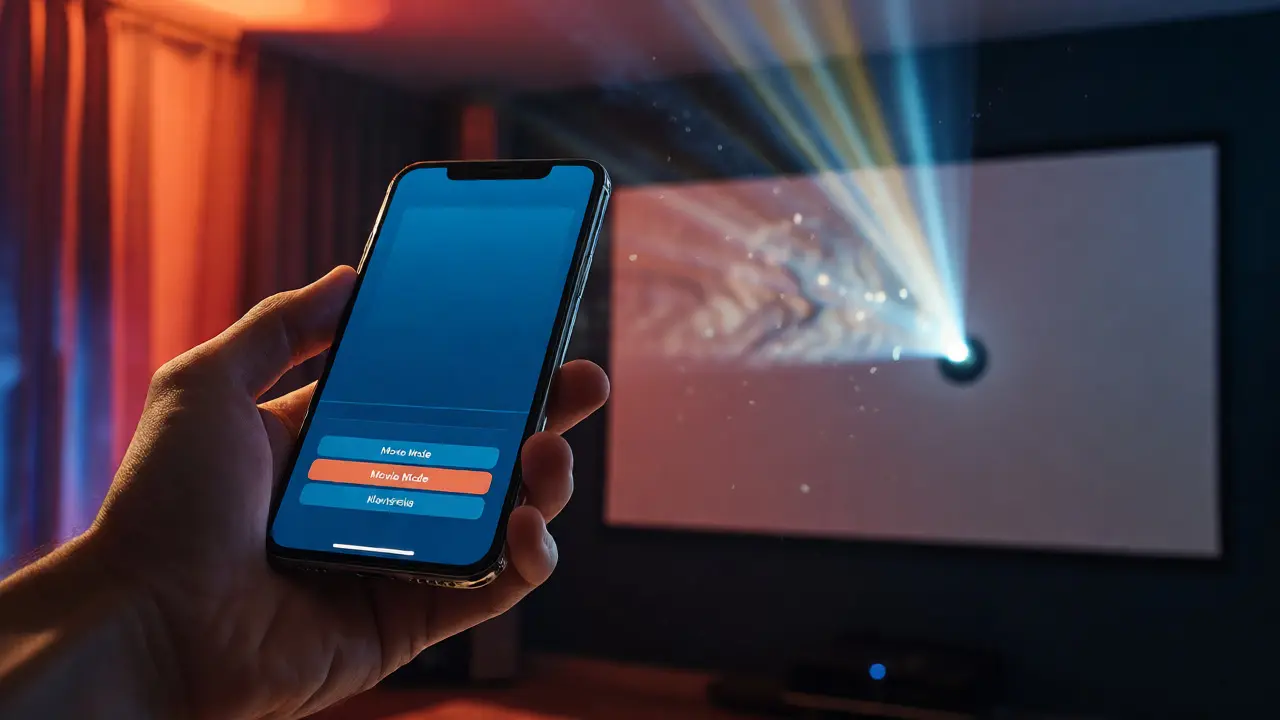
Here’s a practical example of a "Movie Night" automation logic:
- Trigger: Voice command "Start Movie" or pressing a physical button on a smart remote.
- Conditions: Only run if it’s after 6 PM and the house is occupied.
- Actions:
- Turn off all overhead lights.
- Dim smart bulbs to 10% brightness.
- Close motorized blinds.
- Power on the Projector.
- Switch the AVR input to "Projector".
- Launch the Plex app on the Shield TV.
Notice the order matters. You want the projector to warm up before you launch the content. Home Assistant allows you to add delays between actions to accommodate hardware boot times. This attention to detail makes the system feel responsive rather than sluggish.
Troubleshooting Common Integration Headaches
Even with careful planning, things break. Here are the top three issues I see and how to fix them.
1. The "Zombie" Device: Your TV shows as "On" in Home Assistant, but it’s actually off. This usually happens with Wi-Fi controlled devices that enter a low-power sleep mode. Solution: Enable "Wake on LAN" in both the TV and your router. In Home Assistant, configure the integration to ping the device every few minutes to verify its true state.
2. Volume Mismatches: You lower the volume on your phone app, but the TV volume doesn’t change. This often occurs when using IR blasters. Since IR is one-way, the system assumes the volume changed but doesn’t know the actual level. Solution: Switch to IP control if possible, or use a universal remote app that supports feedback loops.
3. Latency Lag: You say "Pause," and it takes three seconds to react. This is often due to cloud processing. If you use Home Assistant OS locally, ensure your local network isn’t congested. Using Ethernet for your streaming devices instead of Wi-Fi can drastically reduce lag, making the experience feel instantaneous.
Do I need a Hub for Home Assistant?
Not necessarily. Home Assistant runs on various hardware, including Raspberry Pi, Intel NUCs, or dedicated appliances like the Home Assistant Yellow. While a Zigbee/Z-Wave dongle is needed for those radio protocols, many entertainment devices connect via Wi-Fi or Ethernet, requiring no extra hub.
Can I control my old non-smart TV?
Yes. By adding an IR Blaster (like Broadlink RM Pro or Tasmota-based devices), you can teach your home assistant to send infrared signals. This allows you to power on/off and change channels on legacy equipment, though you won't get status feedback like current volume levels.
Is HDMI-CEC reliable for automation?
It depends on the manufacturer. Samsung calls it Anynet+, LG uses Simplink, and Sony uses Bravia Sync. While convenient for basic power syncing, it can be inconsistent for complex automations. For critical setups, relying on IP control or IR is often more stable than HDMI-CEC alone.
Will this slow down my internet speed?
No. Home Assistant communicates with devices over your Local Area Network (LAN). It does not route traffic through the cloud unless you explicitly configure remote access. Therefore, it consumes negligible bandwidth and does not impact your streaming quality.
What if my TV loses its IP address?
This breaks the connection. To prevent this, log into your router’s admin panel and assign a Static IP (DHCP Reservation) to your TV and streaming devices based on their MAC addresses. This ensures they always keep the same address, keeping your integration stable.