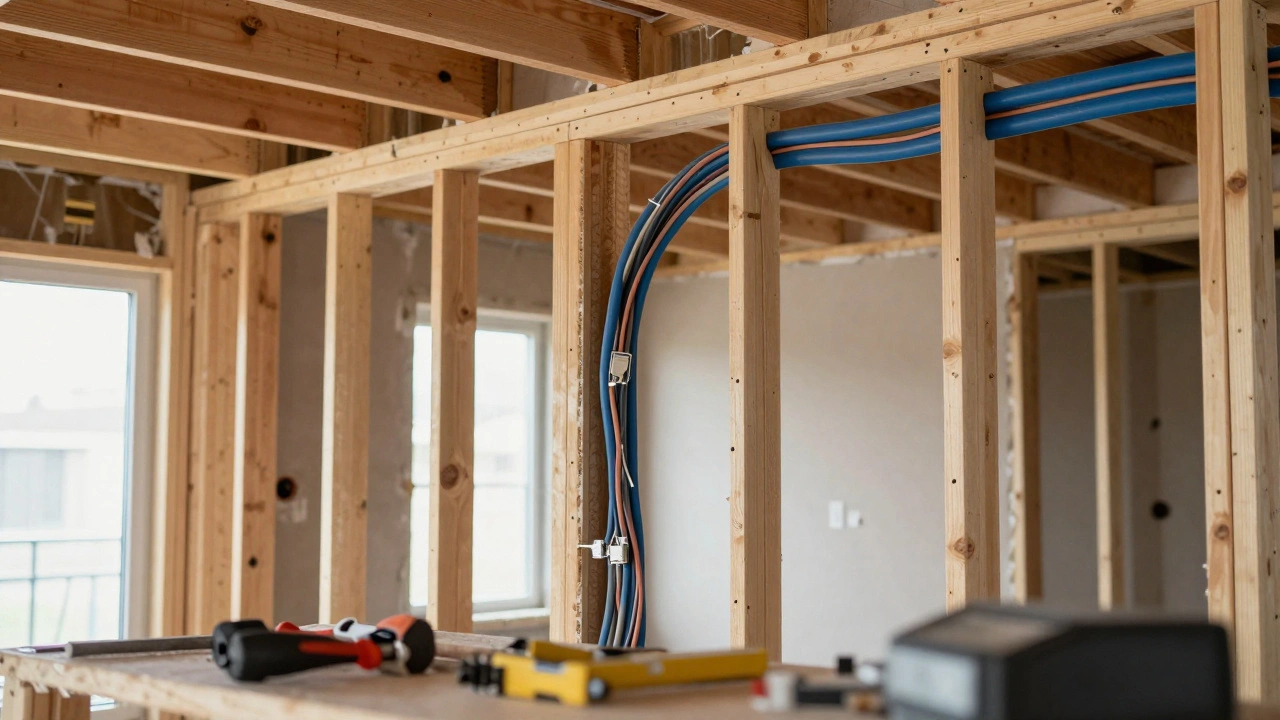
Renovating your house is expensive. Tearing down walls and replacing drywall hurts the wallet even more. But if you skip the chance to upgrade your smart home infrastructure while the walls are open, you’re leaving money on the table. Most homeowners make the mistake of buying gadgets first and thinking about wiring later. By then, it’s too late.
You don’t need to predict every gadget that will exist in 2035. You just need to build a skeleton that can support whatever comes next. Whether you are building from scratch or renovating an older home, the goal is simple: create a system that doesn’t require you to rip up floors or drill through finished walls five years from now.
The Backbone: Wiring for Speed and Reliability
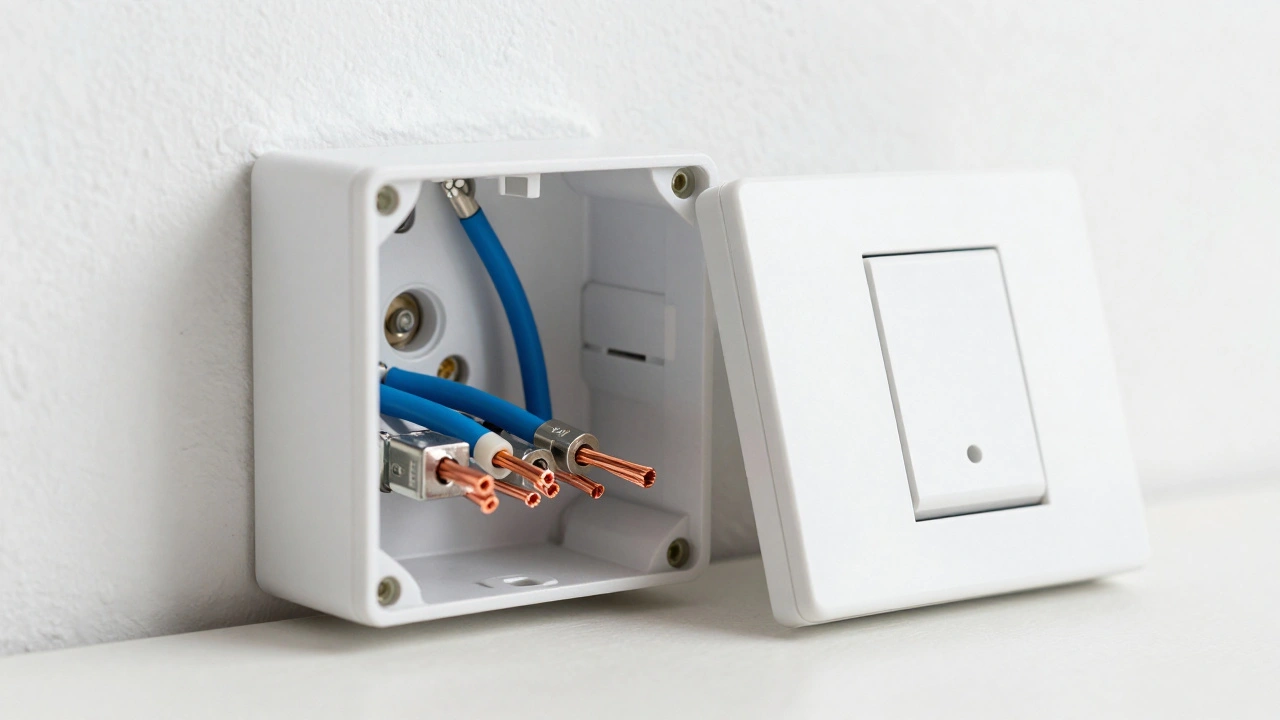
Wireless technology is convenient, but it is also fragile. Wi-Fi signals bounce off metal studs, get blocked by concrete, and struggle with interference from microwaves and neighbors’ networks. If you want a truly reliable smart home, you cannot rely solely on wireless connections for critical devices like security cameras, door locks, and audio systems.
The single most important step you can take during a renovation is installing Cat6a Ethernet cable. Cat6 supports speeds up to 10 Gbps, which is plenty for today’s 4K streaming and large file transfers. Cat6a adds shielding against crosstalk, ensuring stable performance even if cables run near electrical lines. Run these cables to every room where you might place a TV, computer, or smart speaker.
Don’t forget the outside. Run at least two Ethernet lines to exterior wall jacks for outdoor cameras, smart lighting, and gate controls. Weatherproof the terminations properly. A $50 box of cables now saves you hundreds in drilling and painting later.
Power Planning: Switches, Outlets, and USB
Smart switches are great for controlling lights, but they have a catch. Many smart switches require a neutral wire to function correctly. Older homes built before 1990 often lack neutral wires in switch boxes. If you are renovating, this is your chance to fix that.
Ask your electrician to install neutral wires in all light switch boxes. It’s a small job when the walls are open, but a nightmare if you try to do it after closing them up. This opens the door to using any brand of smart switch without worrying about compatibility issues.
Think about where you charge devices. We don’t just plug in lamps anymore. We charge phones, tablets, e-bikes, and vacuum robots. Install extra outlets in high-traffic areas like kitchen islands, bathroom vanities, and bedside tables. Consider adding USB-C ports directly into the faceplates. It keeps cords tidy and ensures you always have a fast charging spot available.
Also, plan for low-voltage power. Smart locks, video doorbells, and garage door openers often need 24V power. Running dedicated low-voltage circuits from your breaker panel or transformer hub makes installation cleaner and safer than relying on battery replacements every few months.
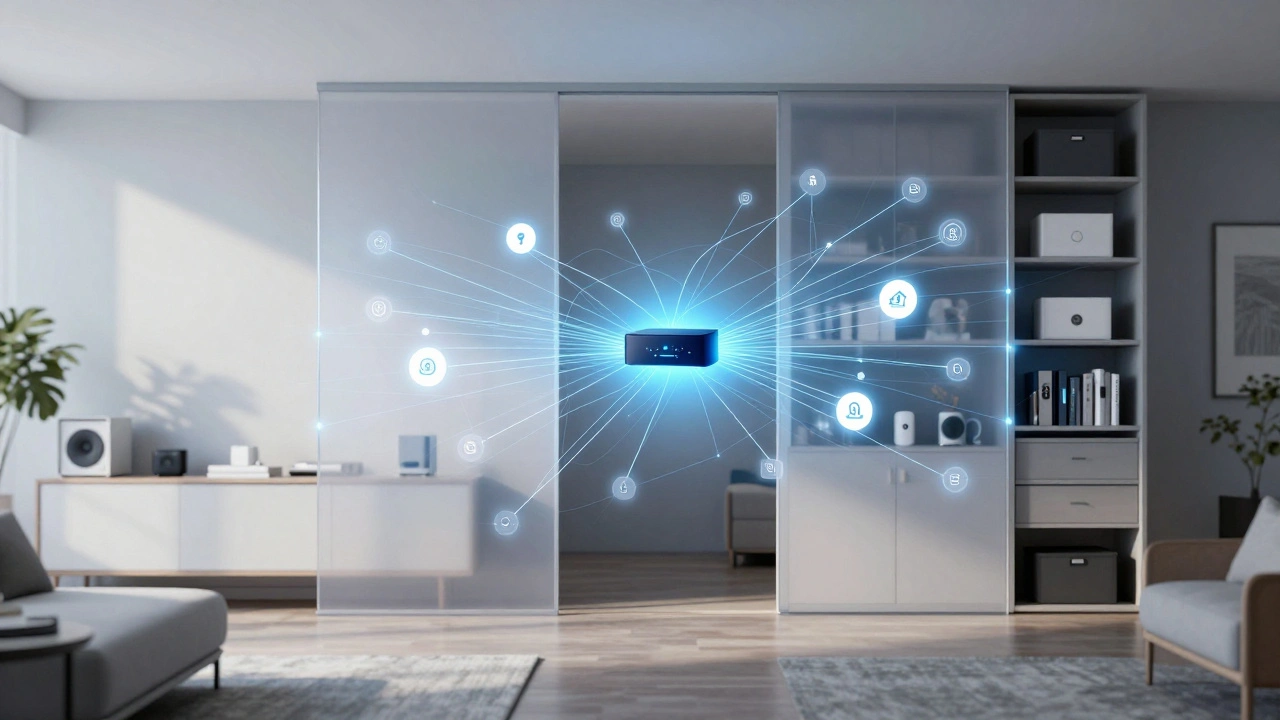
Connectivity Standards: Matter, Thread, and Zigbee
The smart home landscape has shifted dramatically in recent years. In the past, you had to choose between ecosystems like Apple HomeKit, Google Home, or Amazon Alexa. Today, Matter is changing the game. Matter is a unified protocol that allows devices from different manufacturers to work together seamlessly.
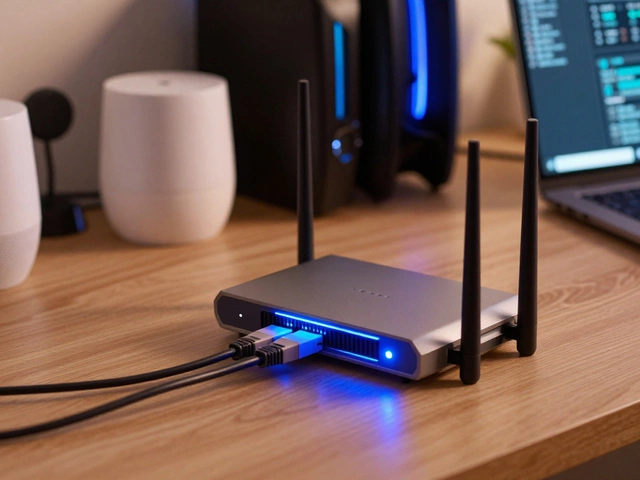
To leverage Matter effectively, you need a robust network backbone. Specifically, look into Thread. Thread is a low-power, mesh networking protocol that forms its own local network, independent of your main Wi-Fi. This means your lights and sensors stay online even if your internet goes down. It’s faster and more reliable than traditional Bluetooth or Zigbee.
During your renovation, ensure your router or gateway supports Thread border routing. Many modern routers include this feature, but it’s worth checking. If your current router is old, budget for an upgrade. Without Thread support, you’ll miss out on the lowest latency and highest reliability that modern smart devices offer.
Central Hub Placement and Ventilation
A smart home needs a brain. This could be a dedicated server running Home Assistant, a commercial hub like Hubitat, or a cloud-based controller. Wherever you place this device, treat it like your computer’s CPU. It needs space, cooling, and easy access.
Do not hide your hub inside a closet or behind a cabinet unless you provide active ventilation. Overheating causes crashes and shortens hardware life. Ideally, place your network equipment in a central location with good airflow. A dedicated media closet with a small exhaust fan works wonders.
Label everything. Use a label maker to tag every Ethernet port, power outlet, and circuit breaker associated with your smart home. When you move furniture or troubleshoot a glitch six months from now, you’ll thank yourself for taking ten minutes to label things now.
Sensor Placement: Invisible Integration
Sensors are the eyes and ears of your smart home. Motion sensors, temperature sensors, contact sensors, and water leak detectors should be placed thoughtfully. Since you are renovating, you can integrate them invisibly.
Consider recessed motion sensors in ceilings or trim. They look cleaner than bulky stick-on units. For window and door contacts, run hidden wires if possible, though battery-powered options are becoming so efficient that wired sensors are less common for simple doors.
Water leak sensors are critical. Place them under sinks, behind toilets, and near washing machines. These are cheap insurance policies. A single flood event can cost thousands in damage; a sensor costs less than $20. Wire them if you can, or at least ensure they have strong Wi-Fi or Thread signal coverage.
Audio and Video: Pre-Wiring for Immersion
Soundbars are fine, but they don’t fill a room evenly. If you love movies or music, consider pre-wiring for ceiling speakers. Run CL2-rated speaker wire (fire-safe) through walls and ceilings. Leave enough slack at both ends-about three feet-to allow for amplifier placement flexibility.
For video, run HDMI cables along with Ethernet. While many people stream content over Wi-Fi, local playback of 4K HDR content benefits from a direct connection. Also, consider running coaxial cable if you still receive satellite or cable TV, as some providers require it for set-top boxes.
| Task | Priority | Why It Matters |
|---|---|---|
| Install Cat6a Ethernet | High | Ensures stable, high-speed connectivity for critical devices |
| Add Neutral Wires to Switches | High | Allows use of any smart switch brand without adapters |
| Run Low-Voltage Power Lines | Medium | Powers locks, doorbells, and cameras reliably |
| Plan Hub Location | High | Prevents overheating and ensures central signal distribution |
| Pre-wire Speaker Cables | Low | Enables immersive audio without visible wires |
Security and Privacy: Building Trust Into Your Home
A smart home collects data. Temperature readings, camera footage, voice commands-it all adds up. To protect your privacy, keep your smart devices on a separate network. Most modern routers allow you to create a guest network or VLAN (Virtual Local Area Network). Put all IoT devices on this isolated network.
This way, if a cheap smart bulb gets hacked, the attacker cannot access your personal laptop or phone. Change default passwords on every device. Enable two-factor authentication where available. And regularly update firmware. Neglecting updates is one of the biggest security risks in smart homes.
Also, think about physical security. Smart locks are convenient, but they must be paired with solid deadbolts. Ensure your door frames are reinforced. A smart lock on a weak frame is useless. Similarly, position outdoor cameras to cover blind spots without violating neighbors’ privacy. Check local regulations regarding surveillance to avoid legal issues.
Budgeting for the Long Term
Future-proofing isn’t free, but it’s cheaper than retrofitting. Allocate 10-15% of your total renovation budget to smart home infrastructure. This covers wiring, labor, and initial hardware. Don’t overspend on gadgets right away. Buy the best router and switch you can afford, but wait on specific bulbs or speakers until you see what fits your lifestyle.
Work with an electrician who understands low-voltage systems. Not all general contractors specialize in smart home tech. Ask for references or examples of previous work. A knowledgeable pro can save you headaches by catching potential issues before they become problems.
Remember, the goal is flexibility. You want a home that adapts to new technology, not one that fights against it. By focusing on wiring, power, and connectivity standards, you create a foundation that lasts decades.
Should I use Wi-Fi or wired connections for my smart home?
Use a hybrid approach. Critical devices like security cameras, door locks, and hubs should be wired via Ethernet for stability and speed. Less critical devices like smart plugs and bulbs can use Wi-Fi or Thread. Wired connections prevent lag and disconnections during peak usage times.
What is the difference between Cat6 and Cat6a cable?
Cat6 supports speeds up to 10 Gbps over shorter distances (up to 55 meters). Cat6a offers the same speeds but over longer distances (up to 100 meters) and includes shielding against crosstalk and electromagnetic interference. For future-proofing, Cat6a is the better choice due to its superior performance in noisy environments.
Do I really need neutral wires in my light switch boxes?
Yes, if you plan to use smart switches. Most modern smart switches require a constant power source provided by a neutral wire. Older homes often lack these wires. Adding them during renovation ensures compatibility with virtually any smart switch brand and avoids the need for workarounds like capacitors or proprietary non-neutral switches.
Is Matter compatible with all existing smart home devices?
Not yet. Matter is a new standard, so only newer devices explicitly labeled as "Matter-compatible" support it. However, many major brands are transitioning their product lines to Matter. Existing devices may work through bridges or hubs that translate protocols, but native Matter support offers the best interoperability and local control.
Where is the best place to put my smart home hub?
Place your hub in a central location with good airflow, ideally near your main router. Avoid enclosed spaces like closets without ventilation. Central placement ensures even signal distribution for wireless devices like Thread and Zigbee sensors. Easy access is also important for troubleshooting and updates.
How much should I budget for smart home infrastructure during renovations?
Allocate approximately 10-15% of your total renovation budget. This covers wiring, labor, and essential hardware like routers and switches. Focus on infrastructure rather than gadgets initially. You can always add smart bulbs and speakers later, but re-running wires after construction is complete is costly and disruptive.