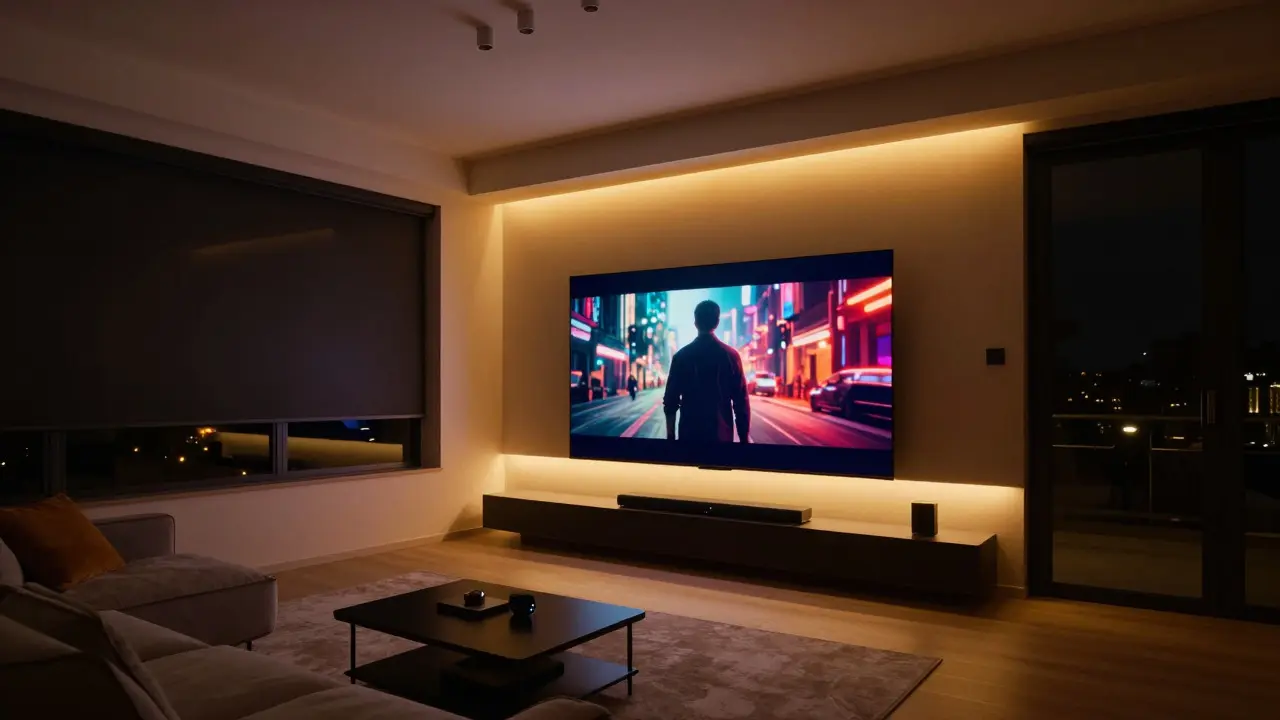
Imagine this: it’s Friday evening. You’re tired, the kids are finally in bed, and you just want to watch a film without fumbling with three different remotes or walking around flipping light switches. You say, “Hey, start movie night,” and suddenly the room transforms. The lights dim to a warm amber, the blinds slide shut, and the sound system fades in at the perfect volume. That seamless transition is the power of voice scenes. They turn a cluttered living room into a cinematic experience with one simple command.
Many homeowners have smart bulbs and speakers but keep them separate. The result? A disjointed experience where you manually adjust each device. Voice scenes solve this by grouping devices into a single logical unit. Instead of telling your hub to turn off the lamp, lower the shade, and pause the TV separately, you trigger a pre-set sequence. This article breaks down how to build these scenes effectively, focusing on the three pillars of home entertainment: lighting, shades, and audio.
Why Grouping Devices Matters for Entertainment
The core concept behind a voice scene is synchronization. When you watch a movie, your eyes need low ambient light to reduce glare on the screen, while your ears need clear, immersive sound. If the kitchen light stays bright, the contrast on your TV drops, making colors look washed out. If the background noise from a running fan or a loud speaker distracts you, immersion breaks.
A well-designed scene handles these conflicts automatically. It doesn't just turn things off; it sets them to specific states. For example, a "Movie Night" scene might set living room lights to 10% brightness with a color temperature of 2700K (warm white). It closes motorized shades to block streetlights. It switches the audio source to the streaming box and sets the volume to 30%. By defining these attributes once, you ensure consistency every time you use the scene. This removes cognitive load-you don’t have to remember the exact settings; you just trust the preset.
Mastering Lighting for Cinematic Contrast
Lighting is the most critical element of a movie scene because it directly affects image quality. Human vision adapts quickly to changes in brightness. If the room is too dark, you lose detail in shadows. If it’s too bright, highlights blow out. The goal is to create a viewing environment that matches the dynamic range of modern displays.
Here is how to configure your lighting within a voice scene:
- Bias Lighting: Place smart bulbs behind your TV or monitor. Set them to a warm white (around 2700K-3000K) at 10-20% brightness. This reduces eye strain by providing a reference point for your eyes without reflecting off the screen.
- Ambient Dimming: Turn off all direct overhead lights. Use floor lamps or recessed lights only if necessary, keeping them below 5% brightness.
- Color Temperature Consistency: Ensure all remaining lights share the same color temperature. Mixing cool blue-white LEDs with warm incandescent-style bulbs creates visual discomfort and can distort perceived colors on the screen.
When building the scene in your smart home app, assign specific values rather than just "off." For instance, instead of turning off the ceiling light, set it to 0%, but leave the bias light at 15%. This subtle difference makes a huge impact on comfort during long viewing sessions.
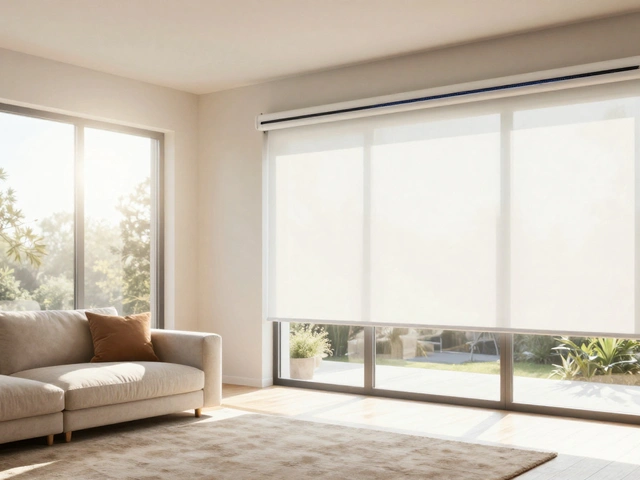
Automating Shades and Blinds for Total Blackout
Natural light is the enemy of home theater setups. Even on cloudy days, daylight reduces contrast ratios. Motorized shades or blinds offer the solution, but they must be integrated into the scene to be effective.
Incorporating shades into your voice scene requires attention to timing and positioning. Unlike lights, which switch instantly, shades take time to move. If you trigger the scene, you don’t want the shades rattling down in the middle of the opening credits. Therefore, most smart home systems allow you to set a delay or simply assume the shades will reach their closed position shortly after the command is issued.
Consider the following factors when setting up your shade automation:
- Blackout vs. Sheer: For daytime movies, use blackout shades to achieve maximum darkness. For evening viewings, sheer shades may suffice to hide interior lights from neighbors while still allowing some ambient glow.
- Partial Positioning: Sometimes, fully closing shades blocks important views or feels claustrophobic. You can program the scene to close shades to 80% if you prefer a sliver of outside visibility.
- Sensor Integration: Advanced setups can link shade position to outdoor light sensors. If it’s bright outside, the scene commands full closure. If it’s night, it leaves them open or partially closed.
Test this integration thoroughly. Stand in the center of the room and look toward the windows after triggering the scene. If you see any light leakage, adjust the shade track or add black-out curtains as a physical backup.
Audio Control: Setting the Stage for Sound
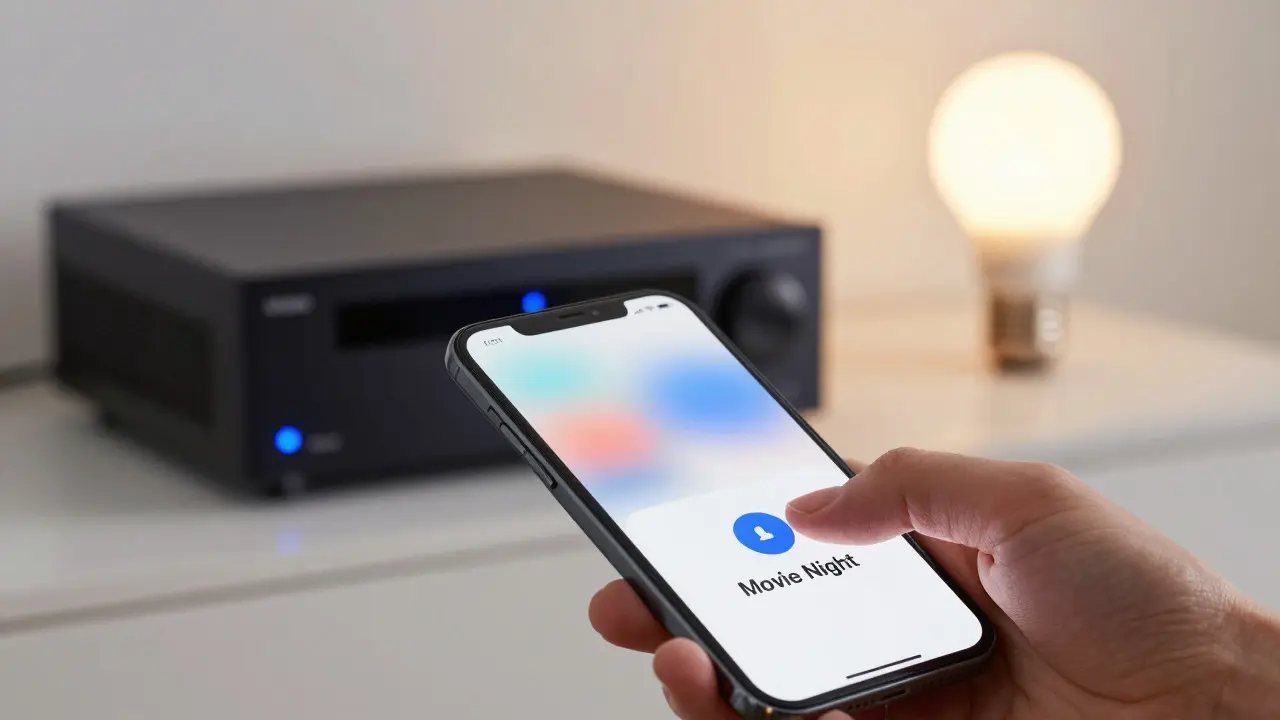
While lighting and shades handle the visuals, audio completes the sensory experience. A movie scene isn’t complete if you have to manually select the correct input on your receiver or adjust the volume on a separate remote.
Voice scenes can control multiple aspects of your audio setup simultaneously. This includes selecting the correct input source, adjusting volume levels, and even changing sound modes.
- Input Selection: Program the scene to switch your AV receiver or soundbar to the correct HDMI input (e.g., "HDMI 1" for the gaming console or "HDMI 2" for the streaming stick).
- Volume Normalization: Set a default volume level that is comfortable for conversation-level dialogue. Avoid setting it too high, as sudden action sequences can become jarring. A starting point of 30-40% is usually safe for most systems.
- Sound Mode Activation: Many receivers have specific modes like "Movie," "Dolby Atmos," or "Night Mode." Triggering the correct mode ensures the audio processing matches the content type.
- Muting Unnecessary Speakers: If you have multi-room audio, ensure other rooms are muted so sound doesn’t bleed through walls.
The key here is latency. There should be no noticeable lag between saying the command and hearing the sound. If your network is slow, consider using local controls for audio components to ensure instant response, while letting the cloud handle the slower tasks like shade movement.
Building Your First Voice Scene: Step-by-Step
Creating a voice scene varies slightly depending on whether you use Alexa, Google Home, Apple HomeKit, or a dedicated hub like Samsung SmartThings or Lutron. However, the logic remains consistent. Here is a universal workflow to get started.
- Define the Name: Choose a clear, distinct name like "Movie Night" or "Cinema Mode." Avoid names that might conflict with other routines, such as "Evening," which could overlap with bedtime scenes.
- Add Lighting Devices: Select all relevant lights in the room. Set them to your preferred brightness and color temperature. Remember to include bias lighting behind the TV.
- Add Shade Controls: Include the motorized shades for the windows facing the screen. Set them to "Closed" or a specific percentage.
- Add Audio Devices: Link your AV receiver or soundbar. Set the input source and volume level. If you have a subwoofer, ensure it’s active.
- Test and Refine: Run the scene. Sit in your primary seating position. Check for light leaks, audio delays, or unexpected sounds. Adjust individual device settings within the scene until the experience feels seamless.
Once satisfied, save the scene. Now, whenever you say, "Alexa, start Movie Night," or "Hey Google, run Cinema Mode," the entire room reacts in unison. This simplicity is what makes automation valuable-it turns a complex multi-step process into a single utterance.
Troubleshooting Common Scene Issues
Even the best-planned scenes can encounter hiccups. Understanding common pitfalls helps you fix issues quickly.
Latency Problems: If the lights turn on before the shades close, or the audio starts before the lights dim, you may have network congestion. Try connecting your smart home hub to your router via Ethernet instead of Wi-Fi. Local execution often resolves speed issues.
Device Conflicts: If you have multiple hubs controlling the same device, they might fight over control. Ensure each device is assigned to only one ecosystem or that the hubs are properly synced. For example, if both Alexa and Google Home control the same light, one might override the other’s settings unexpectedly.
False Triggers: Sometimes, background noise or similar-sounding words can accidentally trigger the scene. Make sure your wake word is distinct and that the scene name is unique. Avoid using generic terms like "Off" or "On" as part of the scene name.
Power Outages: After a power outage, some devices revert to default states. Check if your smart plugs or bulbs have battery backups or if they reset to "on" or "off" upon restart. You may need to re-run the scene to restore the correct state.
Comparison of Key Elements in a Movie Scene
To visualize how these elements work together, consider the following table. It outlines the recommended settings for a standard living room movie setup.
| Element | Device Type | Recommended State | Purpose |
|---|---|---|---|
| Main Lights | Ceiling/Floor Lamps | 0% Brightness | Eliminate glare and distractions |
| Bias Lighting | LED Strips/Bulbs | 10-20% Warm White (2700K) | Reduce eye strain, improve contrast perception |
| Shades | Motorized Blinds/Curtains | Closed (100%) | Block natural light, prevent external reflections |
| Audio Input | AV Receiver/Soundbar | Streaming Device Input | Ensure correct source is active |
| Audio Volume | AV Receiver/Soundbar | 30-40% | Provide balanced starting volume |
| TV Power | Smart TV | On / Correct Input | Display video content |
This table serves as a baseline. You should tweak these values based on your specific room dimensions, window orientation, and personal preferences. What works for a small apartment may not suit a large family room with high ceilings.
Expanding Beyond Basic Movies
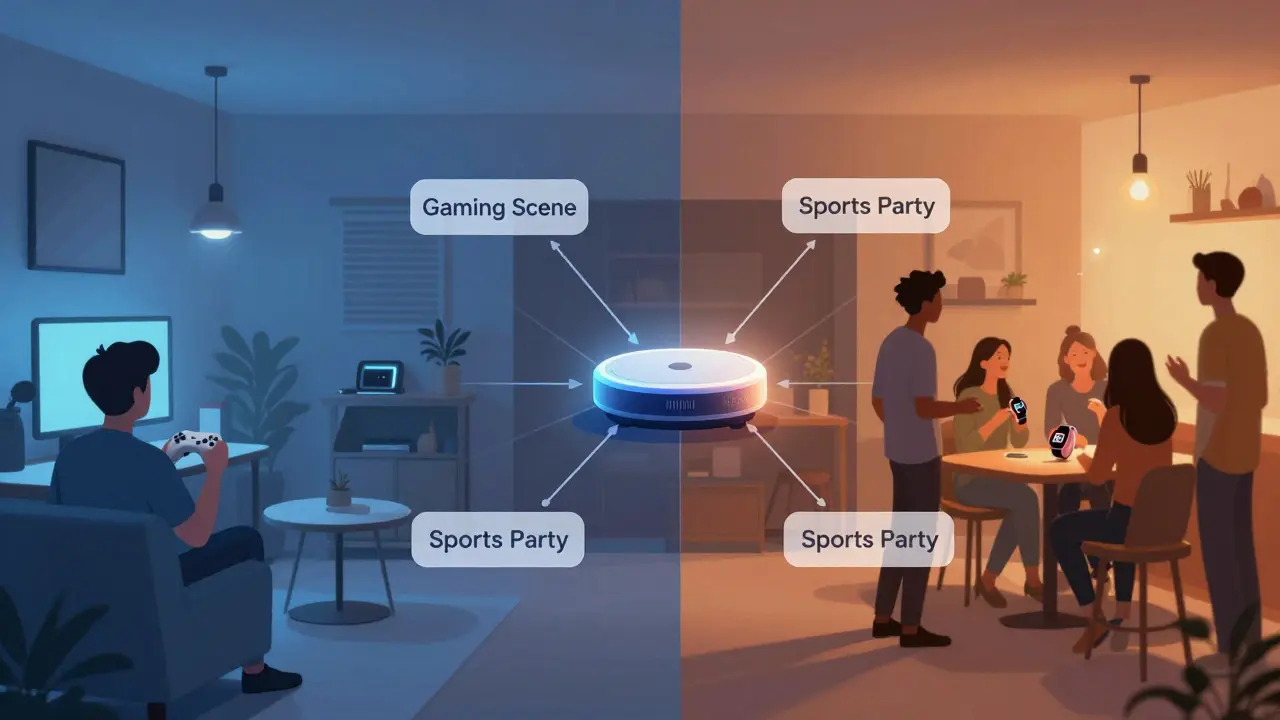
Once you master the basic movie scene, you can expand your automation library. Consider creating variations for different types of content. A "Gaming Scene" might keep lights slightly brighter to reduce fatigue during long sessions and disable certain audio enhancements that distort game sound effects. A "Sports Watch Party" scene might increase ambient lighting for social interaction and boost bass for crowd noise.
You can also integrate weather data. If the forecast predicts rain, the scene could automatically close shades tighter to prevent water damage or condensation on glass. These advanced touches transform your home from a passive space into an active participant in your leisure activities.
The beauty of voice scenes lies in their scalability. Start with one room, perfect the settings, and then replicate the template across your home. Each iteration teaches you more about how light, sound, and privacy interact. Over time, your home becomes intuitive, responding to your needs before you even ask.
Do I need a smart home hub to create voice scenes?
Not always. Platforms like Alexa, Google Home, and Apple HomeKit allow you to create scenes directly in their apps without a separate hardware hub. However, if you use Z-Wave or Zigbee devices, a dedicated hub like Samsung SmartThings or Lutron Caséta often provides better reliability and faster local execution compared to relying solely on the cloud.
How do I fix latency when my shades move slowly during a scene?
Shade movement speed is mechanical, not digital, so it cannot be sped up beyond its motor limit. To mitigate the feeling of delay, ensure your Wi-Fi connection is strong near the shade controller. Alternatively, you can set the shade to close slightly earlier in the sequence or accept the few seconds of travel time as part of the ambiance. Most users find the gradual closing effect adds to the cinematic feel.
Can I use different lighting colors for different movies?
Yes, if you have color-capable smart bulbs. You can create multiple scenes, such as "Action Movie" (cool white/blue tint) and "Drama" (warm amber). While bias lighting is generally recommended in warm tones for eye comfort, experimenting with subtle color shifts can enhance the mood. Just avoid bright saturated colors that distract from the screen.
What is the best volume level to set in a movie scene?
There is no single correct number, as it depends on your equipment and room acoustics. A good rule of thumb is to set the initial volume to a level where dialogue is clearly audible without shouting. Typically, this falls between 30% and 40% on most AV receivers. Test it with a variety of content-quiet dialogues and loud explosions-to ensure the range is comfortable.
Will voice scenes work if the internet goes down?
It depends on your setup. If you use a local hub (like Lutron or SmartThings) with local processing, many scenes will still work offline because the commands are processed locally. However, if you rely entirely on cloud-based services (like standard Alexa or Google Home), the scene may fail to execute if the internet is down. For critical entertainment setups, local control is highly recommended for reliability.