You’ve just ordered your first smart thermostat is a a digital controller that automates heating and cooling based on user preferences and schedules. or maybe a video doorbell. The box arrives, you open it, and suddenly you’re staring at a bundle of wires, a mounting plate, and an instruction manual that feels like it was written by a robot. Before you panic, take a breath. Most smart home installation projects don’t require professional help if you have the right gear in your toolbox. The difference between a smooth setup and a frustrating afternoon usually comes down to preparation.
Let’s clear up a common misconception: you don’t need a degree in electrical engineering to install these gadgets. You do, however, need safety gear, basic hand tools, and a bit of patience. Whether you’re swapping out old light switches for Zigbee bulbs is a wireless lighting technology that uses low-power radio signals to connect devices within a mesh network. or hardwiring a security camera, the core equipment remains surprisingly consistent. Here is exactly what you need to get started without breaking the bank or calling an electrician for every minor task.
The Safety Gear You Can’t Skip
Before you touch a single screw, think about protection. Working with electricity, even at low voltages, carries risks. Your first priority is keeping yourself safe while working in tight spaces like wall boxes or behind appliances.
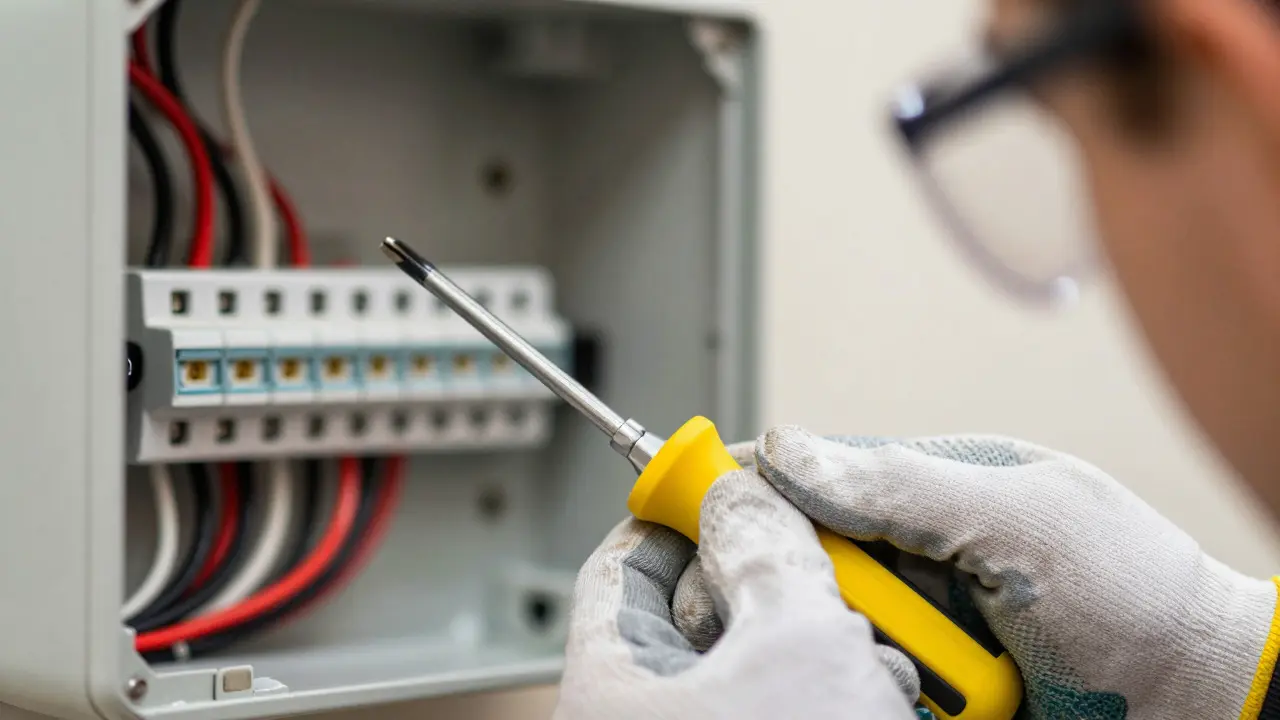
- Insulated Screwdrivers: Look for drivers rated for 1000V. These are non-negotiable when dealing with live circuits. A standard driver might look fine, but insulation prevents accidental shocks if you slip on a live terminal.
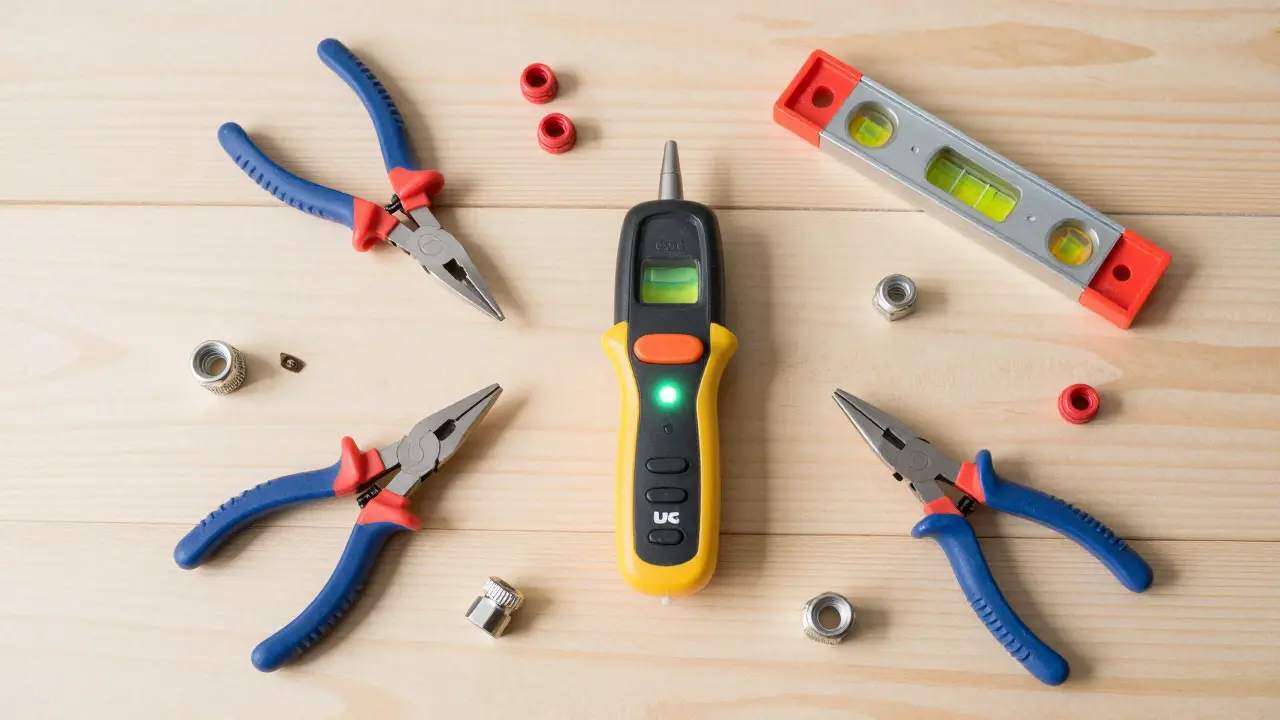
- Voltage Tester: Never trust the breaker switch alone. A non-contact voltage tester costs less than $15 and lets you verify that power is actually off before you dig in. Tap it against the wire; if it beeps, wait and try again.
- Safety Glasses: It sounds overkill until a screw snaps or a piece of drywall crumbles into your eye. Clear polycarbonate lenses are cheap and save you from a very bad day.
- Knee Pads: If you’re installing floor sensors or under-desk mounts, your knees will thank you. Foam pads provide enough cushioning to work comfortably for an hour or two.
Hand Tools That Do the Heavy Lifting
Once you’re safe, you need tools that can handle the physical aspects of mounting and wiring. You don’t need a full professional set, but a few specific items make a huge difference.
- Phillips and Flat-Head Screwdrivers: Smart devices use a mix of both. A magnetic tip is a game-changer because it holds the screw in place while you align the hole, saving you from dropping tiny screws into wall cavities.
- Pliers Set: Needle-nose pliers are essential for bending wires and reaching into cramped junction boxes. Slip-joint pliers help when you need to grip nuts or hold components steady.
- Wire Strippers/Cutters: Many smart plugs and switches come with pre-stripped wires, but others require you to prepare them yourself. A good stripper cuts cleanly without nicking the copper inside, which prevents future connection failures.
- Level: Nothing looks worse than a crooked video doorbell. A small bubble level ensures your device sits straight on the wall. For larger panels, a laser level is worth the investment if you plan to do multiple installations.
Electrical Supplies and Connectors
Even if the device comes with most of its hardware, you’ll likely need extra supplies to make the connections secure and code-compliant. This is where most DIYers get stuck, thinking they forgot something crucial.
The backbone of any wired smart device is the connection point. You need wire nuts is a a plastic cap used to join two or more electrical wires together securely. in various sizes (small, medium, large) to twist exposed copper ends together. Avoid using tape as a primary connector; it degrades over time. Instead, pair wire nuts with high-quality electrical tape for added strain relief.
If you’re replacing an older switch with a smart one, check for a neutral wire. Many modern homes have this, but older properties might not. If you lack a neutral, you may need a special version of the device or a bypass kit. Always label your wires before disconnecting anything. A simple piece of masking tape on each wire end saves hours of confusion when reassembling.
| Device Type | Key Tool Requirement | Common Pitfall | Difficulty Level |
|---|---|---|---|
| Smart Bulb | None (screw-in) | Heat buildup in fixtures | Beginner |
| Video Doorbell | Drill, Level, Wire Strippers | Mismatched chime voltage | Intermediate |
| Smart Thermostat | Voltage Tester, Screwdrivers | Missing C-wire | Intermediate |
| Smart Lock | Phillips Driver, Measuring Tape | Backset misalignment | Beginner |
Power and Network Essentials
Hardware is only half the battle. Smart devices rely heavily on stable power and strong connectivity. Without the right environment, even the best tools won’t help you get a reliable signal.
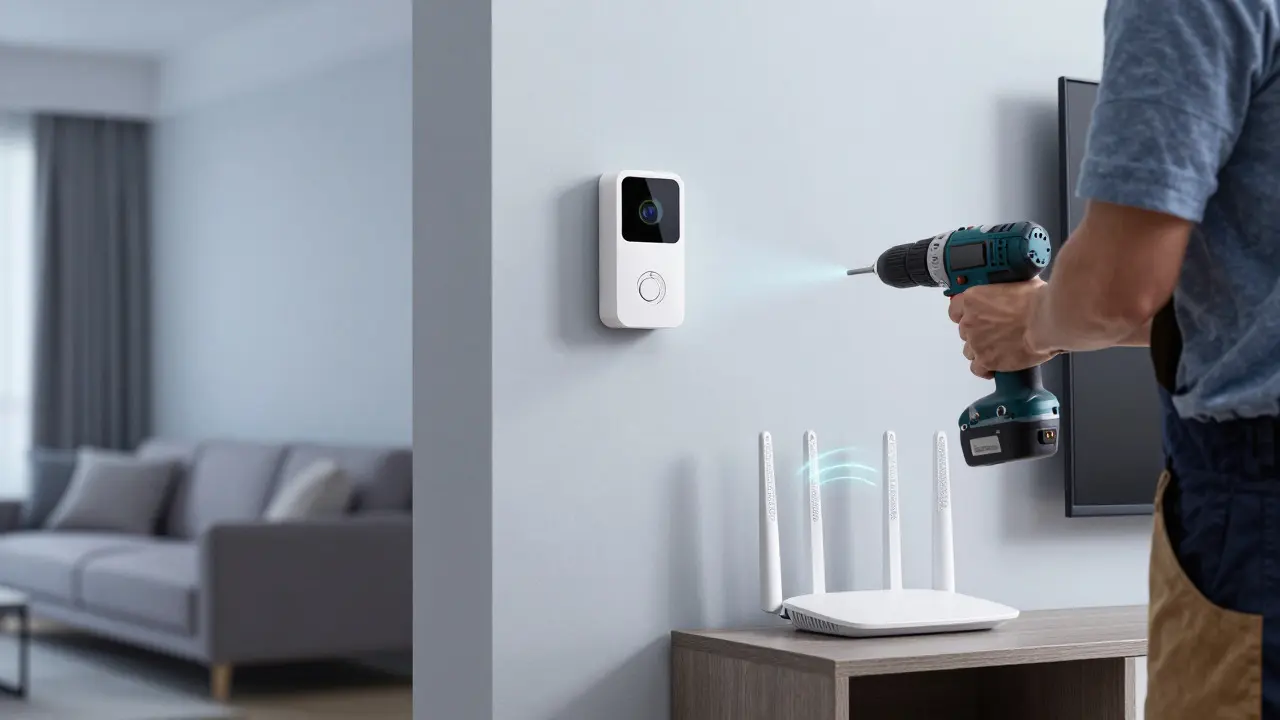
Your Wi-Fi router is a a networking device that connects local devices to the internet via wireless signals. needs to cover the area where you’re installing the device. Dead zones are the number one reason for dropped connections. Before drilling holes, run a speed test in the exact spot. If the signal is weak, consider a mesh system extension rather than moving the device.
For battery-powered devices, keep spare batteries handy during installation. Testing the device with fresh cells ensures you’re troubleshooting the setup process, not a dead battery. For plugged-in devices, ensure the outlet is easily accessible. Hiding a smart plug behind a heavy sofa makes future updates or resets incredibly annoying.
Software and App Preparation
This isn’t a physical tool, but it’s often the most overlooked step. Download the manufacturer’s app *before* you start unscrewing things. Create your account, update the app to the latest version, and charge your phone. Half the frustration in smart home setups comes from trying to pair a device while simultaneously holding a drill and reading instructions.
Have your Wi-Fi password written down. It’s easy to forget the complex string of characters when you’re focused on the task. Also, check if the device requires a specific band (2.4GHz vs 5GHz). Most budget smart home devices only support 2.4GHz. If your router broadcasts a single combined SSID, you might need to temporarily separate the bands to force the device to connect to the correct frequency.
Troubleshooting and Final Checks
Once the device is mounted and powered, don’t walk away immediately. Watch the indicator lights. They tell you everything about the pairing status. If the light stays solid red or doesn’t blink, you likely missed a step in the app or the device isn’t in pairing mode.
Test the device in different scenarios. Does the lock respond quickly? Does the thermostat adjust the temperature as expected? Give it 24 hours to settle into your network. Some devices perform better after a reboot cycle. Keep your tools nearby for the first week; sometimes a loose wire works itself free, and you’ll want to tighten it before it causes a bigger issue.
Do I need a licensed electrician for all smart home installs?
No. Battery-operated devices like locks and sensors are DIY-friendly. Hardwired devices like thermostats and switches are generally safe for homeowners if you follow code, but always turn off the breaker and use a voltage tester. If you feel unsure about wiring, hiring a pro is safer.
What is the most common mistake beginners make?
Forgetting to label wires before disconnecting them. When reassembling, mixing up the hot, neutral, and load wires can cause short circuits or unresponsive devices. Use masking tape to mark each wire end clearly.
Can I install smart devices in rental apartments?
Yes, mostly. Stick to non-invasive options like smart plugs, bulbs, and battery-powered sensors. Avoid drilling into walls or replacing built-in switches unless your lease allows it. Check with your landlord for permission if making permanent changes.
Why does my smart device keep losing connection?
Usually, it’s a Wi-Fi range issue or interference. Move the device closer to the router, ensure it’s on the 2.4GHz band, and reduce congestion by limiting the number of active devices on that channel. A mesh extender often solves this permanently.
How much should I budget for tools if I’m new to this?
A basic starter kit including insulated screwdrivers, a voltage tester, wire strippers, and safety glasses costs around $50-$80. You can find multi-tool kits that cover these needs for similar prices. Invest in quality for safety-critical items like testers and drivers.